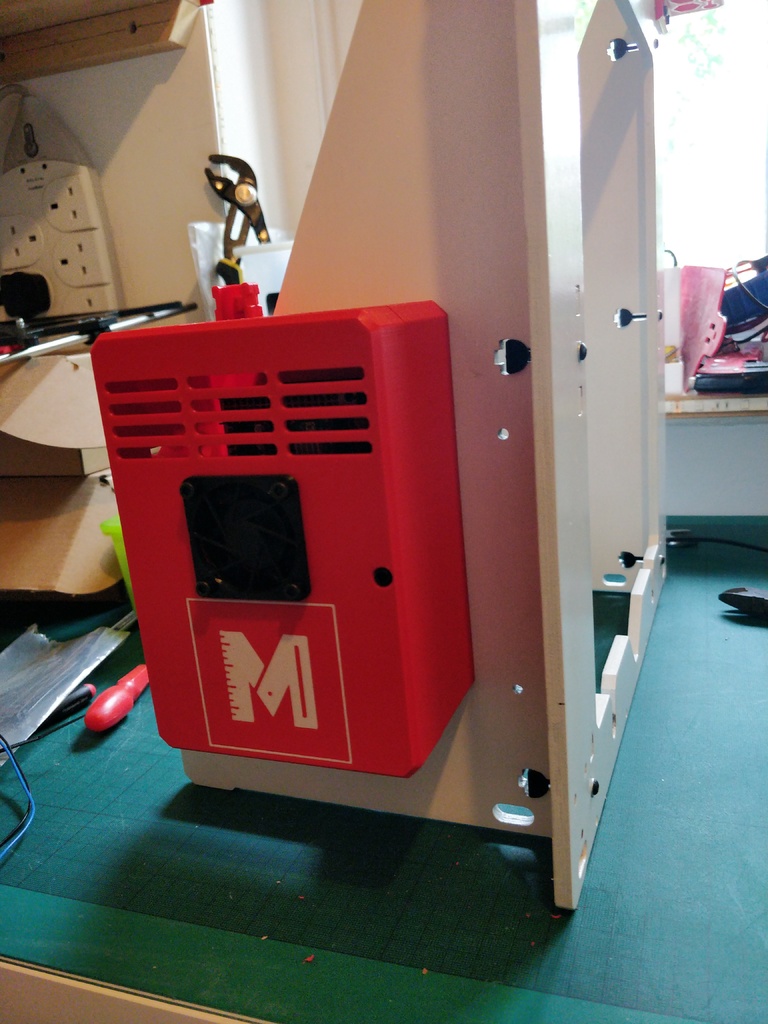
Prusa I3 Electronic Enclosure
thingiverse
The mounting point on the box is specifically designed for that frame. This isn't really a remix of the frame, but it's the easiest way to create a relationship between these two designs. The electronic box can be printed with 2 colors without needing a dual color capable 3D printer or you can just print it in a single color. Single Color This is pretty simple: drop the STL (base and lid) into your slicer, print and voila! Dual color tips: This requires a bit more methodical process. The trick here is dead simple: - Slice the lid logo and print - don't remove the print from the bed - slice the lid and print on top of the logo. The * on the print settings help improve the quality of the print depending on the slicer defined move. Also, depending on your slicer and printer, to get a crisp logo you might have to play with the extrusion rate: increase it if there are gaps between lines or decrease it if the edges look blurry (this can also happen if you're too close to the bed in your calibration). For the lid itself, bring back the extrusion rate to its previously calibrated value.
With this file you will be able to print Prusa I3 Electronic Enclosure with your 3D printer. Click on the button and save the file on your computer to work, edit or customize your design. You can also find more 3D designs for printers on Prusa I3 Electronic Enclosure.
