Prusa i3 carriage adapter
pinshape
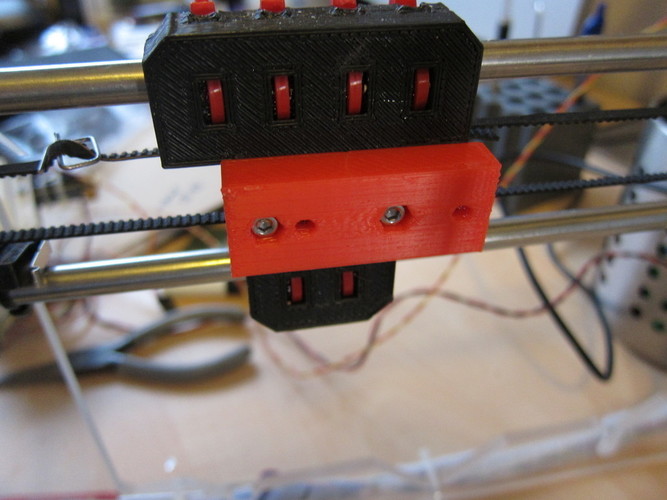
You've got the wrong component installed. You either have an extruder meant for 30mm hole spacing but your X-axis carriage was designed for 24mm hole spacing, or vice versa. This adapter is here to help you bridge the gap between the two, whether it's temporary while printing a replacement part or a permanent fix. It can work both ways - just remember you'll only need two nuts in place. To make this work, you'll need M3 screws of the right length so they can be screwed into the nuts inserted into the adapter without sticking out the back. Once you've got everything adjusted to your liking, remove those screws and use another pair to screw the adapter directly onto the X-axis carriage. Next, attach the extruder to the newly secured adapter, which is now firmly fixed in place on the X-carriage.
With this file you will be able to print Prusa i3 carriage adapter with your 3D printer. Click on the button and save the file on your computer to work, edit or customize your design. You can also find more 3D designs for printers on Prusa i3 carriage adapter.