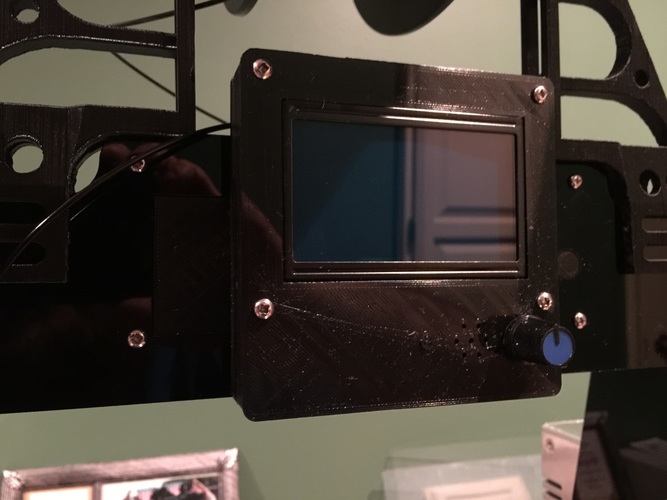
Prusa i3 5-Button Panel Upgrade to RepRap Discount GLCD
pinshape
My printer, a Hesine M505 Prusa i3, arrived with a 5-button 20x4 LCD panel as standard equipment. Unfortunately, I fried the Melzi control board and had to replace it with an Azteeg X5 v3, which runs Smoothieware. To my surprise, Smoothieware refuses to support this panel without additional hardware - specifically, turning an extra Arduino board into a panel driver. In search of a solution, I purchased a RepRap Discount GLCD, which is natively supported by Smoothieware, but it didn't fit snugly in the frame of my printer. Determined to find a fix, I designed this custom panel mount to adapt the RRD GLCD panel to my printer's frame. The design consists of four essential files: a panel cover that fills in the space previously occupied by the original panel, and three main components - a back piece, a front piece, and a button. The back features standoffs aligned with the mounting holes on the GLCD board, while the front boasts screw holes matching the standoffs on the back. To assemble this sturdy mount, simply insert the button into its designated hole on the front, then sandwich the panel between the back and front pieces before securing them together with four M3 screws. Please note that this custom case deliberately omits access to the SD card slot on the GLCD panel board - a feature I deemed unnecessary since my Azteeg board has an integrated card reader. If anyone requests it, however, I'm more than happy to revisit the design and include SD card access.
With this file you will be able to print Prusa i3 5-Button Panel Upgrade to RepRap Discount GLCD with your 3D printer. Click on the button and save the file on your computer to work, edit or customize your design. You can also find more 3D designs for printers on Prusa i3 5-Button Panel Upgrade to RepRap Discount GLCD.
