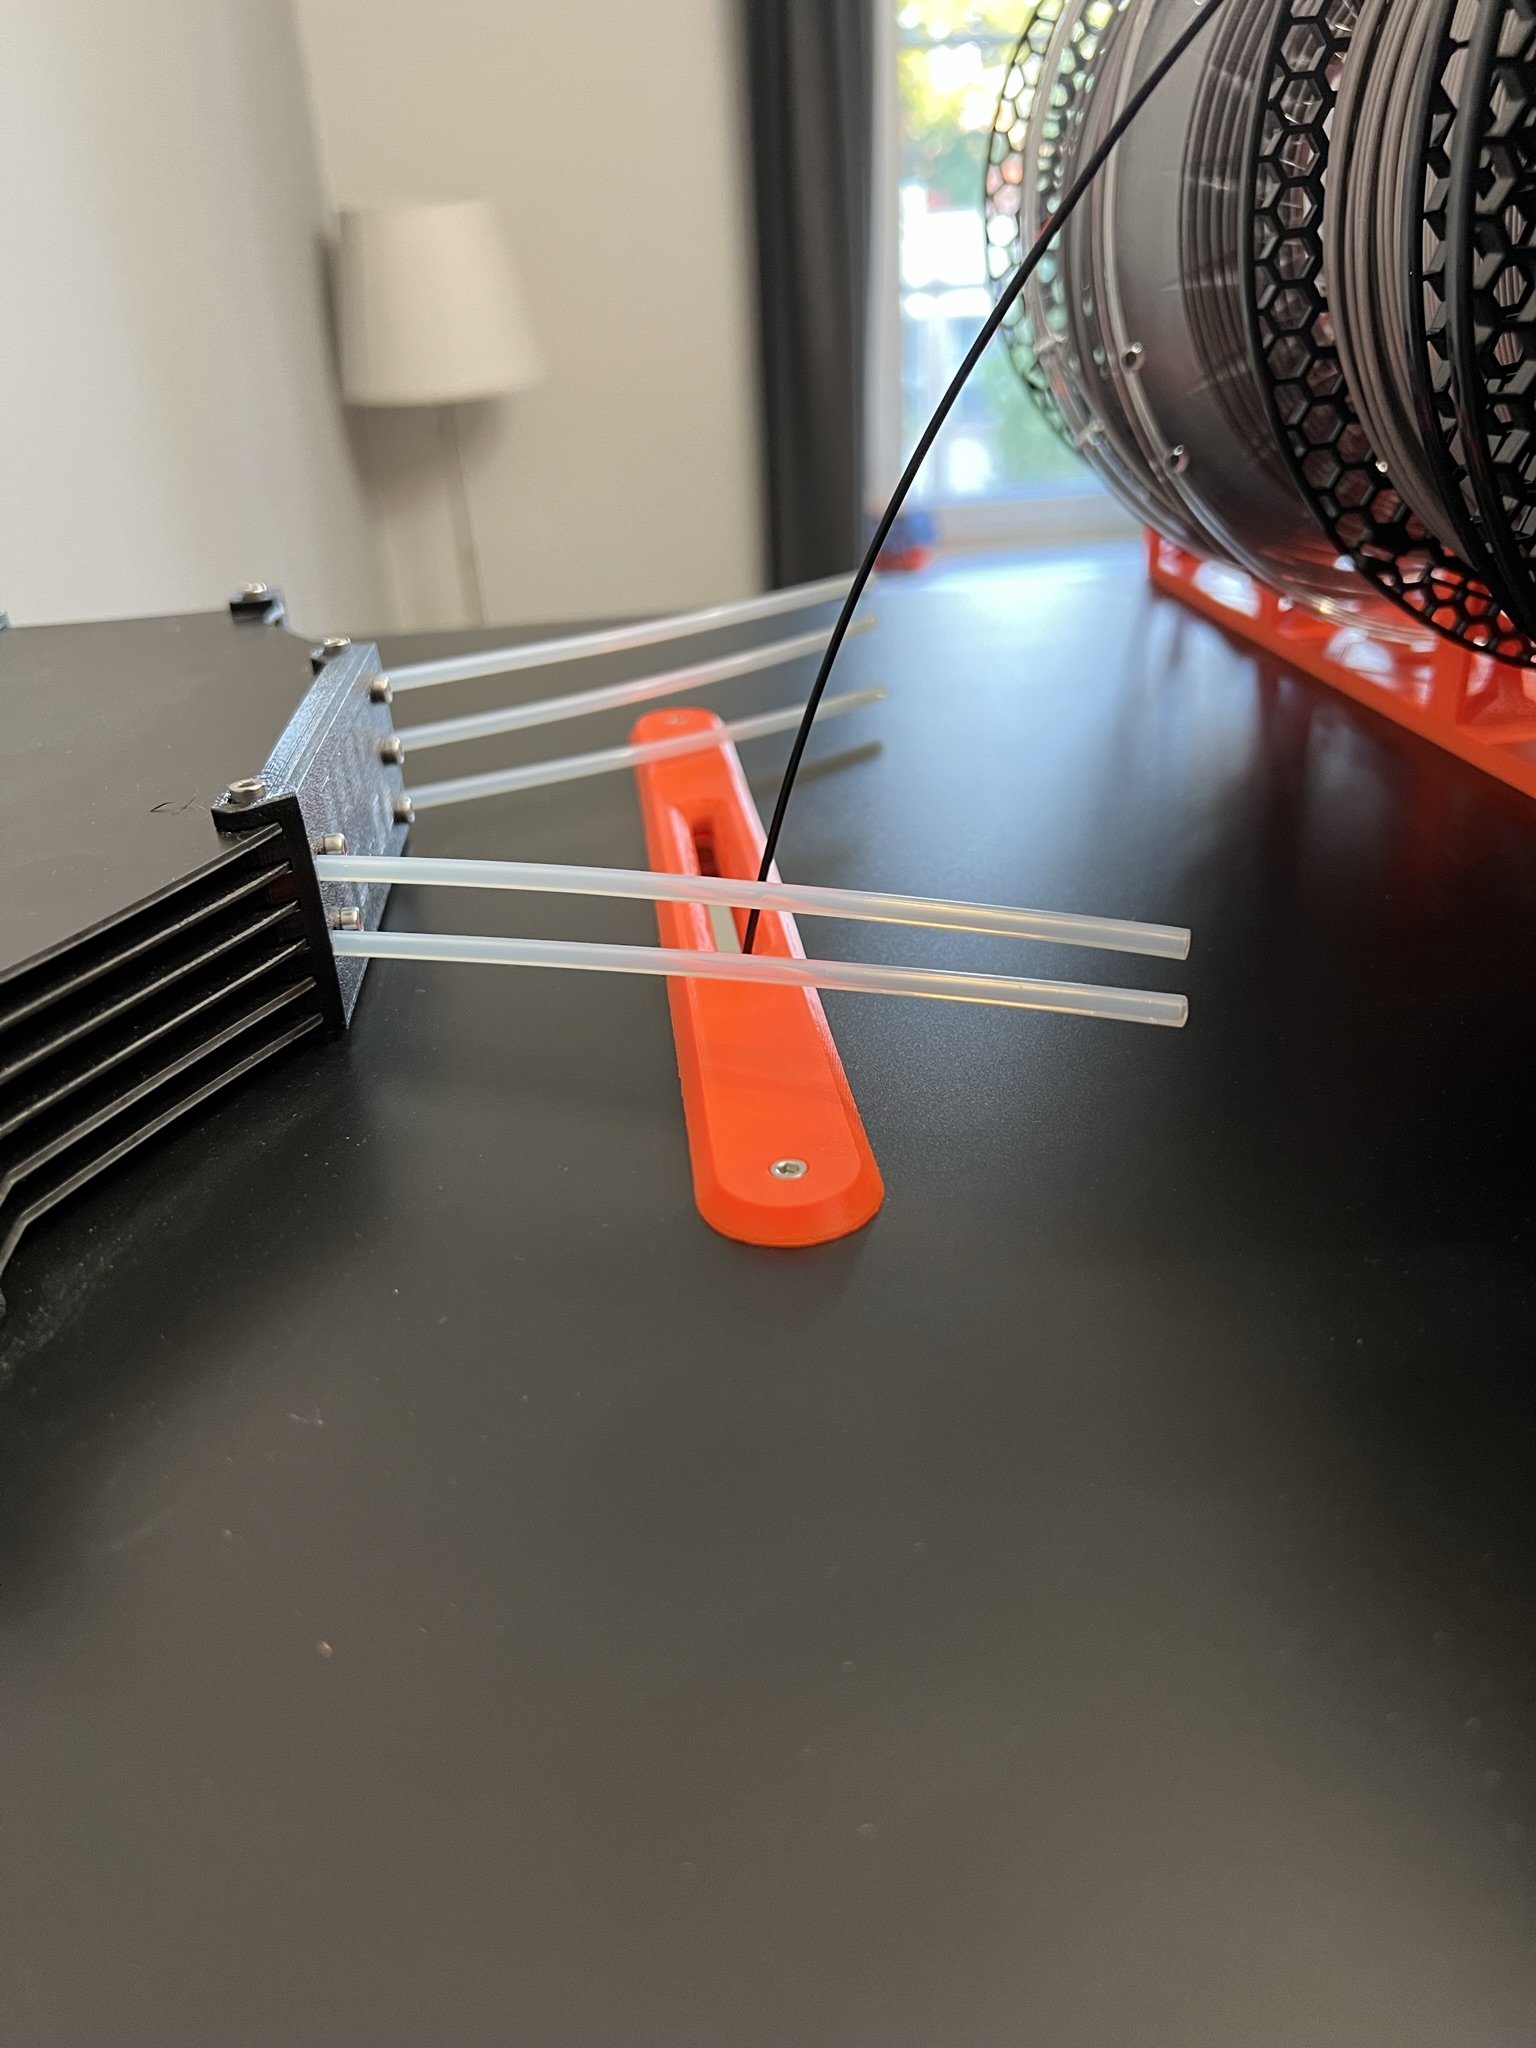
Prusa Enclosure MMU2S - filament guide
prusaprinters
<p>I bought Prusa i3 MK3S+ and MMU2S upgrade. Then I built lack enclosure for this setup. After few months of using, I decided that sometimes I want to use 3D printer as basic MK3S+ so i designed this filament guide to easily use enclosure as built before.</p><p>I made few evolutions of my model. So, I decided to upload all of them. Best for use is Filament guide LackMMU2S_short_5mm. This one is perfectly long to not bend filament too much and to be as smooth going into enclosure to not damage print quality.</p><p>Printed from PETG at 0.15mm layer height with 20% of infill. No support and brim needed. Holes are bridged by two layers, but it is very easy to go through with screw.</p><p>Hole is 5mm thick, therefore you could go through it with PTFE tube for use with filament dryer.</p><p>You would need 2x M3 10-20mm screw and 2x M3 nut. One advice - try to look for them in spare parts you get with your MK3S+. Then you need to make hole for screws to go through and hole for filament.</p>
With this file you will be able to print Prusa Enclosure MMU2S - filament guide with your 3D printer. Click on the button and save the file on your computer to work, edit or customize your design. You can also find more 3D designs for printers on Prusa Enclosure MMU2S - filament guide.
