Prusa anchor (locking feet, print in place)
prusaprinters
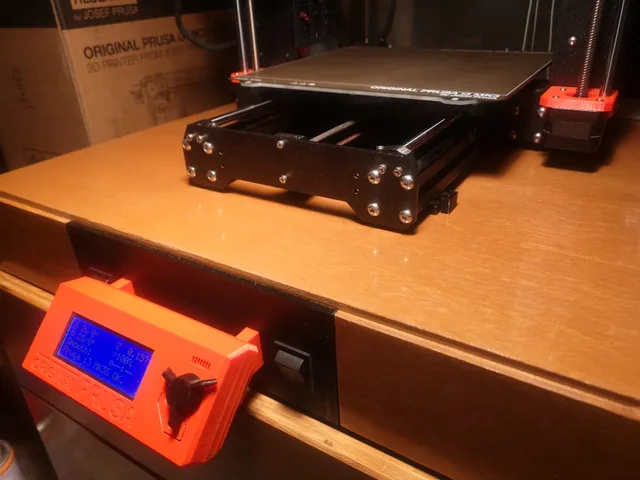
This is an anchor for fixing the Prusa i3 printer onto the shelf. After you mount the printer, rotate the anchors 90 degrees, and the printer is locked. I'm creating an enclosure for the printer (not completed), and I want to fix the printer on the shelf, not the printer falling, even if we have an earthquake! After considering several methods, I think the coolest measure is to fix the 90 degrees of rotating feet to the top surface as anchors. This is a part of Prusa MK4/3 Enclosure & Cabinet InstallationDetermine the center point where you install each of the four anchors. Determine the horizontal position by understanding that the Prusa i3 MK3S+ has a 170mm distance between the left and right of the front frames and a 244mm distance between the left and right of the rear frames. I recommend determining the vertical position as the center of each frame so that you can adjust the printer's place after you install the anchors. After determining the center point of each of the four anchors, front-left, front-right, back-left, and back-right, decide where to place the screws. The left screw will be 9 mm to the rear and 11 mm to the left from the center point. The right screw is 9 mm to the front and 11 mm to the right from the center point.I recommend putting tape on the shelf board in advance, marking the above positioning, drilling a hole at the screw positions, and then peeling off the tape. Once you have drilled the holes at the screw positions, fix the anchors with screws. You can move the anchors 2 mm to the left and right, so it does not matter if the drilling position is slightly off, but please ensure the anchors are parallel to the vertical and horizontal lines. Once the anchors are secured, set the legs vertically and place the printer on top. Move the printer left or right to ensure that the feet' tops are correctly inserted into the printer frames. Then rotate the feet 90 degrees clockwise. It may feel stiff, but it should turn if you push the back part of the foot from left to right and the front from right to left. After you rotate the feet 90 degrees, the printer should be firmly held on the shelf. PrintoutWhen you print the anchors, print them with many perimeters to make them strong. I used eight perimeters. It would be best if you had support to correctly print the top part of the foot.I used PETG, and I think it is better than PLA.
With this file you will be able to print Prusa anchor (locking feet, print in place) with your 3D printer. Click on the button and save the file on your computer to work, edit or customize your design. You can also find more 3D designs for printers on Prusa anchor (locking feet, print in place).
