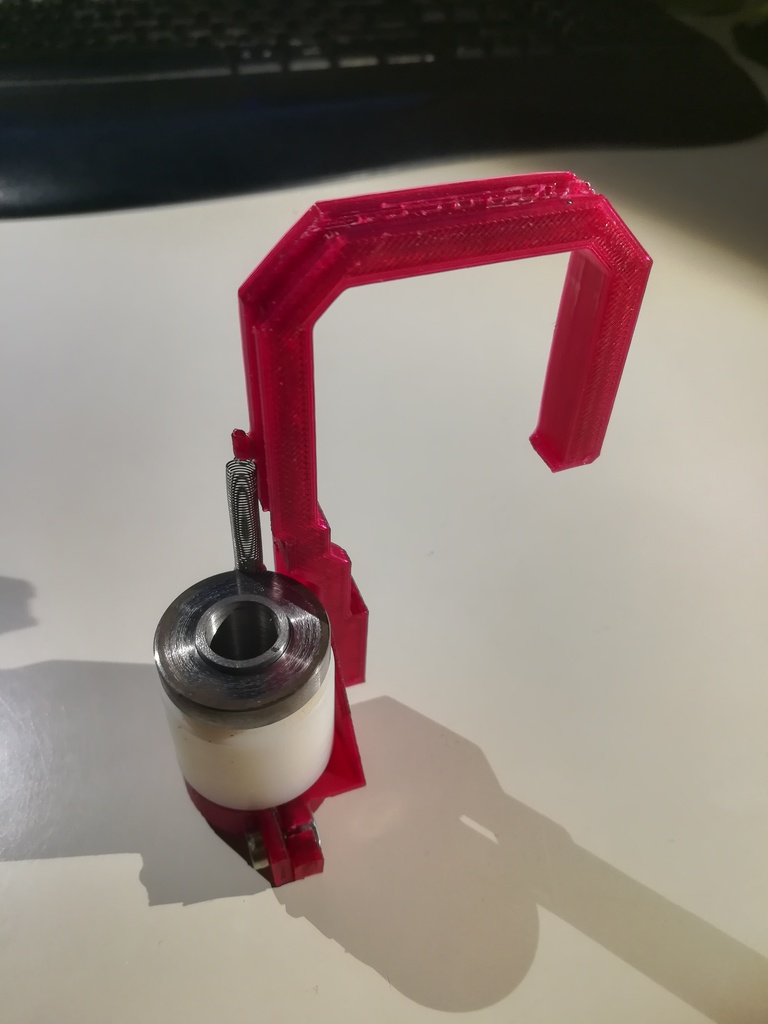
Prusa 3D i3 MK2S pen holder for PCB production
thingiverse
PCB Production: To produce a PCB with a Prusa 3D i3 MK2S pen holder, follow these steps: 1. Design Your Board: Create your board design in Eagle. 2. Export to HPGL: Export the design as an HPGL file using File -> CAM Processor. Choose Device: HPGL, Mirror, and positive Coord. 3. Process with ThmqGCU.js: Import the HPGL file into ThmqGCU.js to generate G-code. Do not check Interpolate Arcs by Lines or Skip redundant G-codes. 4. Prepare G-Code: Use a Lua script from GitHub (reprap-prepare.lua) to set new printer origins, interpolate arcs, and shift coordinates. 5. Manually Move the Printer: Place the pen holder in the left-down corner of the PCB board. 6. Run the G-code: Execute the G-code file to produce your PCB. Watch this video for a step-by-step guide: https://www.youtube.com/watch?v=VaR_bT9Ytkw
With this file you will be able to print Prusa 3D i3 MK2S pen holder for PCB production with your 3D printer. Click on the button and save the file on your computer to work, edit or customize your design. You can also find more 3D designs for printers on Prusa 3D i3 MK2S pen holder for PCB production.
