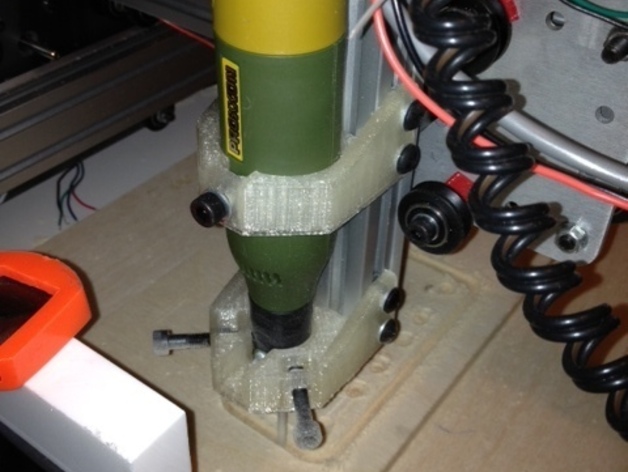
Proxxon Micromot to 2040 rail mounts
thingiverse
Attach Proxxon 12V micromot to t-slot rails like MakerSlide, Misumi 2040, or 80/20 metric 2040 using this set of mounts. To assemble, print the part, place an M5 nut in the square slot with holes, then add 10 or 12mm long M5 screws, nuts, and washers accordingly. Next, insert your Proxxon micromot. The updated version comes with smaller nut slots to prevent nut rotation and shorter side mounts for clearance behind Makerslide wheels. No sanding is required in this version for wheel movement. However, use button head bolts on the side of Makerslide to avoid head conflict with the wheel mounting. Note that these changes are not needed when using Misumi or 80/20 rails. Check out this YouTube video (http://www.youtube.com/watch?v=-cek6AxIg1w) for a visual demonstration of the parts in use. Happy assembling!
With this file you will be able to print Proxxon Micromot to 2040 rail mounts with your 3D printer. Click on the button and save the file on your computer to work, edit or customize your design. You can also find more 3D designs for printers on Proxxon Micromot to 2040 rail mounts.
