Protective lens case
prusaprinters
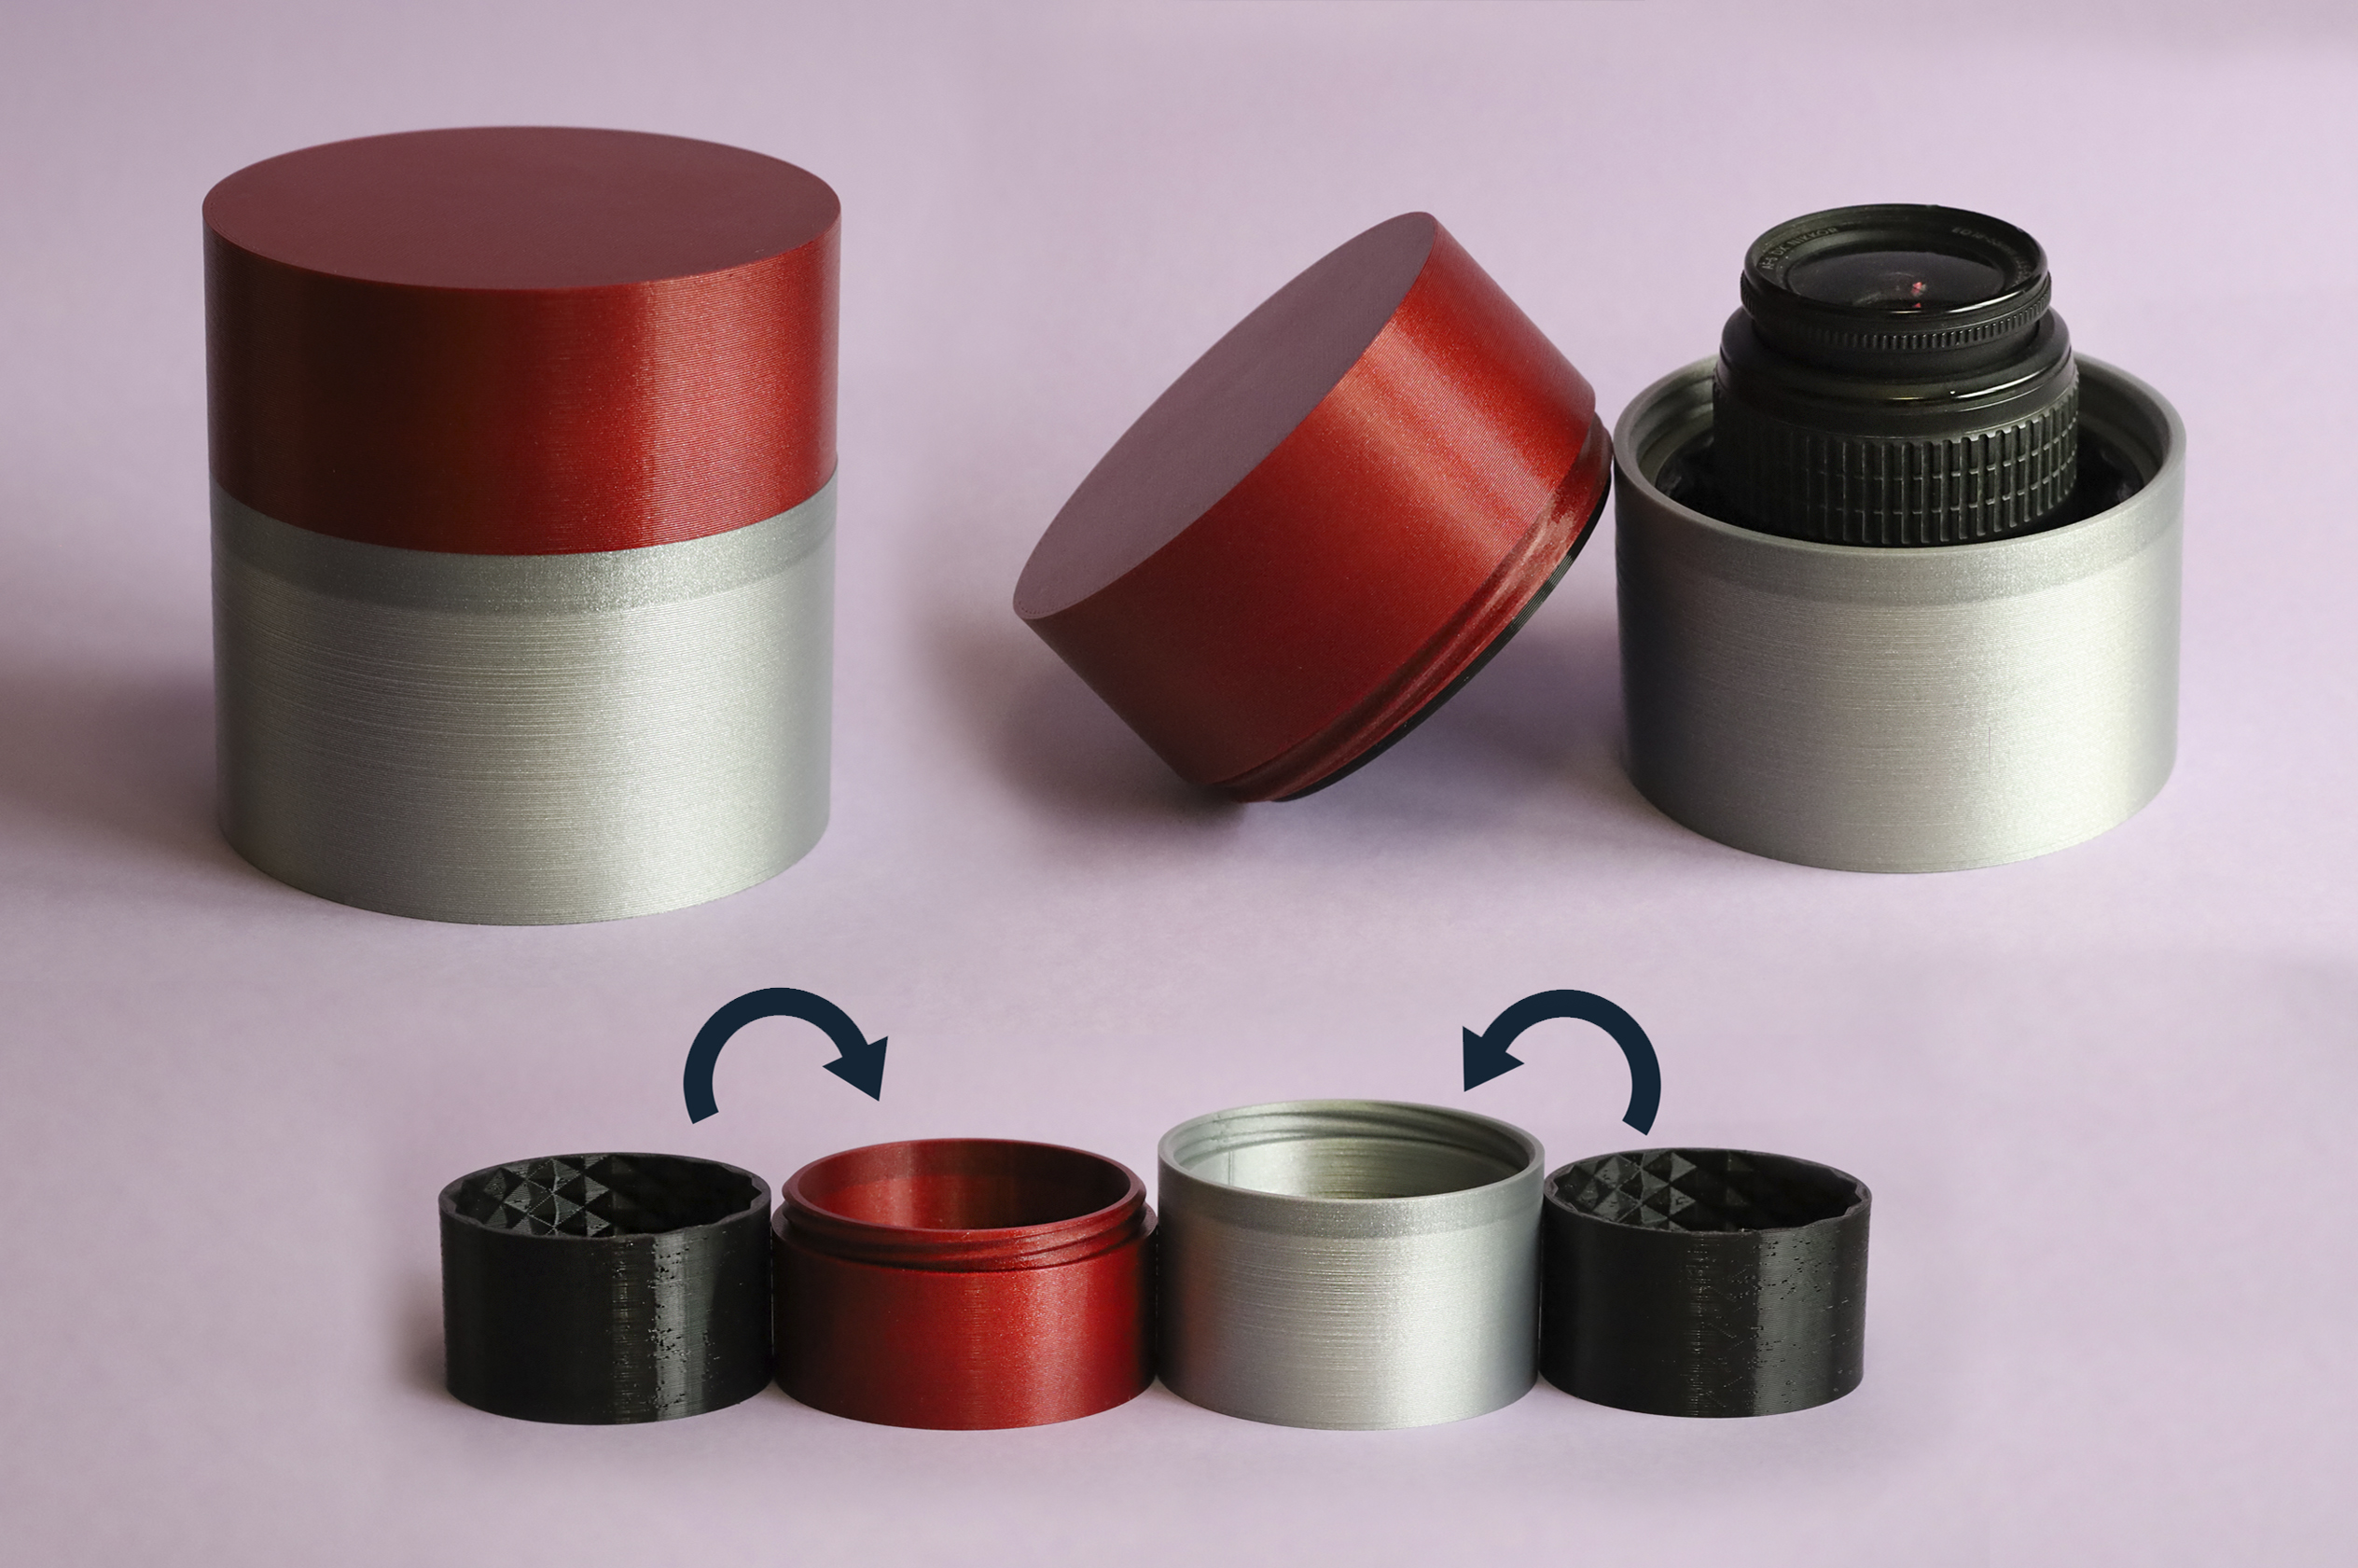
<h4>Overview</h4><p>The case is made of 4 pieces:</p><ul><li>2 knurl-padded inserts, that are to be printed in TPU/ flexible/semiflex.</li><li>1 outer case part with an outwards screw thread (like a bolt)</li><li>1 outer case part with an inwards screw thread (like a nut)</li></ul><p>The thread is of 45-degree trapezoidal section and has 4 starts/leads; this means that it will print nicely without overhangs, and that you need to give it only half a turn to open or close. Thread starts are also chamfered, to make both halves easier to engage.</p><p><strong>Tip</strong>: I think it's better to use two parts of approximately the same size, so when you open the case half the lens is out, and you can get a nice, firm, full-hand grip on it. Many lens cases I've found are tight and top-closing, and force you to use a “gripping claw” motion or to “drop” them on your hand, which is definitely not quite ergonomic.</p><h4>Printing tips</h4><p>The inserts are to be printed in something really soft, like TPU (although maybe polypropylene would do the job, but TPU is cheaper and easier to print with). You don't need an extra-soft flexible for this; a semiflex of about 90A Shore hardness will do the job well; just make sure that you set a low infill, of about 20%. (The Shore hardness of TPU, in case you didn't know, is rated on a 100% infill; lower infill means more flexibility. The TPU used in the specimens was a Shore 92A semiflex, and indeed it flexes!)</p><p>The outer case parts are supposed to be rigid, so use something rigid for it. If you're going to leave your equipment in your car, <strong>use PETG</strong>. </p><p>The inserts are friction-fit. This means that they might slide when opening the case (a minor inconvenience). To avoid this, you may fix them with some adhesive; you can use glue, but since we'll be joining two different plastics, it's better to use some thin double-sided tape. If you have access to 3M 300LSE tape, that will do an excellent job.</p><h4>On size and scaling</h4><p>Note that the size (the diameter, always 80mm, and the length or height, indicated by h in the filename) is the <strong>useful size</strong>, not the actual size of the parts, which will be greater. That is, what fits in that piece; and also, length is <i>per piece</i>. So, if you want a case of a total useful height of 40mm, you'll need a 20mm outwards and a 20mm inwards, or any other combination that adds up to 40.</p><p>The parts scale well on XY planes; walls are more than thick enough (2.5 mm for each of insert walls, wall before thread, thread depth, and wall after thread).</p><p>You might also want to scale or somewhat adapt the height, the Z-axis (although there are many options available). You can, of course, use some foam. But if you want to modify the piece, you can do it in PrusaSlicer or other slicers with the following procedure:</p><ol><li>Check how much you need to cut. Make a vertical cut at Z equal to that amount plus 2 (to remove the floor). Save the top part as STL</li><li>Create a cylinder with a diameter of 105.8mm, scaling it to the needed XY scale (if you are going with the 80mm useful diameter, you don't need to scale it). Set it to a height of 2mm, or the floor thickness you want.</li><li>Load the previously saved STL as a part for that cylinder. Drop it to bed, and then raise it again up to the height of the cylinder you just created. You can save the whole assembly as STL.</li></ol><p>This way, you'll keep the thread just as it was, and it will fit all other pieces.</p><p>For the inserts, you only need to make a cut on Z and leave the bottom part; there's no screw to keep. You may use the above procedure, though (with 1mm for floor thickness instead of 2) if you want them to look nice and finishing at a full knurl shape.</p><h4>On the recycling symbol</h4><p>If you've seen the last picture, first of all thanks for going all through them, and second please note that the recycling symbols are not included in the models (as there would be too many of them), but can be added using the <a href="https://www.printables.com/model/136201-recymbol-customizable-recycling-symbols-and-librar">Recymbol library and STL collection</a>, available here at Printables. Just load the symbol, set it to scale, load it as a negative space modifier in PrusaSlicer, and put it sligthly below the floor top (below 2mm for hard outer parts, 1mm for inserts). Marking the plastic types for recycling is not only a good practice, it will also help you remember what it's made of.</p><p> </p>
With this file you will be able to print Protective lens case with your 3D printer. Click on the button and save the file on your computer to work, edit or customize your design. You can also find more 3D designs for printers on Protective lens case.
