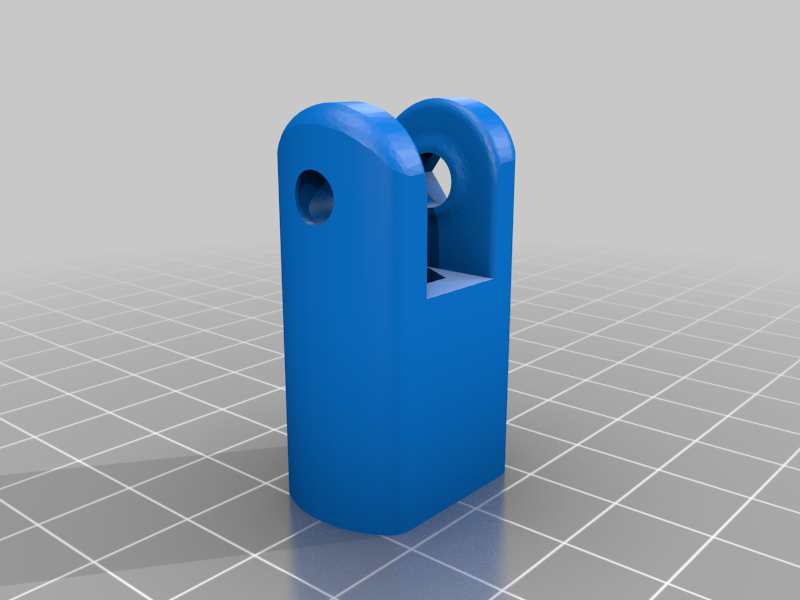
Proper Printing Portal Mod : Y Axis Belt Tensioner
thingiverse
To assemble the knob and pulley, you will need two M5 x 0.8 nuts and one M5 x 25 bolt for each assembly. A soldering iron is recommended to press-fit the hardware in place. First, apply a small amount of superglue to the face of the plastic part where the hardware will be inserted. Then, use a soldering iron to press-fit the hardware into position. Make sure to leave the nut for the pulley until last, as it needs to be slid into the body first. To install the nut in the pulley body, heat it up with a soldering iron until it's hot enough to slide in easily. Use a screwdriver of similar diameter to press the nut firmly into place, ensuring it won't move once it cools down. Alternatively, you can use a bolt to pull it through from the other end, but be sure not to leave it in while heating up the nut to avoid burning yourself.
With this file you will be able to print Proper Printing Portal Mod : Y Axis Belt Tensioner with your 3D printer. Click on the button and save the file on your computer to work, edit or customize your design. You can also find more 3D designs for printers on Proper Printing Portal Mod : Y Axis Belt Tensioner.
