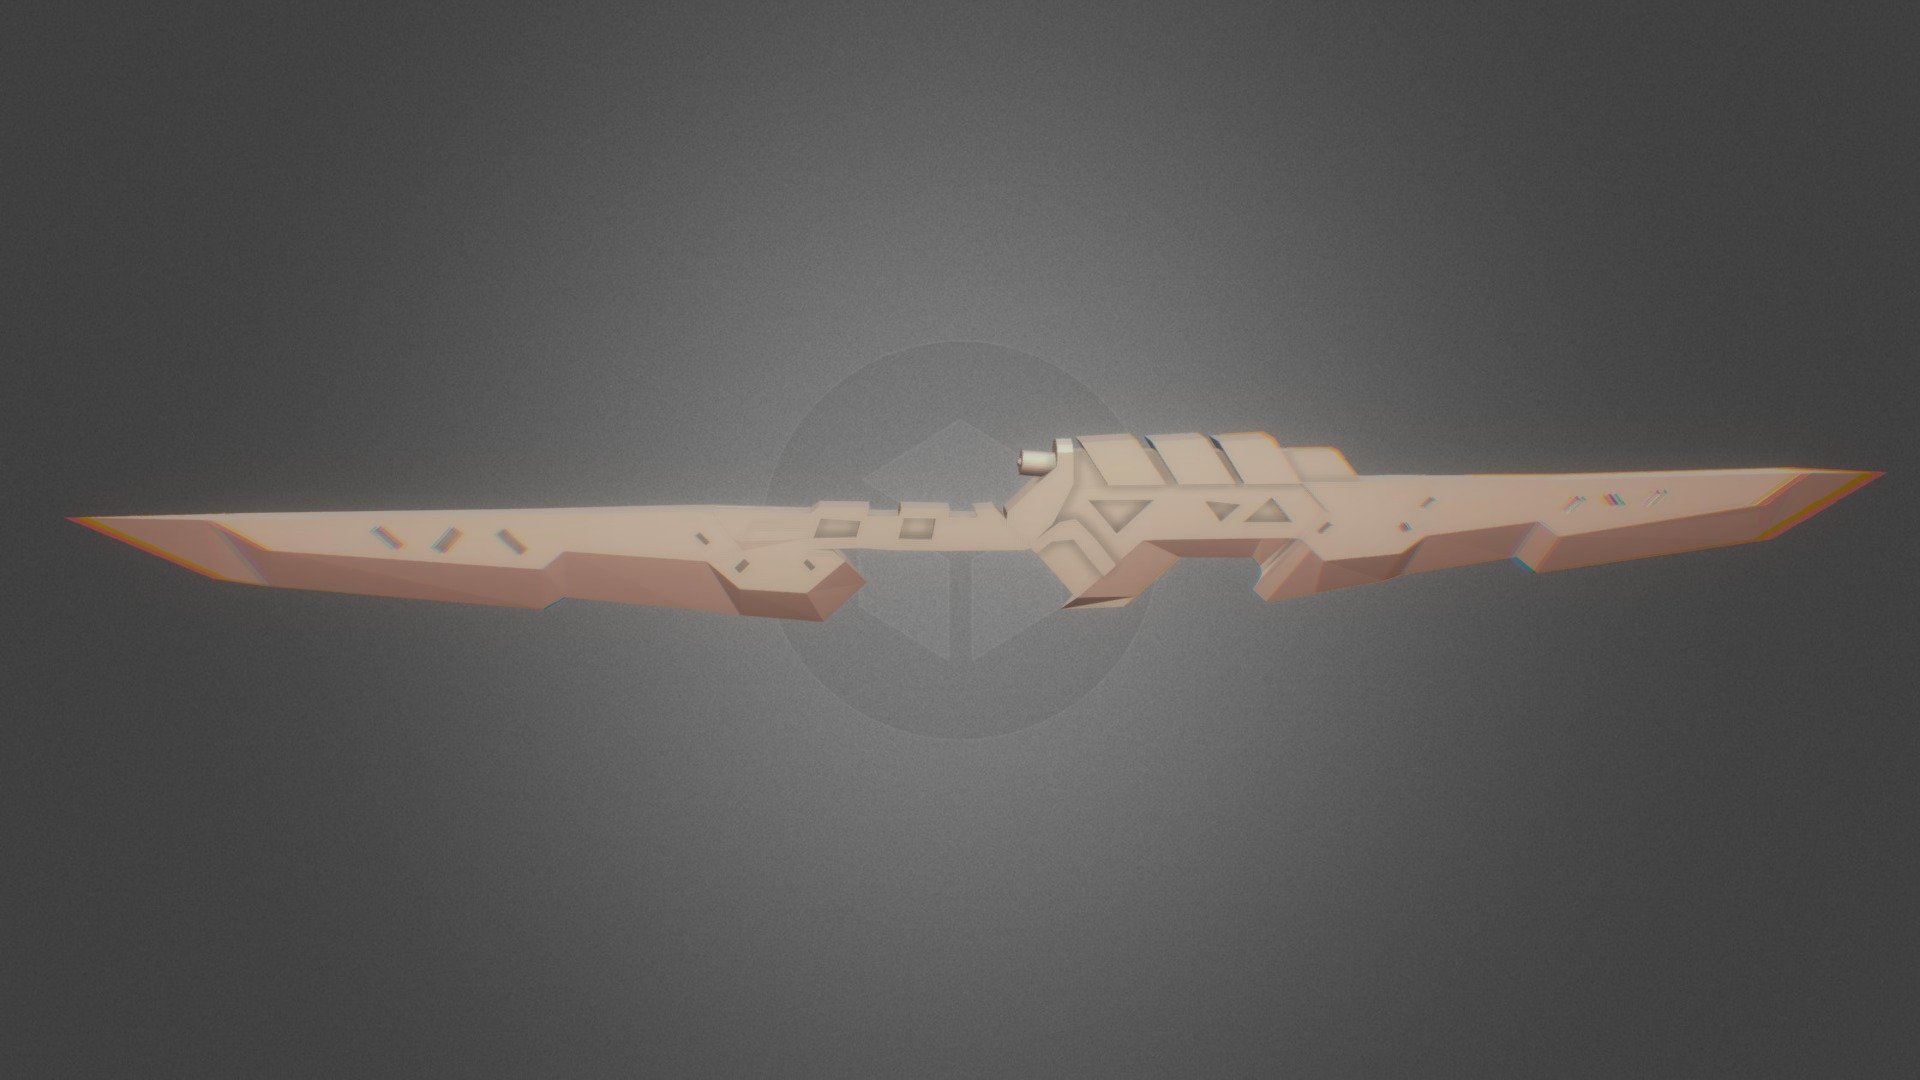
Project Master Yi's Sword
sketchfab
Projecting Master Yi's sword into a 3D environment using Blender and Cycles rendering on version 2.78. This process involves several steps to achieve realistic results. First, import the Master Yi model into Blender. Ensure all parts of the character are selected, including the sword, which is an integral part of his design. Next, switch to Edit Mode and select the sword mesh. Use the Knife Tool (K) to separate the sword from the rest of the body, taking care not to damage any surrounding geometry. After isolating the sword, apply a Subdivision Surface modifier to refine its mesh. This step enhances the visual appeal by creating a smoother surface on the sword. With the sword now subdivided, switch back to Object Mode and create a new Material for it. Use the principled BSDF shader in Cycles to achieve a realistic metallic appearance. Adjust the settings as necessary to match Master Yi's sword from the game. Now, add an Emission Shader to the material to give the sword its distinctive glow effect. This can be done by adding a separate emission texture and adjusting its intensity. Finally, set up the rendering environment in Cycles. Use a high-quality camera and adjust the render settings for optimal results. Consider using Ambient Occlusion and other advanced techniques to enhance the visual fidelity of the scene. Once these steps are complete, render the image with Cycles on version 2.78. This will produce a high-resolution image of Master Yi's sword that can be used in various applications.
With this file you will be able to print Project Master Yi's Sword with your 3D printer. Click on the button and save the file on your computer to work, edit or customize your design. You can also find more 3D designs for printers on Project Master Yi's Sword.
