Project: Make Your Own Country with Tinkercad
thingiverse
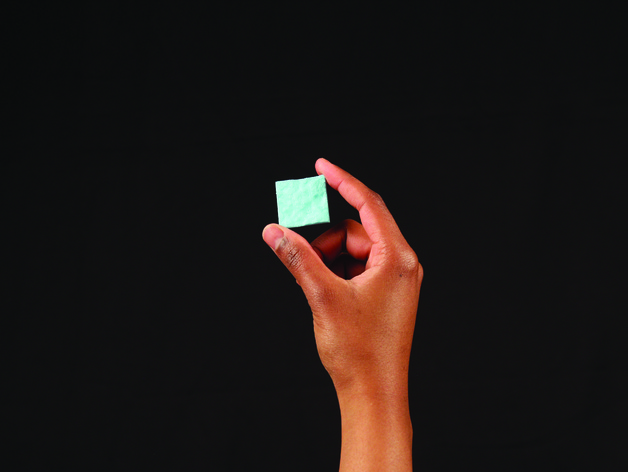
This project is located on MakerBot in The Classroom (http://www.makerbot.com/education) and focuses on creating geographical tiles using primitive shapes in Tinkercad. Your students will learn how to use a free program called Tinkercad, designing basic geographical tiles that represent various environments. When these tiles are combined, students can create a country and learn about geography and colonialism. As new world explorers, your students will participate in creating 3D printed biome tiles that can be assembled into an uncharted territory. Once the tiles are assembled, they'll break into groups to develop settlements by surveying the land and discovering its natural resources. They'll simulate supply and demand by engaging in trade with their neighbors, considering factors essential for setting up a new town. During this project, students will explore colonialism's history, research geography, understand the significance of natural resources, grasp basic economic principles (supply and demand), create 3D printed visuals for the classroom, and apply standards like CCSS.ELA-LITERACY.RH.6-8.7, which integrates visual information from charts, graphs, photographs, videos, or maps with other text in print and digital. The entire lesson is outlined with pictures in a downloadable .PDF in the Thing Files. It's divided into steps: Introduction Lesson, Design Water Tile, Design Forest Tile, and Design Mountain Tile. For Step 1: Introduction Lesson, students research biomes in pairs or alone and ask questions about what defines these regions, their locations, challenges of living in them, resources abundant within each, how people use these areas, and their daily resource usage. They then write down their favorite resource and explain why they prefer it. In Step 2: Design Water Tile, see the video below and download project_tinkercad.pdf from the Thing Files to create water terrain using the Shape Generator and Ruler Tool. Step 3: Design Forest Tile is completed by following the steps in the .PDF, such as creating ground terrain, a tree trunk and top, aligning components, placing trees, duplicating them to make forests. For Step 4: Design Mountain Tile, use the same steps as forest tile but focus on creating mountain ranges and using the Hole Tool to cut off the bottom of the tile. This lesson will last one to two class periods (three to four if including the extension activity), with students printing 1-2 tiles (each print time is about 20-40 minutes) in groups of 4 to 7. To prepare for this lesson, you'll need Tinkercad login, a Chromebook or computer per student, Chrome or Firefox installed, and Make Your Own Country handouts available.
With this file you will be able to print Project: Make Your Own Country with Tinkercad with your 3D printer. Click on the button and save the file on your computer to work, edit or customize your design. You can also find more 3D designs for printers on Project: Make Your Own Country with Tinkercad.
