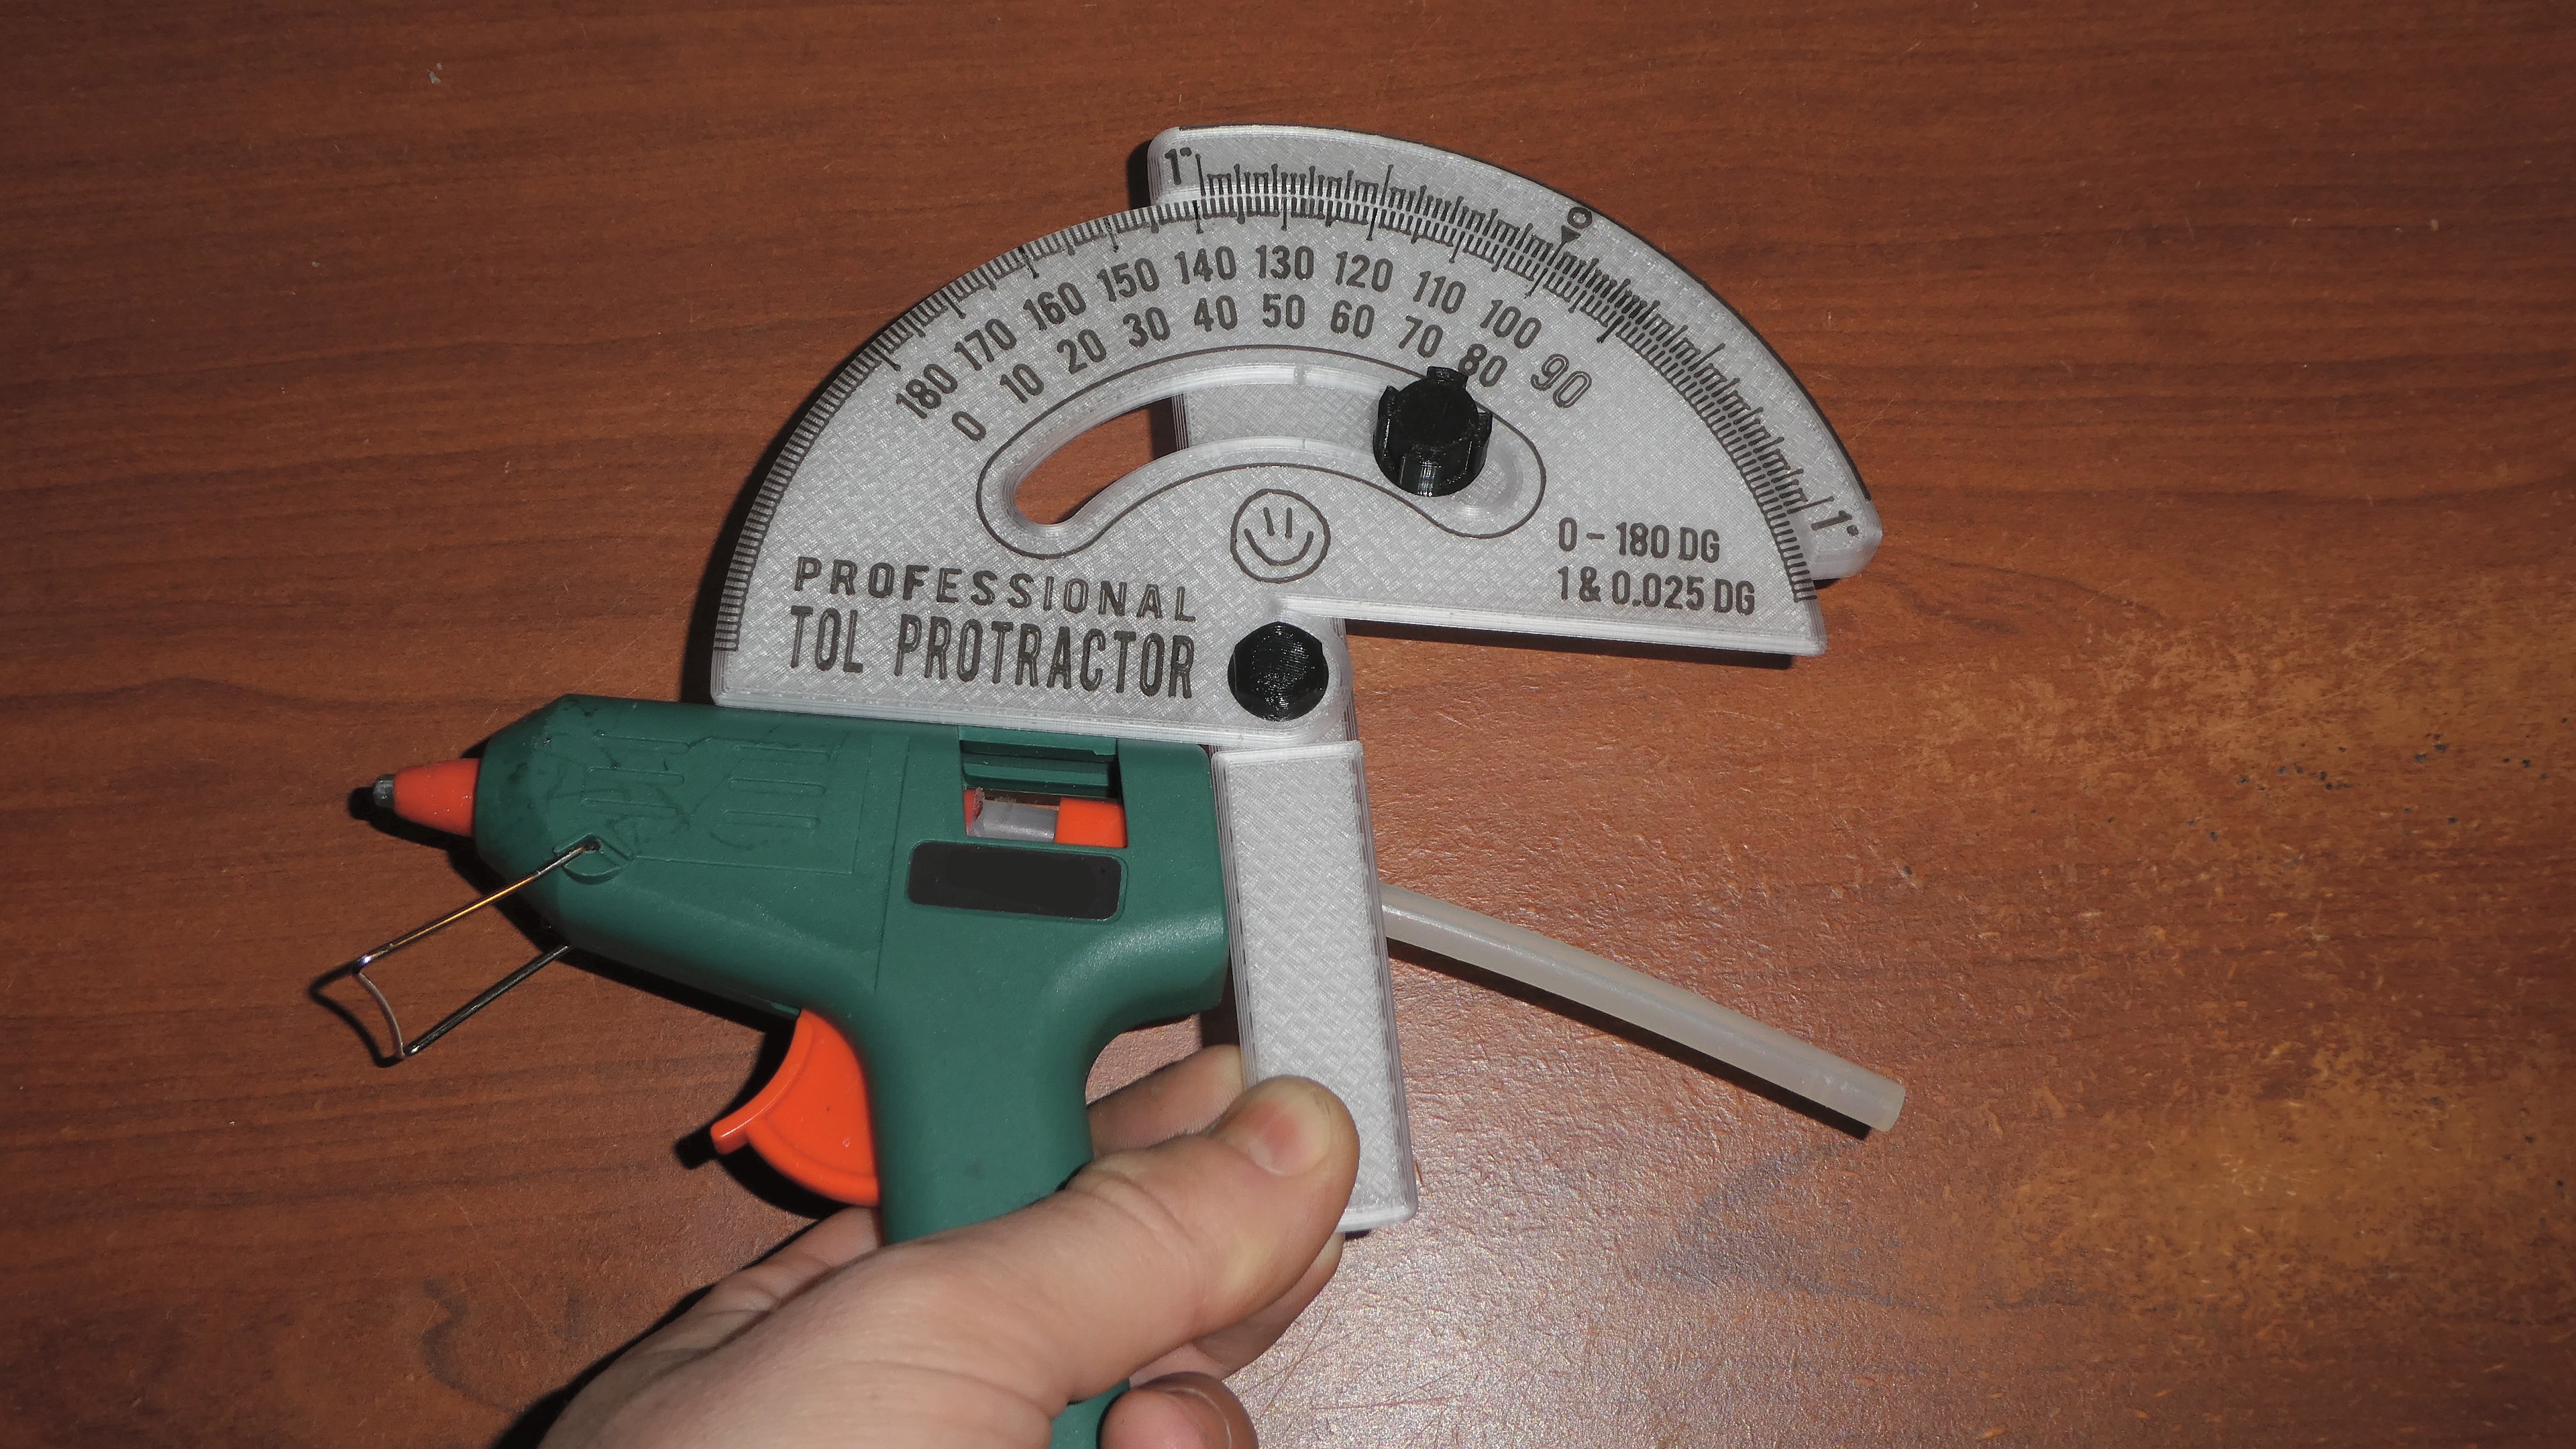
Professional Protractor for CAD modelling (0.025 degree precision angle measurement tool)
prusaprinters
<p><strong>I HATE PROTRACTORS ALREADY!</strong> I printed so many prototypes and spent a lot of time and plastic to find the best tolerances. I'm really tired of them! Anyway, here is a professional version of <a href="https://www.printables.com/model/164482-the-smallest-protractor-for-cad-modelling-01-degre">The Smallest Protractor</a>. It is bigger as you can see, so there are advantages and disadvantages. Choose the one that fits better for your needs:</p><figure class="image"><img src="https://media.printables.com/media/prints/172288/rich_content/a2a39b14-4ae6-4ac8-844b-0ea289a59329/p1080743.jpg#%7B%22uuid%22%3A%222d94e819-b952-4dbc-955b-e7dc90f66371%22%2C%22w%22%3A3840%2C%22h%22%3A2160%7D"></figure><p>The Smallest / Pro comparison:</p><p>Circle diameter: 10 / 15 cm.<br>Arm length for wide (narrow) angles: 4.2 (5.3) / 6.4 (7.8) cm and double length*.<br>Marks readability: minimum possible / good.<br>Vernier precision: 0.1 / 0.025** degree.<br>Fasteners (included): M5, 0.8 mm thread / M8, 0.8 mm thread.<br>Print time: 2 / 5-6 hours.<br>Weight: 15 / 50+*** grams.</p><p>* I did not print the double length arm because I don't need a huge protractor now, but I think it should be useful for those who need to measure large things. If it doesn't fit on your printer's bed, it is possible to rotate it 45 degrees in CURA, and it will fit well (at least it fits Ender3V2 bed in this orientation).</p><figure class="image"><img src="https://media.printables.com/media/prints/172288/rich_content/87021a10-db08-41c1-9728-33379c4b3678/screenshot_20220416_084253.jpeg#%7B%22uuid%22%3A%22f1213cbe-cd9f-438a-943b-1993601d8d4f%22%2C%22w%22%3A1920%2C%22h%22%3A1080%7D"></figure><p> </p><p>** To be fair, the difference between neighboring marks on the 0.025 vernier is something about 0.033 mm. You will need an eagle eye to find such a difference! Besides, not every printer can print with such a step. I made this vernier scale more like a proof of concept. Maybe if somebody has a professional laser engraving machine, he will be able to engrave these marks on a metal plate and enjoy true 0.025 degrees precision, but for those who print on cheap 3D printers with plastic, this would be 0.075 degrees or maybe 0.050 at best (if your printer is really cool). Just for information, I sometimes see the difference between 3 neighboring marks on the print made with PETG on Ender 3V2. The difference between 4 marks is always easy to find, so 0.1 degree precision is kind of guaranteed :)</p><p>*** 25-30% grid infill if you need a toy, 50-100% infill if you need a tool.</p><p><strong>Before printing, read all the recommendations in the description of </strong><a href="https://www.printables.com/model/164482-the-smallest-protractor-for-cad-modelling-01-degre"><strong>the smallest protractor</strong></a><strong> to get a good quality print.</strong> Printing, assembling and usage is mostly the same, the difference is as follows:</p><p>Top layers: 4.<br>Bottom layers: 4.<br>Walls: 4.</p><p>Print settings for CURA - “Z-seam position”:</p><p>Base: back.<br>Base labels: front.<br>Arm: back (highly recommended to prevent starting overhanging parts "in the air").<br>Arm labels: back.</p><p>Contrary to the smallest protractor, I had difficulties printing 2 lines of overhang in this bigger version, so I reduced it to less than one line in the final version to be sure that it will be printed 100% successfully.</p><p><br><strong>Help! I've broken a stud! Can I repair it without printing a new protractor?</strong></p><p>The threaded studs are not supposed to suffer a lot of force when screwing the nuts because the adhesion between layers is the weakest point of 3D printed parts. I had a situation when I simply torn a stud off from the arm because I screwed the fixing nut too hard. I recommend to find the minimum force required to fix the scale from rotation and never screw the fixing nut harder. Anyway, if you are a tough guy and broke the fixing stud too, there are 2 ways of repairing it without printing a new arm.</p><p>Method 1. Find a metal wire of the same diameter as the hole inside the stud (1.85 mm) and put it one side inside the hole of the broken stud and the other side inside the hole of the arm. Glue everything with super-glue and press both parts together hard. After one minute the glued stud with the metal wire inside will be stronger than before!</p><p>Method 2: Drill a 7.8-8 mm hole in the place of the arm where the broken stud was. Find a metal M8 bolt with 0.8 mm thread, cut it to the length of the original stud and screw it in the hole (use super-glue if needed). That's it, the protractor is ready to use again and this metal bolt will never break again!</p><p>Normally you shouldn't break the central stud because you need to screw the central nut only once, but if you happen to break it, you can use Method 1 to repair it. Method 2 is more difficult in this case because you will need to print a spacer-cyllinder 8 mm diameter and 2.4 mm length to allow rotation of the scale without any gaps (this is important for precise measurements), and there should be a hole in the middle of this cyllinder for a smaller bolt, for example M6 or M5. You will also need to find or print a nut for a chosen bolt.</p><p><strong>I hope you will find this tool useful, the photos of your makes are welcome :)</strong><br> </p>
With this file you will be able to print Professional Protractor for CAD modelling (0.025 degree precision angle measurement tool) with your 3D printer. Click on the button and save the file on your computer to work, edit or customize your design. You can also find more 3D designs for printers on Professional Protractor for CAD modelling (0.025 degree precision angle measurement tool).
