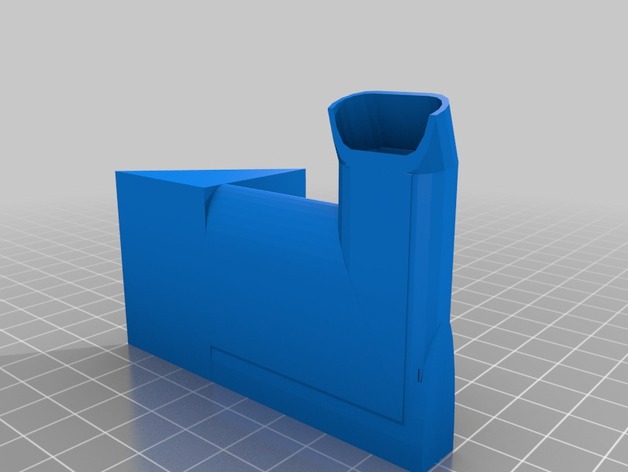
PrintRite DIY 3D Printer Fan Duct v2
thingiverse
An upgrade to my fan duct for the PrintRite DIY 3D Printer offers better airflow. A larger duct extends from the fan to the corner, resulting in more unimpeded airflow. Check out this superior design on thingiverse: http://www.thingiverse.com/thing:1242620 The improved design demands printing on its side as instructed in the STL file. Attach it firmly with double-sided foam tape directly to the front surface of the extruder carriage. Get rid of the original extruder fan, relocating it instead to the new duct. Use a drill to create some screw holes and secure the fan with sheet metal screws. Insert a fresh 40mm fan onto the extruder and connect wires providing steady 12V power directly to the fan for optimal temperature control inside the nozzle. Ensure this fan operates constantly rather than variably like it does originally from the factory, keeping internal temperature perfectly regulated.
With this file you will be able to print PrintRite DIY 3D Printer Fan Duct v2 with your 3D printer. Click on the button and save the file on your computer to work, edit or customize your design. You can also find more 3D designs for printers on PrintRite DIY 3D Printer Fan Duct v2.
