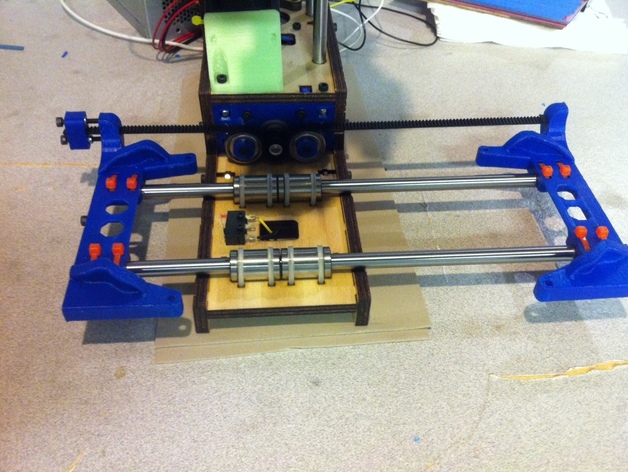
Printrbot Simple X upgrade.
thingiverse
Upgrade your X-axis to GT2 belt drive and enjoy a 165mm print area with the stock plate. A larger area is achievable with a custom one. Key prerequisites include a well-calibrated printer, ability to print 98x98mm (use "Orientated" files) or 125mm length (standard files). I installed the Y-Axis No-Sag upgrade first, then printed parts for this design inspired by ahaer. For stock bed, use 254mm long rods. Revisions include updated rod ends and belt slot thickness. To accommodate any length rod, add "RodEnd-Mirror-Mid.stl" at the edge of your bed and "RodEnd-Mirror-Overhang.stl" at the end of rods. Anchor the belt on the overhang portion for optimal tension. Assemble by threading the belt around the timing pulley, between bearings, and mounting motor plate before securing one end of the belt in a rod end part. Measure belt length, cut 15mm longer than marked point, fold, wrap around filament, and insert into the belt tensioner. Secure both rod ends with tie-wraps and adjust belt tension.
With this file you will be able to print Printrbot Simple X upgrade. with your 3D printer. Click on the button and save the file on your computer to work, edit or customize your design. You can also find more 3D designs for printers on Printrbot Simple X upgrade..
