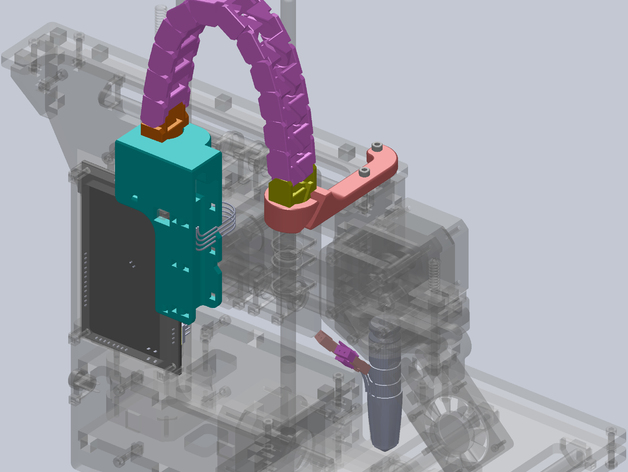
Printrbot Simple V2, Cable Management
thingiverse
To clean up cables for my extruder and hot end, I utilized existing bolt locations on the Y-axis and tie-wraps to the Printrboard frame. The cable setup allows movement in all three axes, so alignment isn't critical. It has been running smoothly for weeks. You will find my usual documentation included, which also lists electrical connectors for potential cable extensions. I borrowed a basic cable chain from RotoScan and improved it for better printing by adding a slot at the back for easy cable insertion or removal without having to fish it through the track. Your feedback, whether good or bad, is always welcomed and encouraged. On April 5th, RevA was released with an updated base mount to avoid Y-axis collision when fully retracted. Additional files were added on April 28th to allow extruder end mount bending of +/- 45 degrees. For printing the cable chain, groups of four should be printed with alternating orientations using a file provided for proper setup. Ensure that you clean and smooth mating surfaces of any printing debris before assembling TrackMountYTop, TrackMountYBottom, and BaseMount. There is no significant rotation required but cleaning these surfaces will allow them to rotate freely. A passage is also provided in BaseMount for fishing the fan connector back through, maintaining a tidy setup.
With this file you will be able to print Printrbot Simple V2, Cable Management with your 3D printer. Click on the button and save the file on your computer to work, edit or customize your design. You can also find more 3D designs for printers on Printrbot Simple V2, Cable Management.
