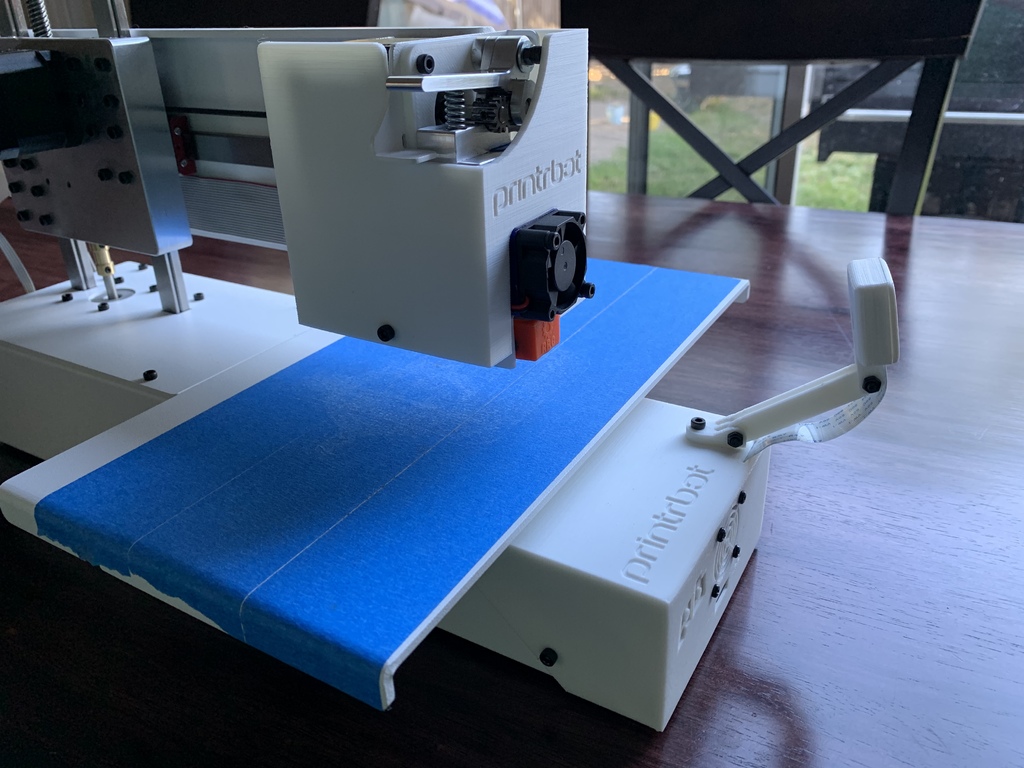
Printrbot Simple Pro Raspberry Pi Case
thingiverse
Replace your Printrhub with a Raspberry Pi! Run OctoKlipper and more in a fully enclosed portable printer. That's pretty cool, right? You'll need to solder power to the Raspberry Pi board. Two test points should be under the USB mini power plug. The stock power board can supply the 5V needed. Unless you're Houdini, you can only get two screws on, but it grips just fine. The G2 control board needs to be turned 180 degrees to place the USB port inside. Use a 90-degree A USB to a 90-degree B USB cord. A 30mm fan can be installed to either pull heat out or blow cool air in. Not sure which is best yet, but the duct should help either way. I added a spot to install a rest switch for the G2 board. Use a normally closed push button switch that interrupts the 5V power going to the bypass pin on the power board. Shout out to the folks who remixed parts for this project! Anoved, 3DKarma, and J741 get credit. It's a tight fit in there, but it works just fine!
With this file you will be able to print Printrbot Simple Pro Raspberry Pi Case with your 3D printer. Click on the button and save the file on your computer to work, edit or customize your design. You can also find more 3D designs for printers on Printrbot Simple Pro Raspberry Pi Case .
