Printrbot Simple Metal Y Axis Extension Plate 1403
thingiverse
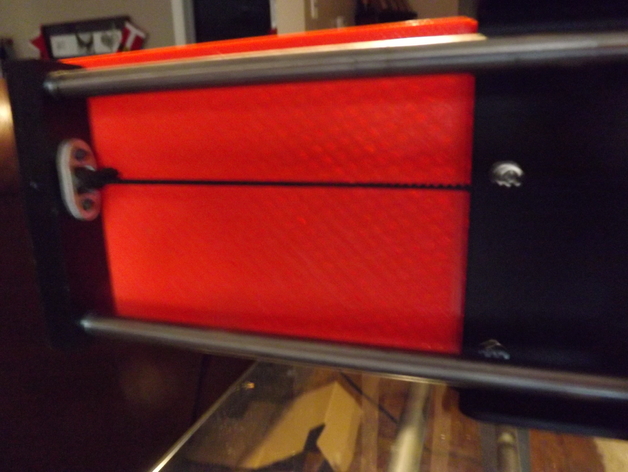
I made a plate to enhance my Build Volume Upgrade on the Printrbot simple metal 1403, allowing for about 290mm of travel on the Y axis. The plate bolts directly to the back of the arm, extending the mounting holes outward. To install it, you'll need longer 8mm polished drill rods and a GT2 belt measuring around 450 mm long. Use three M3 screws and bolts to secure it in place. I created this design as a mockup for a friend who plans to make an aluminum version for me, but the PLA print is working flawlessly so far. I added a 4-inch version based on a request. I also added a variant that uses 400mm rods instead of the stock 395mm length. Here are the instructions: Rod I used: The item I purchased was this one from eBay, which yielded the needed parts with a little excess left over. You'll require approximately 450 mm of GT2 timing belt. I recommend getting a three-foot piece and cutting it so that you have enough to use on the X axis if desired. After installing the rods and belt, set your new travel limits using the manual G-code entry feature: M208 Y290 (Sets 290 mm travel on the Y axis) M500 (Saves settings) M501 (Displays results). The M208 line should reflect the dimensions of your upgraded print area. If this is the only modification you're making to the stock simple metal, it should read: M208 X152.4 Y290 Z152.4. Adjust your printer and slicer program settings with the new Y axis bed size to start printing.
With this file you will be able to print Printrbot Simple Metal Y Axis Extension Plate 1403 with your 3D printer. Click on the button and save the file on your computer to work, edit or customize your design. You can also find more 3D designs for printers on Printrbot Simple Metal Y Axis Extension Plate 1403.