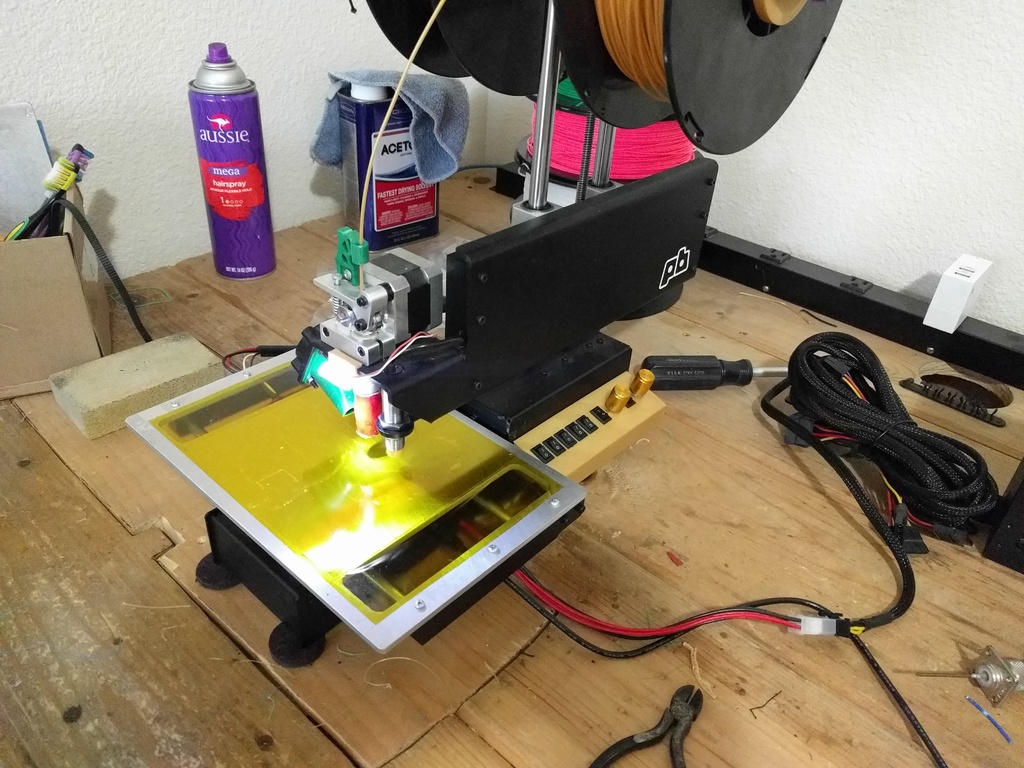
Printrbot Simple Metal LED Wiring Diagram + Control panel
thingiverse
I've included a wiring diagram along with all necessary files to print out this setup. The controller panel hangers must be securely attached to the frame in their proper positions using glue or epoxy. First, I printed the LED holder with support structures intact, then used a thin piece of double-sided tape to firmly attach it to my Printrer. Before gluing the control panel hangers into place, make sure you thoroughly shave and clean them up. If not, they can be too rigid and prone to breaking.
With this file you will be able to print Printrbot Simple Metal LED Wiring Diagram + Control panel with your 3D printer. Click on the button and save the file on your computer to work, edit or customize your design. You can also find more 3D designs for printers on Printrbot Simple Metal LED Wiring Diagram + Control panel.
