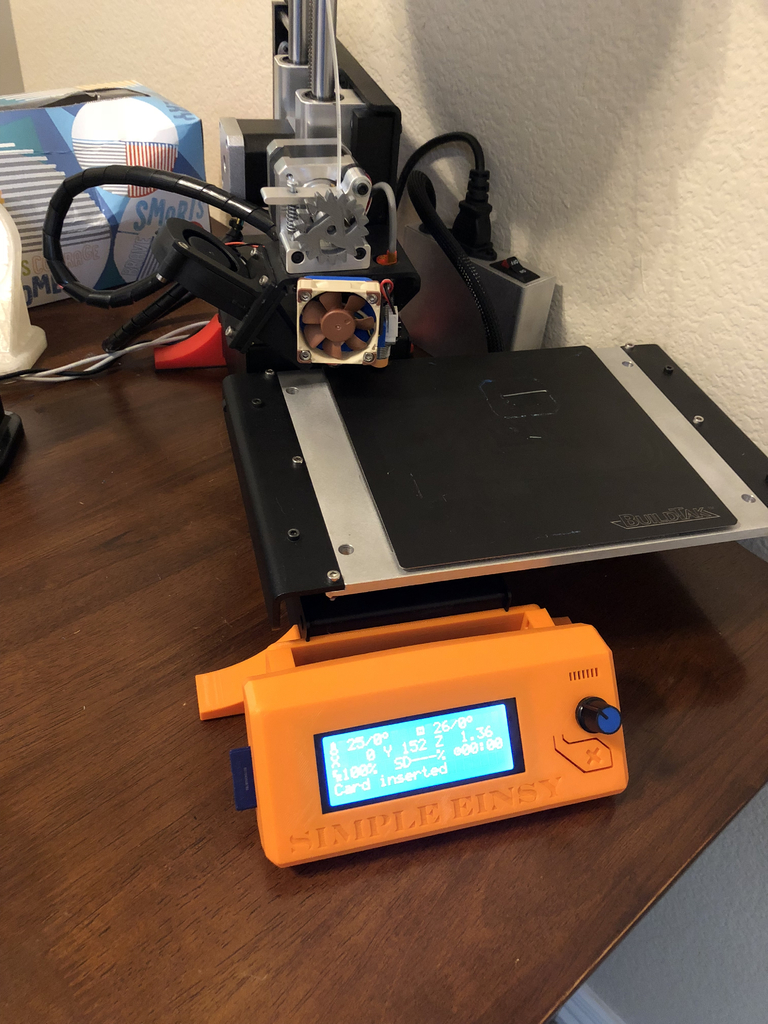
Printrbot simple metal adapter for an einsy rambo board.
thingiverse
After printing, you'll need 4 x M3 nuts that will be installed at the bottom of the plate. To attach the plate to the Printrbot's bottom, use 4 M3 x 10mm bolts; I designed them with countersinks to prevent electrical shorts with the new board. You'll also require 4 M3 x 15mm bolts to secure the EINSY Rambo board to the plate. Once complete, all wires will sit flush against the Printrbot's bottom, and the USB cable will be routed through the wire routing slot, preventing accidental damage to your USB port or LCD usage. Verify the polarity of the Pinta probe and steppers before powering up, and keep an eye on your wiring. I've included the Marlin code that got everything working; you might need to adjust your build volume and steps count, as I'm using 0.9 degree steppers, an 8mm 4-start lead screw, and a Super Z upgrade. The LCD mount is based on the Prusa MK3's design, and fan mounts are included for both the 50mm blower and 40mm fan. I've also used Noctua fans for the hot end. I've added Marlin 2.0 firmware setup files and implemented sensorless homing; you won't need to plug in your end stops except for the Z probe.
With this file you will be able to print Printrbot simple metal adapter for an einsy rambo board. with your 3D printer. Click on the button and save the file on your computer to work, edit or customize your design. You can also find more 3D designs for printers on Printrbot simple metal adapter for an einsy rambo board..
