Printrbot jr. z axis improvement
thingiverse
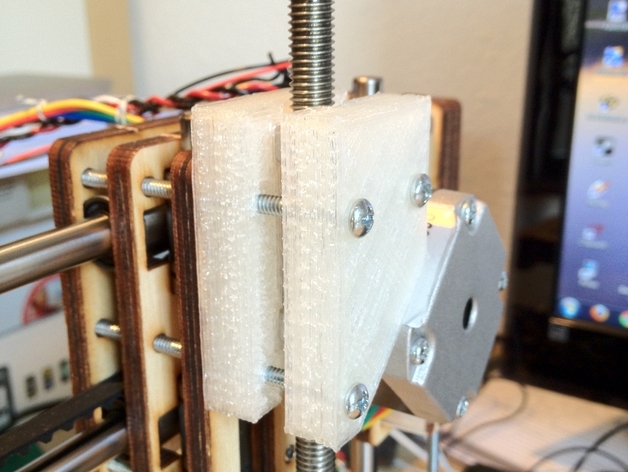
Replace z-axis nut holder in Printrbot Jr with a new bracket, reducing play. Includes M8 stainless steel threaded rod, two nuts, and a spring between them; brass nuts are ideal but stainless steel works fine too. Steps for installation include removing original parts, applying grease to threaded rod, assembling nuts and spring onto rod, and mounting brackets with screws. Don't forget to adjust your z-axis mm/revolution setting and use the provided Sketchup file to modify design if needed.
With this file you will be able to print Printrbot jr. z axis improvement with your 3D printer. Click on the button and save the file on your computer to work, edit or customize your design. You can also find more 3D designs for printers on Printrbot jr. z axis improvement.