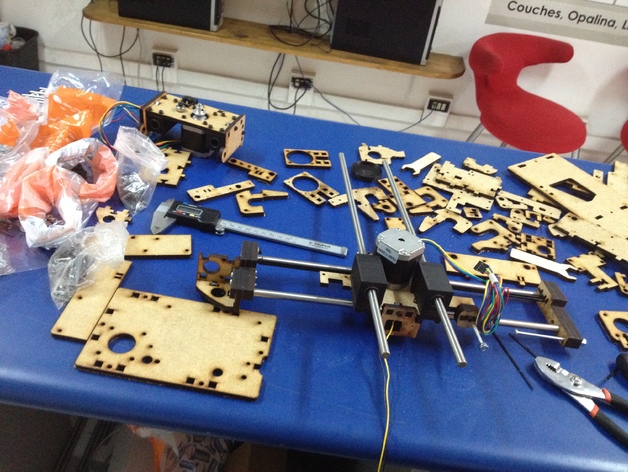
PrintrBot Jr v2 Bearing Blocks, Z Block and 8mm Spacer.
thingiverse
I Built My Own PrintrBot Jr Upgrade Parts - Here's What I Did When I built my PrintrBot Jr 3D printer upgrade, I faced two significant challenges: finding the correct files or designs for the aluminum blocks and locating the spacer. Determined to move forward with my project, I took matters into my own hands and created a customized version of these essential components. My upgrade package includes: * **8 mm Bearing Blocks (bearing sleeves):** These precision-crafted components ensure smooth and stable operation by reducing friction between moving parts. * **Z Block:** This critical component helps maintain alignment and provides a sturdy base for your print head. * **Custom 8mm Spacer for 608Z Bearing and Board Placement:** This versatile spacer can be used in various configurations, making it an invaluable addition to any DIY upgrade project. Upgrading Your PrintrBot Jr with My Custom Parts To ensure optimal performance from your upgraded printer, follow these step-by-step instructions: 1. **Install Bearings:** Gently push the bearings into their designated blocks, making sure they fit snugly for stability reasons. A light tap of a hammer can help guide them all the way in. For best results, insert one bearing per side. 2. **Insert Z Block:** Like the bearings, the Z block will fit tightly, so handle it with care. Gently tap each var until they are fully seated. With these custom upgrade parts and easy-to-follow instructions, you can enjoy a smoother and more reliable printing experience on your PrintrBot Jr 3D printer.
With this file you will be able to print PrintrBot Jr v2 Bearing Blocks, Z Block and 8mm Spacer. with your 3D printer. Click on the button and save the file on your computer to work, edit or customize your design. You can also find more 3D designs for printers on PrintrBot Jr v2 Bearing Blocks, Z Block and 8mm Spacer..
