Printrbot Jr Dial Indicator Mount
thingiverse
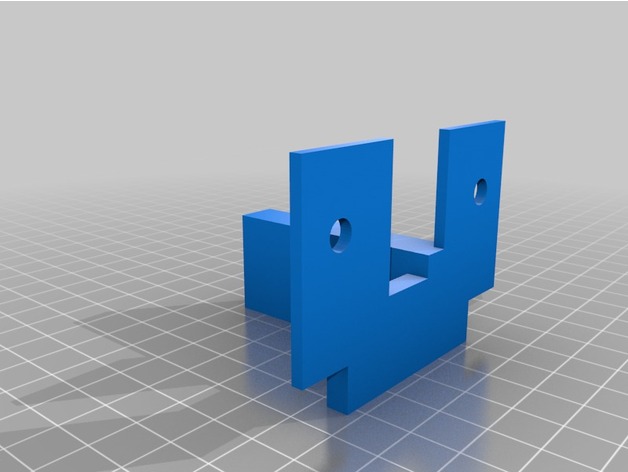
Mounting a Pittsburgh/HF Dial Indicator on a Printrbot Jr. Mounting a Pittsburgh/HF dial indicator to your Printrbot Jr requires some basic tools and a few simple steps. This will help you calibrate and fine-tune your 3D printer's movement accuracy. You'll need the following: - A Pittsburgh/HF dial indicator - A drill press or hand drill - A small metal rod (about 1/8 inch in diameter) - A piece of aluminum or steel plate (for mounting the rod) First, locate a suitable spot on your Printrbot Jr's frame for installing the dial indicator. You'll want to place it near the X-axis or Y-axis, as these are typically where movement accuracy is most critical. Next, attach the metal rod to the plate using screws or glue. This will provide a sturdy base for the dial indicator. Now, drill a hole in your Printrbot Jr's frame at the desired location. Make sure it's centered and aligned properly with the axis you're monitoring. Insert the metal rod into the hole and secure it with screws or glue. Ensure that it's firmly attached to prevent movement during operation. Finally, attach the Pittsburgh/HF dial indicator to the end of the metal rod using the provided clips or adhesives. Calibrate the dial indicator according to the manufacturer's instructions. By following these steps, you'll be able to accurately monitor your Printrbot Jr's movement and make necessary adjustments for optimal performance.
With this file you will be able to print Printrbot Jr Dial Indicator Mount with your 3D printer. Click on the button and save the file on your computer to work, edit or customize your design. You can also find more 3D designs for printers on Printrbot Jr Dial Indicator Mount.