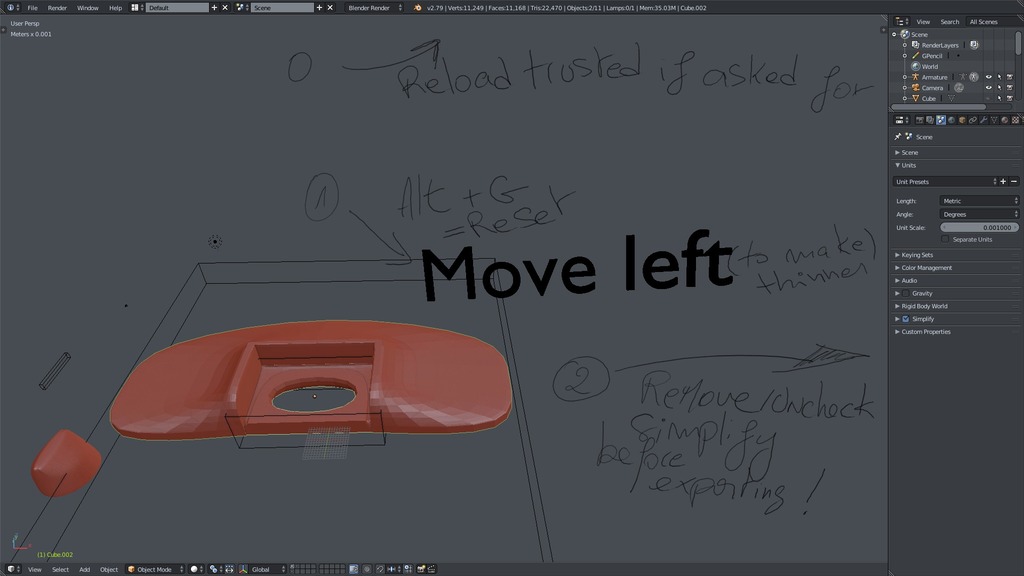
Printer easy stabilizer
thingiverse
To print even the smallest part of your project, you'll need four squash balls marked with two yellow points each. This is required to achieve a solid and complete design. The printing process demands this specific setup to yield the best results. For the larger parts, printing twice will do the trick - once for each side. This ensures that both sides are properly detailed and look great. One of my personal observations after experimenting with this method is that it significantly reduces the balancing act required during the printing process. The design holds up much better without wobbling or bending. If you find that your printed item is too tall, don't worry! You can easily adjust the height by using the included .blend file. This tool allows for precise modifications to meet your specific needs and preferences.
With this file you will be able to print Printer easy stabilizer with your 3D printer. Click on the button and save the file on your computer to work, edit or customize your design. You can also find more 3D designs for printers on Printer easy stabilizer.
