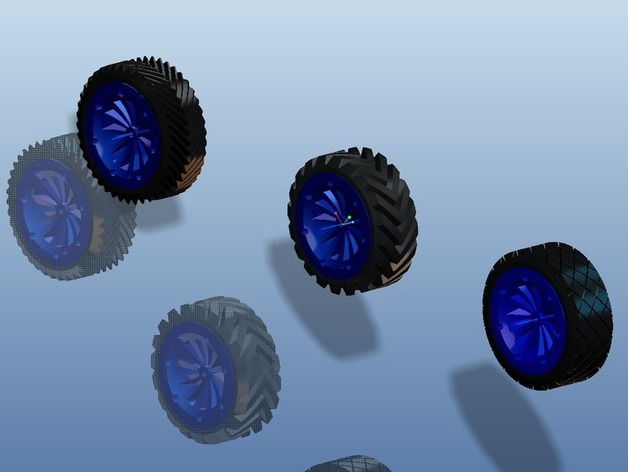
Printable wheel for rc cars with rim and mold for the rubber
thingiverse
Create the perfect print by setting the rim layer height at 0.2mm, as larger heights may cause issues with the rim's unique geometry. Use 70% or more infill for this part since it bears significant stress during races. For other components, use a 0.24mm or greater layer height and a 40% or lower infill. After printing the four needed mold parts and one or more rims, remove any clogs from the rim pattern using hands or a cutter. Ensure all pieces fit together; if not, sand them slightly. Verify the internal diameter with a meter to ensure it's a circle, not an oval. To mold rubber, gather materials: acetic silicone (choose color), cornstarch, powdered colorant (optional for transparent or white silicone), and carbon powder or toner (optional for enhanced friction resistance). Mix the silicone with cornstarch in a container, then apply the mixture to the rim using gloves. Install the mold parts, pressing firmly and allowing 1 hour before disassembling. Repeat for other rims; if your rim diameter is over 3mm, use adapters. For better details, refer to this link: http://www.instructables.com/id/How-To-Make-Your-Own-Sugru-Substitute/. Modify the base of the mold by making a hole in the center and using a shaft to center the rim. A new piece will be uploaded soon for those who have already printed; remove the plastic shaft and create the hole with a dremel.
With this file you will be able to print Printable wheel for rc cars with rim and mold for the rubber with your 3D printer. Click on the button and save the file on your computer to work, edit or customize your design. You can also find more 3D designs for printers on Printable wheel for rc cars with rim and mold for the rubber.