Printable Mario ? Block and Brick Light
thingiverse
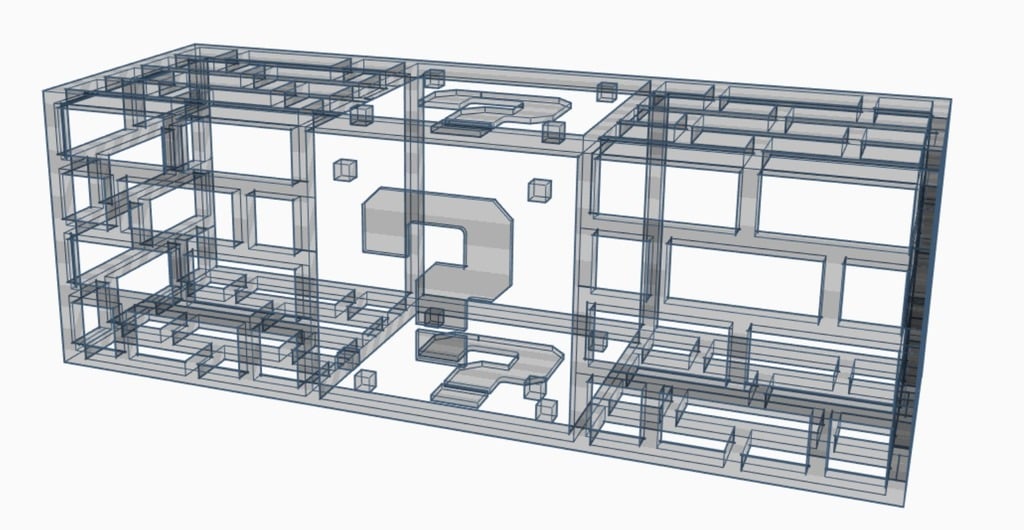
Human: NOTE: The ? included is the pixel version, not the smooth as the first two images suggest. The first two images were an old ? design and in the end I remade it pixel style so the final product looks more retro. Check out the 3d photo and you'll see exactly what they look like. This would be a complete disaster with supports so I simply laid it out in pieces. You can print this hollow design and glue it together fairly easily, I think. For the MINI You will also need 4 - opaque acrylic sheets - 38mm x 116mm (1mm thickness) 2 - opaque acrylic sheets - 38mmx38mm (1mm thickness) 1 - Superglue 3 - Wall mount stickers (optional) For the LARGE size 4 - opaque acrylic sheets - 138mm x 418mm (1mm thickness) 2 - opaque acrylic sheets - 138mmx138mm (1mm thickness) 1 - Superglue 3 - Wall mount stickers (optional) 1 - small sheet of sandpaper (if acrylic is too big) Additionally, you'll need 1 - Lantern Cord (If you don't know what this is see amazon) 1 - Lightbulb of your choice. LEDs are neat. OR 1 - Mini LED bulb w/ battery OR 1 - LED Strip w/ plug Notes - You can round up to the nearest 10 for the acrylic sheets and just sand it down until it fits. The key is simply that the windows are 100% covered, anything after that is excess. Instructions 1. Print 2. Glue acrylic pieces to each individual printed piece 3. Glue the ? and dots as desired, like the model depicts is the classic look and let dry 4. Glue the 6 complete printed pieces together. 5. Stick onto wall (optional) 6. Install lantern cord and light bulb 7. Enjoy!
With this file you will be able to print Printable Mario ? Block and Brick Light with your 3D printer. Click on the button and save the file on your computer to work, edit or customize your design. You can also find more 3D designs for printers on Printable Mario ? Block and Brick Light.
