Printable Gauge to set the plate - for Prusa Mendel
pinshape
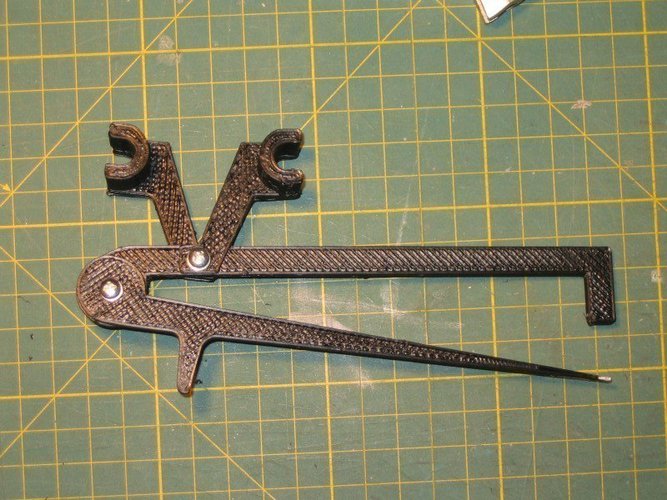
Set two level indicators in place quickly and easily using two key indicators. The 1 mm tilt indicator corresponds to a 0.17 mm height setting. Achieve an accuracy of 0.08 mm with ease. Instructions: Use two level indicators for this process. 1) Print two units. 2) Assemble the arms, securing them with two nuts on each screw. Note: Be cautious when handling the lower arm (indicated by an arrow), as it can move slightly and freely. Both indicators must show exactly the same value and be calibrated. Install one indicator at any point along the X axis, setting the X-axis height so that the arms of both indicators are parallel. Mark the level of each arm with a white pen and remove them from the X axis. Then, without making any adjustments, mount the second indicator in exactly the same location. Mark the level of its arm and remove it from the X axis as well. Now both indicators should show the same height. Leveling Plate Installation: Mount both indicators at opposite ends of the X axis. Move the Y axis and check the height at each corner of the plate.
With this file you will be able to print Printable Gauge to set the plate - for Prusa Mendel with your 3D printer. Click on the button and save the file on your computer to work, edit or customize your design. You can also find more 3D designs for printers on Printable Gauge to set the plate - for Prusa Mendel.