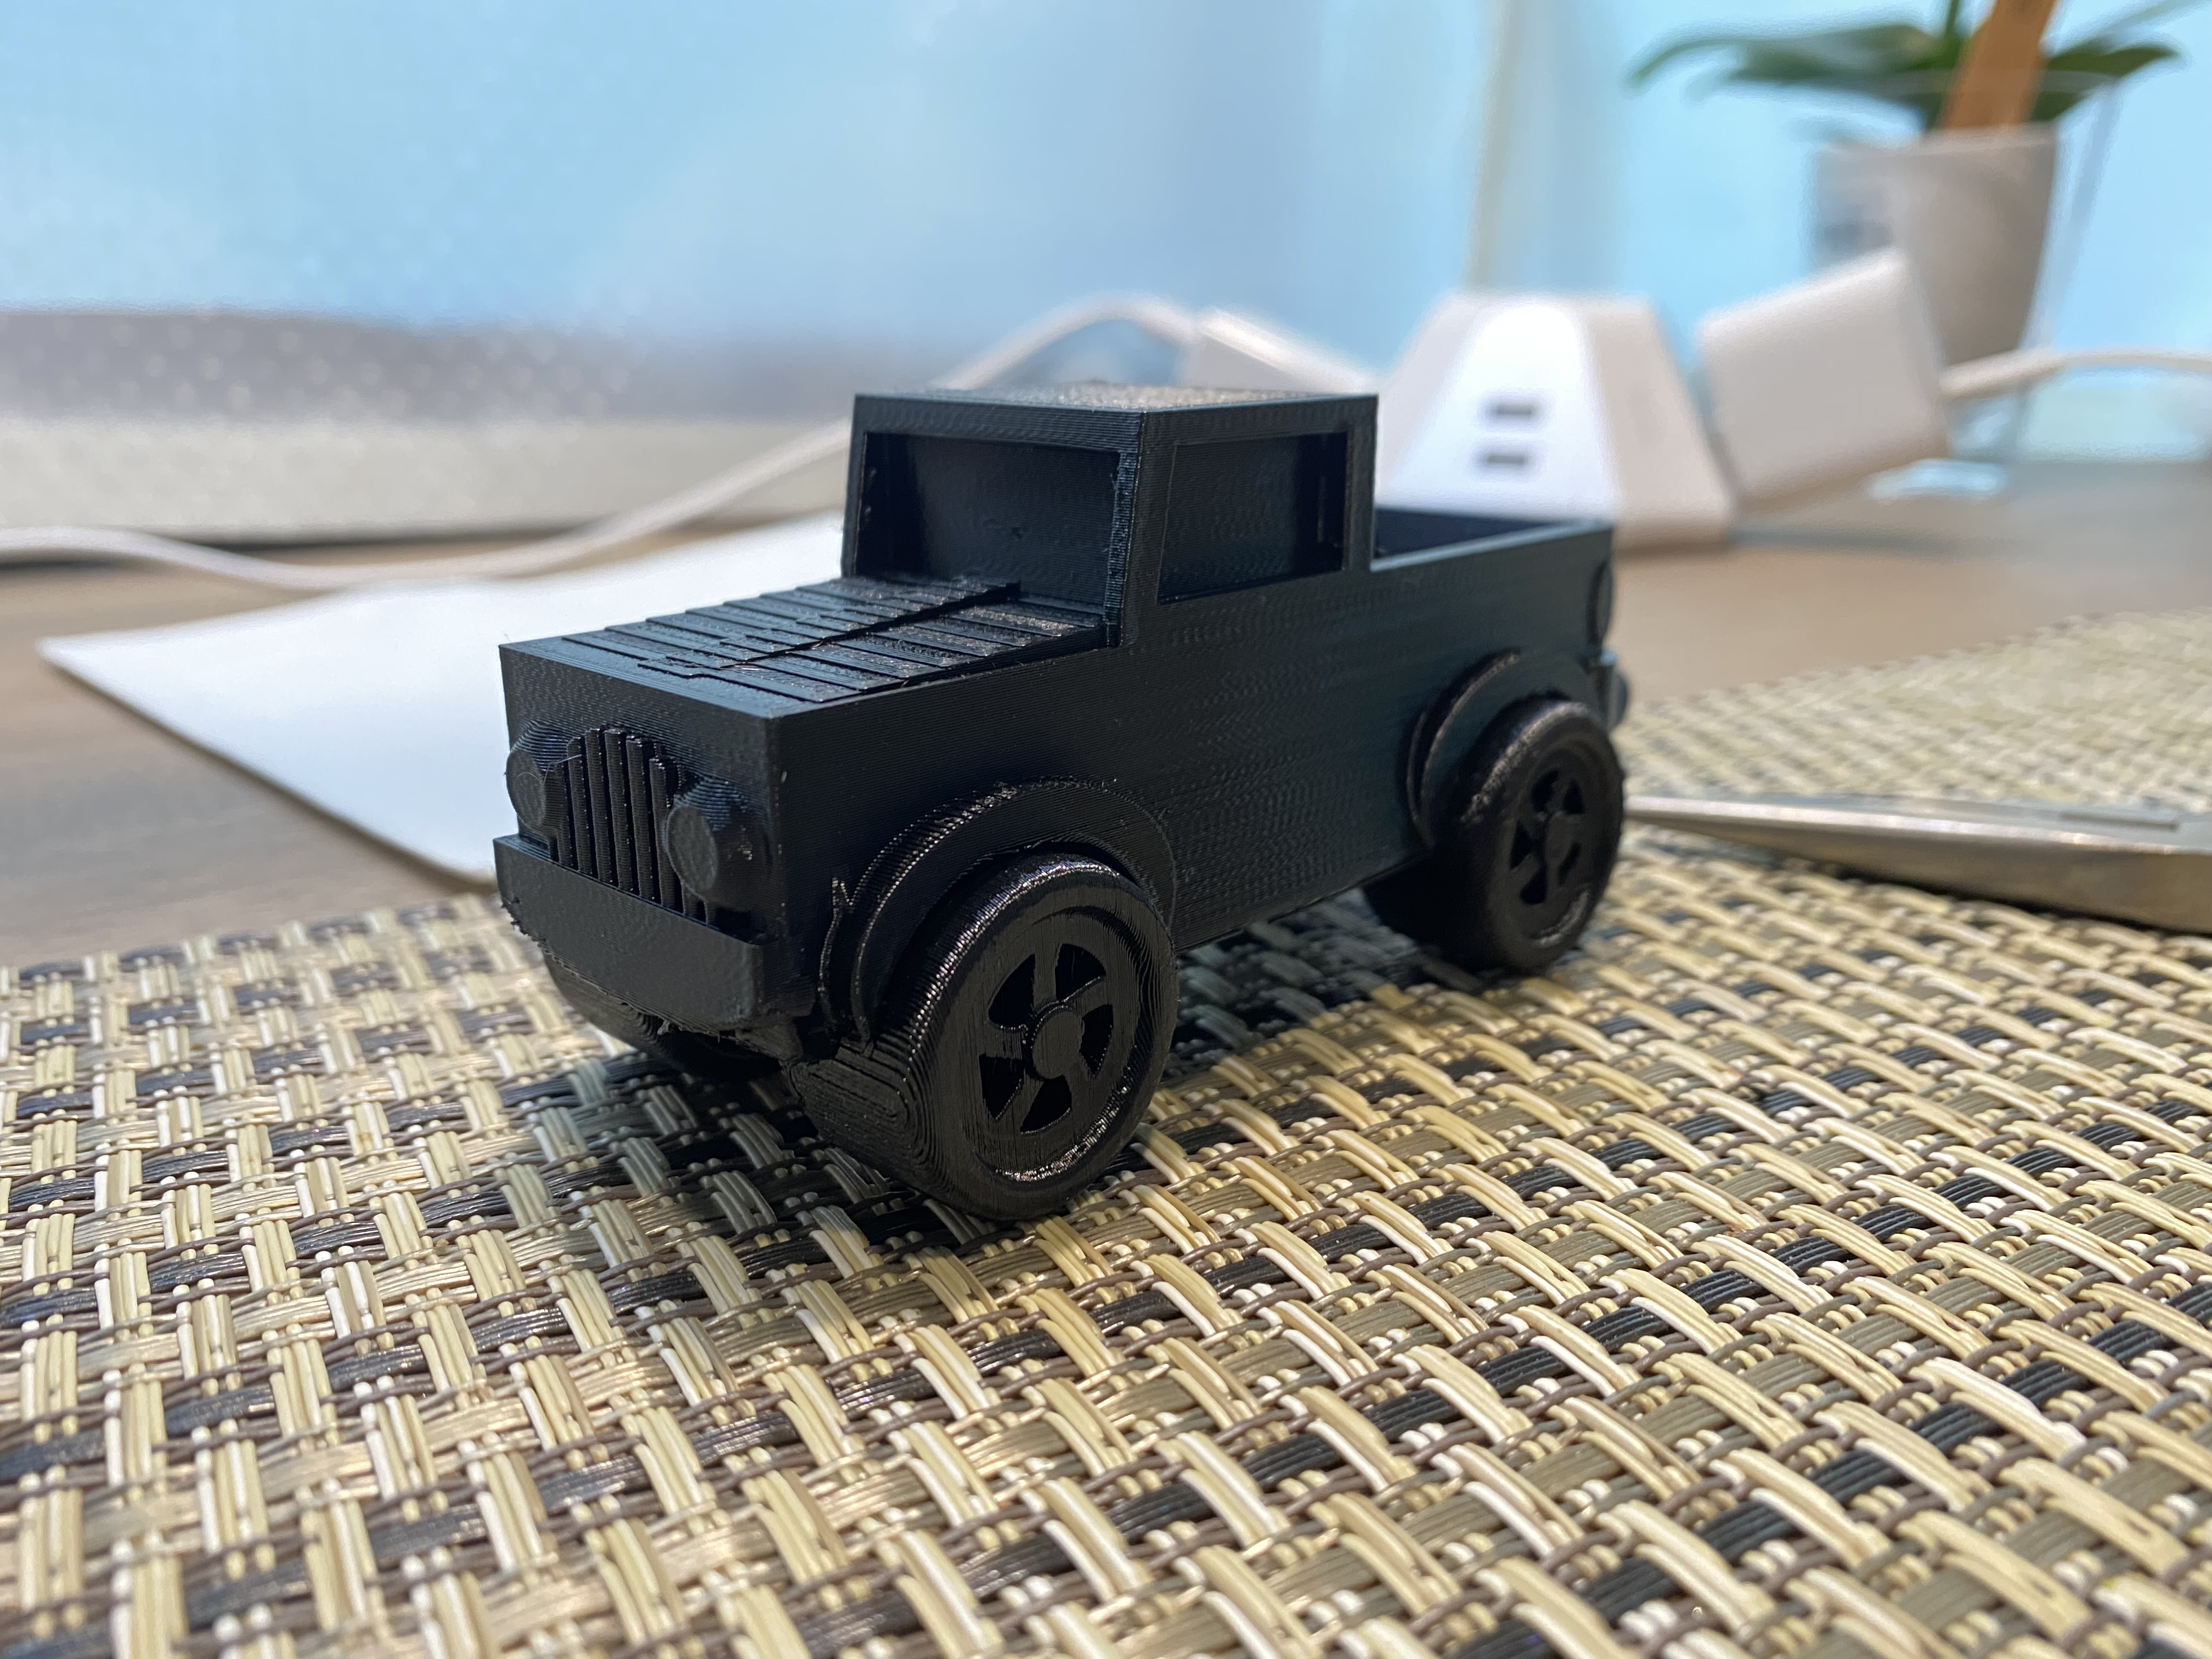
Print in Place Truck
prusaprinters
<p>A design for a print in place truck. I used supports from the build plate using PrusaSlicer with 5 perimeters to make the axle a bit stronger. When using Cura, I used a raft and tree supports to print it successfully. <i>(I apologize for the Ender logo in some of my pictures on the Prusa site.). </i></p><p><i>I'm using my Mini for PET-G and sliced it using the PET-G standard profile in PrusaSlicer. I used a .3 interface for the support material hoping it would remove easier. I was able to remove all of the supports with a razor knife and pliers. I had to work the knife all the way around the tire to get it to come free. You may want to paint on supports so that you can keep them away from the side of the wheel. If you want to build your child's tolerance for tedious tasks and along with their fortitude for finishing projects, then print this with supports on build plate and hand them the model, pliers, razor, bandaids, gauze, and tissues and let the life lessons begin. </i></p><p><i>When cutting out the wheel wells, I created some holes in the truck bed. We usually fix those with rivets and flattened soda cans, but you can also touch it up in your CAD program. I also have some gaps at the sides of the front windshield. I plan on using some epoxy putty before I paint, but this could also be fixed in CAD. </i></p>
With this file you will be able to print Print in Place Truck with your 3D printer. Click on the button and save the file on your computer to work, edit or customize your design. You can also find more 3D designs for printers on Print in Place Truck.
