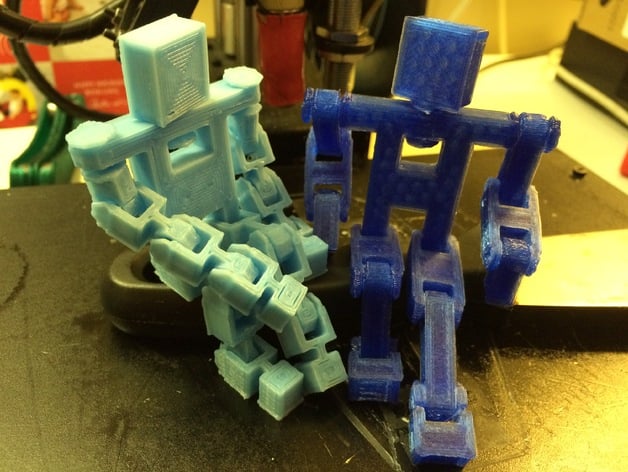
Print in Place Stick Man
thingiverse
I was eager to try out Print in Place since I figured out how to create a functional hinge, so I dove right in! Being Friday the 13th was just an added bonus (11-13-2015). The idea behind this project is that the robotic stick man can be printed without having to worry about assembly after printing. This way, it's easier and more convenient to print things with multiple joints, or what I like to call "Degrees of Freedom" (DOF). As an experiment, I decided to make a few variations on my design and create stick women with the same 13 DOF as their male counterparts, plus two extra for more movement in the shoulders. With these advanced females, there's now something for everyone: robotic companions with lots of flexibility! The trick to making this work is using your preferred light strength adhesive, such as blue painter's tape or maybe even a clear plastic spray (no hairspray though!), and gently removing one joint at a time after printing. This ensures that all the pieces stay together perfectly without any hassle. After plenty of trial and error – and don't worry, I've had my fair share of mishaps! – I've found out exactly how to create these amazing stick women with their smooth movements and fluid assembly. It's a testament to patience, dedication, and following your creative ideas through to completion.
With this file you will be able to print Print in Place Stick Man with your 3D printer. Click on the button and save the file on your computer to work, edit or customize your design. You can also find more 3D designs for printers on Print in Place Stick Man.
