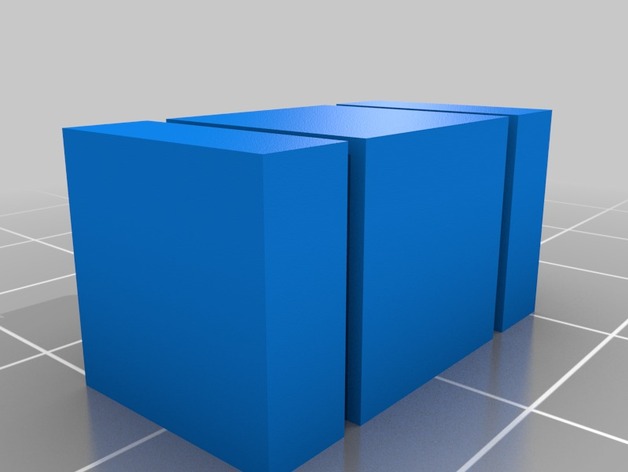
Print in Place Joint
thingiverse
I've stumbled upon a game-changer in Print-in-Place joints and hinges: bridging! I'm excited to share my discovery here. To make a bridge work its magic, all you need is a part with a cylindrical hole and some clever positioning. You see, what you do is take your printed part with the cylindrical hole and slide a cylinder through it, leaving just enough room for a tiny gap. Next, attach each end of the rod to a stable base. Your 3D slicer (I swear by Slic3r) will then spot that as a bridging job and handle it with finesse! With a perfectly formed bridge connecting your joint or hinge in mid-air, you've achieved the holy grail. Give this little experiment a go to convince yourself – no complicated thinking needed here. Just print it up!
With this file you will be able to print Print in Place Joint with your 3D printer. Click on the button and save the file on your computer to work, edit or customize your design. You can also find more 3D designs for printers on Print in Place Joint.
