Print Bed Lighting System
pinshape
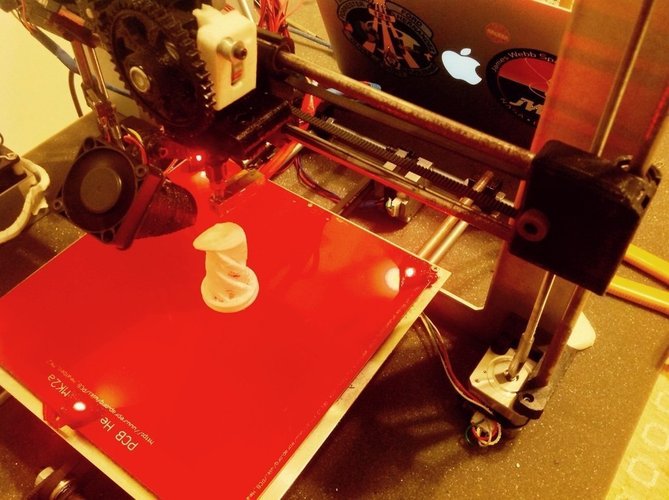
Watching prints in my dimly lit dining room is a real challenge for my eyes. So, I set out to light up my print bed with some creative solutions. My journey began with a desk lamp, but it quickly evolved into white LEDs and eventually seven color surround lighting. Along the way, I also designed a cover for the switching circuit and LED mounts. I'm using 5050 RGB LEDs, which allow me to mix colors in various ways: Red, Green, Blue, Cyan (Green + Blue), Yellow (Red + Green), Magenta (Red + Blue), White (Red + Green + Blue). Edit: January 14, 2015. I've added a schematic, BOM, and instructions to cater to the massive response within 24 hours of posting. Bill of Materials: Purchase: - Three RGB LEDs - Four 400 to 600 Ohm resistors - Four switches - Wires, solder, circuit board, etc. Print: - Three LED Covers - Electronics Cover Instructions: Once you've acquired or printed the necessary materials, it's time to wire the LEDs, resistors, and switches together. Check out the images above for a detailed schematic. My circuit design features a master power switch that lets me turn off the lights when natural lighting is abundant. Three other switches allow you to choose and mix each color (RGB) individually. Keep in mind that my power supply is delivering 12 volts to the LEDs, and each loop is drawing about 21 mA of current due to the 550 Ohm resistors. To ensure the longest LED lifespan, I recommend using a 400 to 600 Ohm resistor for each loop.
With this file you will be able to print Print Bed Lighting System with your 3D printer. Click on the button and save the file on your computer to work, edit or customize your design. You can also find more 3D designs for printers on Print Bed Lighting System.