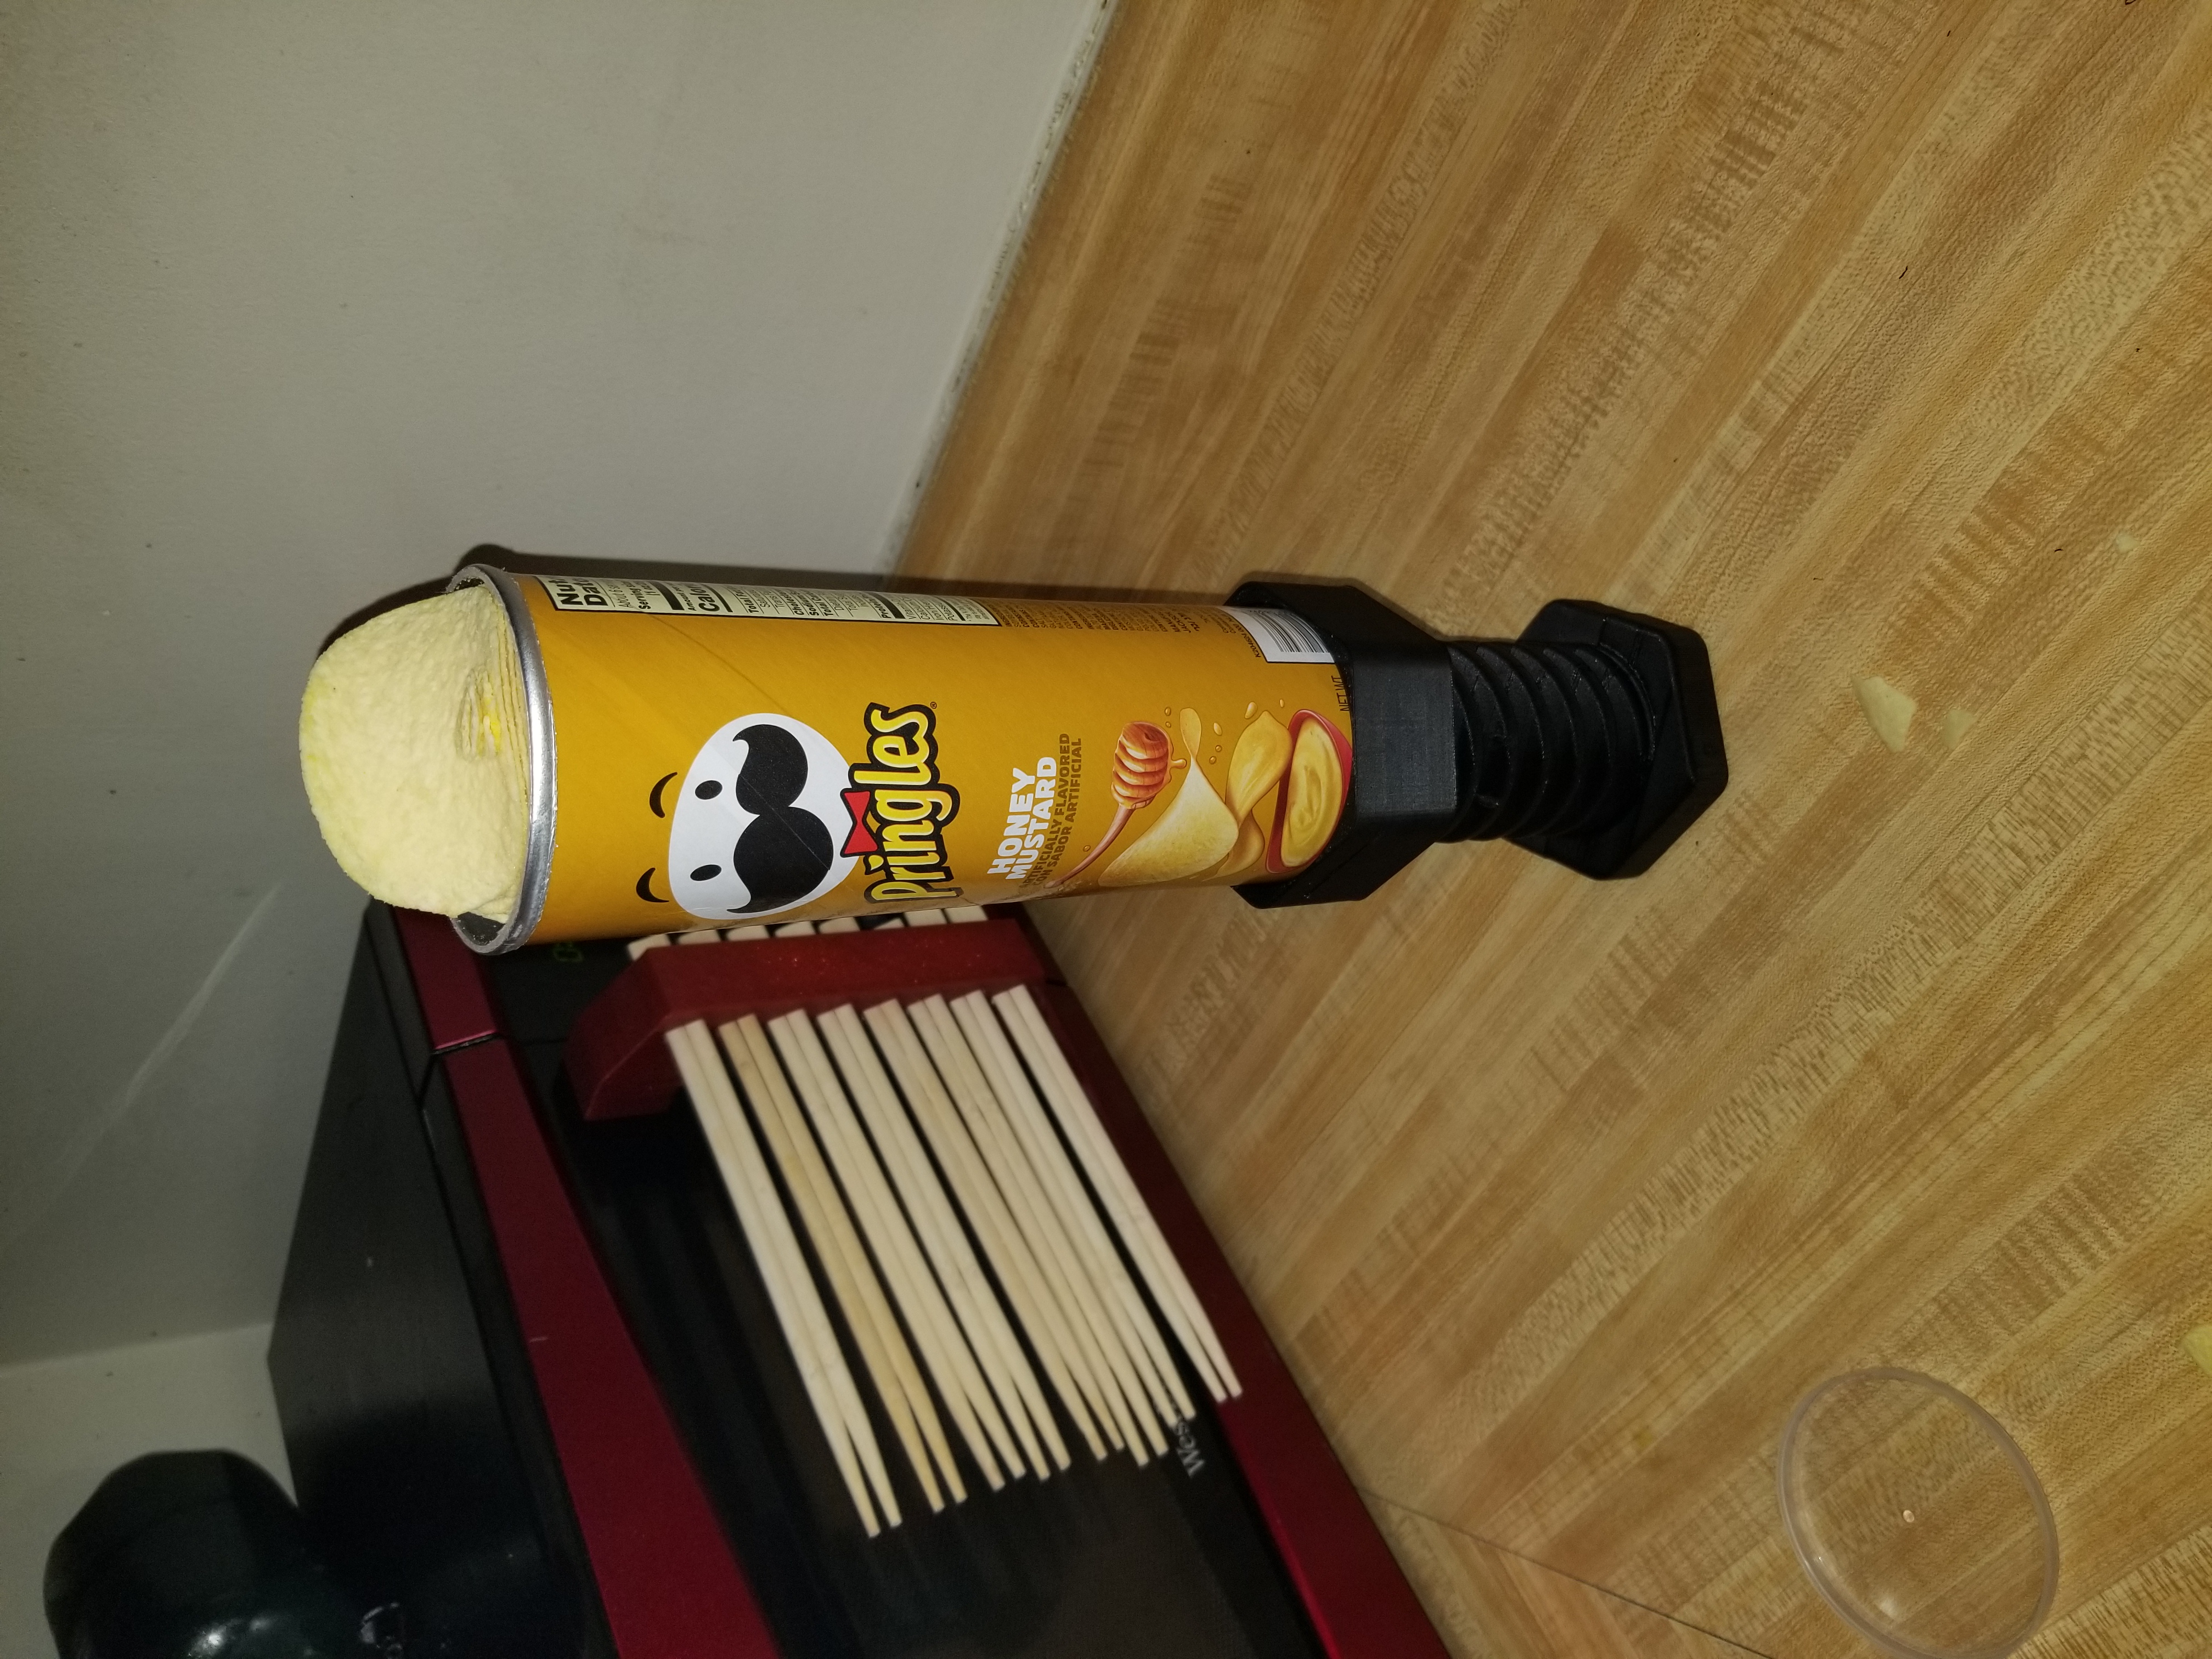
Pringles Dispenser
prusaprinters
<p>***Note - this has only been tested on Pringles manufactured in the USA (~74mm tube and 75mm bottom diameters). Check the diameters before printing. Cans manufactured in the Philippines and sold in Australia may have a different diameter. </p><p> </p><p>Sometimes you'll scroll across a meme, and think “yeah, this is what the world needs today”, and actually get around to crashing your computer with Fusion 360 until it's done. Don't let your memes be dreams.</p><p> </p><p>Video demonstration (subtitles for clarity): <a href="https://youtube.com/shorts/1hgz_ewOJyk?feature=share">https://youtube.com/shorts/1hgz_ewOJyk?feature=share</a></p><p> </p><p>I strongly recommend printing the screw in two halves, but if you're feeling bold, I included the whole screw, which is pretty much a continuous bridge. If you're feeling even more bold, I also included the f3d and step files so you can fix that. I'd love to see some remixes. I included 11 holes for screws, but I got away with 5 in the demonstration video (bent my driver extension in excitement), and it felt pretty solid.</p><p> </p><p>BOM:</p><p>1 can of pringles</p><p>1 cutting tool (designed for a Stanley 11921A blade, but any box cutter or small knife should work)</p><p>11 m3x16 cap head screws (or fewer, as mentioned above)</p><p>1 desire to expand your consciousness </p><p> </p><p>Printing instructions:</p><p>I used Inland black PETG, because it was the cheapest PETG I own. Even with a .3mm layer height, and a default extrusion width of 0.5mm, and infill width of 0.8mm, 20% gyroid infill, 3 perimeters it's a fairly long print, clocking in around 14 hours with an average speed of 87mm/s in a custom profile. The threads are a mess when printed vertically, but I opened up the nut a bit so you can add some supports. The print I demonstrated with had no supports, and while it was ugly, it worked. Just tune your bridging as best you can. </p><p> </p><p>Operation instructions:</p><p>The interior ring is spaced just right to make this work. Flip the can over so the aluminum side is up, and press down fully until you can see carboard through the blade hole. Insert the blade (you don't have to be too careful about the penetration depth, it's just empty space inside the blade diameter at this point), and rotate the can into the blade edge until the bottom is removed. Remove the nut, and take the can bottom out. Now, you can place the nut back on the raw carboard edge, and push down firmly, so the tube seats between the inner ring, and the inner wall of the nut. This is a friction fit that holds surprisingly well. Now, insert the screw, and give it a few turns so it's firmly seated, but not too far so you don't crush the crisps. From here, flip the can over, open the lid, and advance the screw until the crisps are easily accessible. Repeat screw advance as needed. Once the can is empty, it easily pulls out of the nut. Remove the screw, and you're ready to crack open another can. </p><p> </p><p>Assembly notes for the split screw:</p><p>The screw hole at the end of the bolt threads is on the opposite side. Thread this hole first to make hole alignment easier for the rest of the holes. A clamp to hold the two sides together is very useful, but if you don't have one, threading on the nut will help hold it steady while you get a few screws threaded. Feel free to use longer screws if you're running short on the 16s, as long as the end of the screw doesn't land in a thread root on the bolt. </p><p> </p><p>Have fun.</p>
With this file you will be able to print Pringles Dispenser with your 3D printer. Click on the button and save the file on your computer to work, edit or customize your design. You can also find more 3D designs for printers on Pringles Dispenser.
