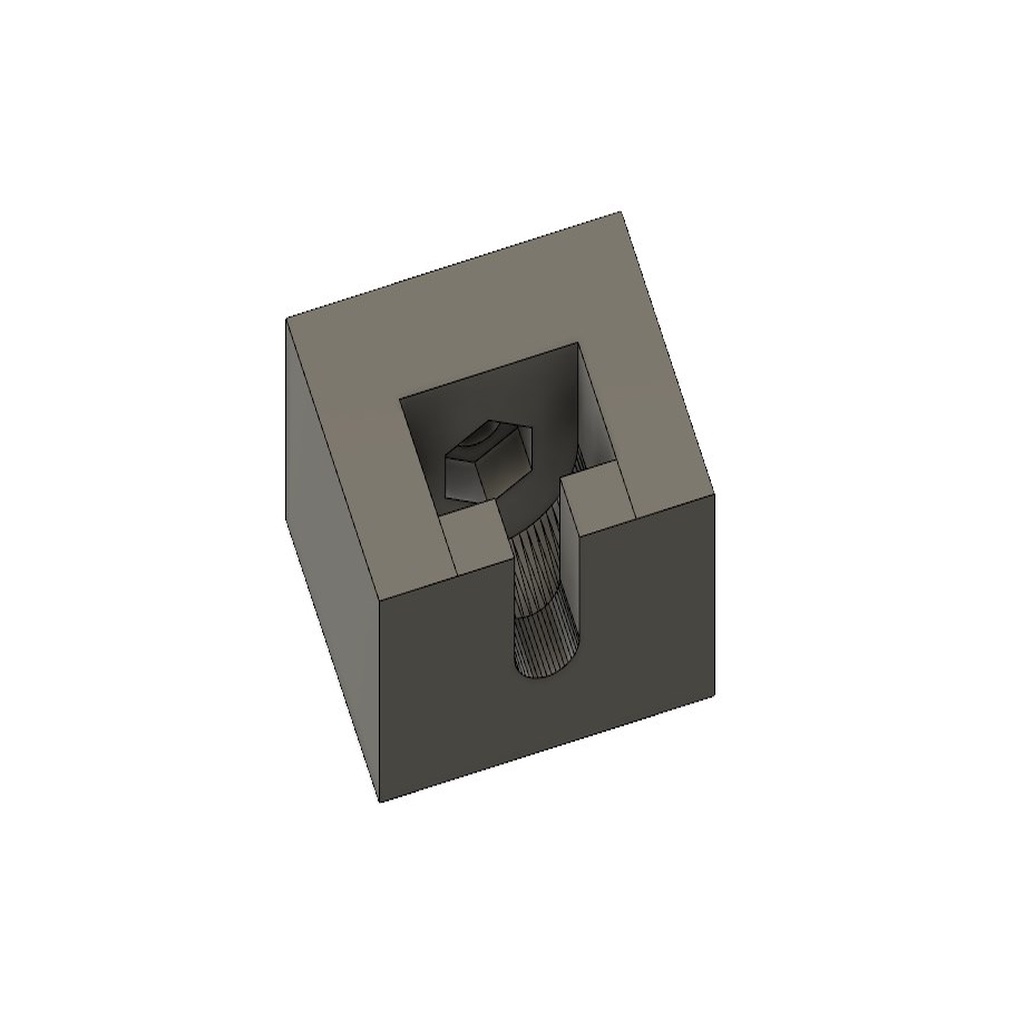
Press Fit Pulley Extractor for m5x20
thingiverse
Hi there, I only had a M5x20 screw on hand, so I made some modifications to get rid of wasted space and make it work. To insert the nut, simply position it roughly where it belongs and then hammer it into place with the screw flipped over. Regarding print settings, don't fall for the 100% infill hype - I'd recommend adding more shells instead, as this will actually make the part stronger. In Cura, I set my wall line count to six and top and bottom to five while using a 70% infill rate. You could probably go lower, but I wasn't there to experiment. I printed this with a 240° angle to help layers bind better together, and also used a 0.32 layer height for the same reason. To align it correctly, simply make sure the pulley is fully seated and you're good to go.
With this file you will be able to print Press Fit Pulley Extractor for m5x20 with your 3D printer. Click on the button and save the file on your computer to work, edit or customize your design. You can also find more 3D designs for printers on Press Fit Pulley Extractor for m5x20.
