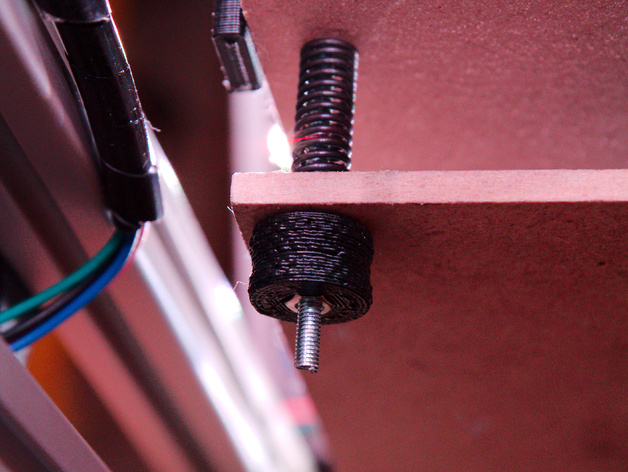
Precision Table Adjustment
thingiverse
This text provides a detailed guide to modify the Y-table of your printer. First, print out part 4 and thumbscrew 8 times. Then gather screws - 4 m3x50, 4 m3nylock or 4 m3x50 with hex head, 8 m3nut, and 4 springs. Disassemble the current table before assembling the new adjustment using the provided images. Finally, adjust the height of the table according to your needs. Enjoy the improved functionality!
Download Model from thingiverse
With this file you will be able to print Precision Table Adjustment with your 3D printer. Click on the button and save the file on your computer to work, edit or customize your design. You can also find more 3D designs for printers on Precision Table Adjustment.
