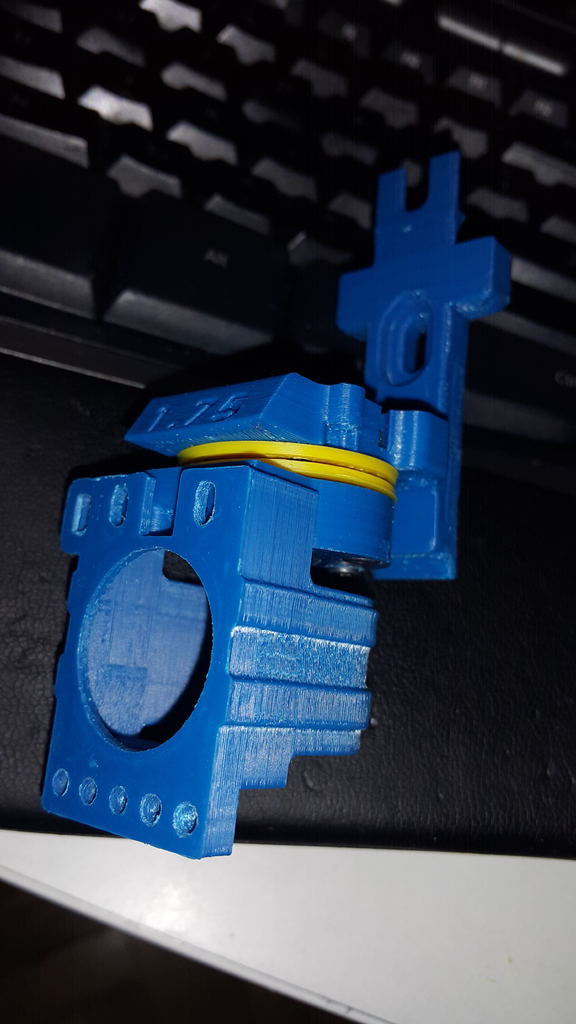
Precision Piezo for Modular X-carriage Flex3Drive module
thingiverse
Piezo disk assembly for the flex3drive module specifically designed to be used with Modular X-carriage and Precision Piezo electronics and disk. The following steps outline the assembly process: 1. Print the required components including the flat ring (20mm piezo disk holder.stl) that secures the piezo disk. 2. Place the flat ring directly under the Flex3Drive-xxx.stl component. 3. Insert the cone (20mm piezo disk cone.stl) into place. 4. Complete the assembly of the module by attaching the hotend clamp from flex3drive, shroud and other components.
With this file you will be able to print Precision Piezo for Modular X-carriage Flex3Drive module with your 3D printer. Click on the button and save the file on your computer to work, edit or customize your design. You can also find more 3D designs for printers on Precision Piezo for Modular X-carriage Flex3Drive module.
