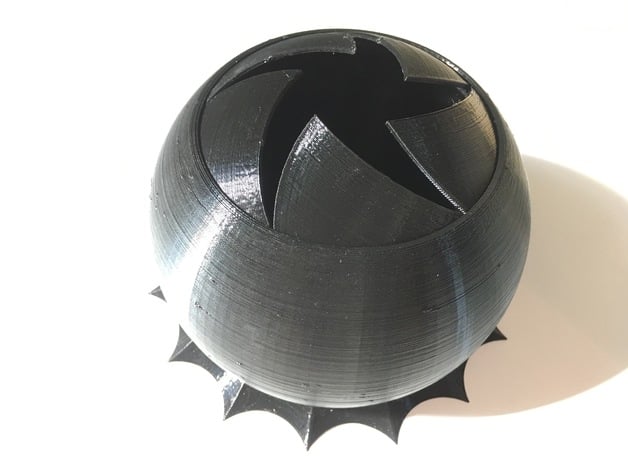
Preassembled Iris Box
thingiverse
I've been eager to create a non-planar preassembled mechanism for quite some time now. But it took Prot0typ1cal's impressive Venus Box design to spark my creativity and guide me on what to build. That design is truly beautiful, yet the more I thought about it, the more I became convinced that it should be possible to print without requiring assembly. Combining the spherical box idea with my earlier iris box concept led to this design. You can see how it functions and learn how to free it up after printing here: https://youtu.be/-m8uWz-qf7Y Print Settings: Printer Brand: Printrbot Printer: Simple Black Rafts: No Supports: No Notes: I left 0.3mm of space between the moving parts. If that's not enough, you may need to calibrate your printer a bit. Common mistakes include having the temperature set too high (which causes strings), using filament diameter that is too small in the slicer (resulting in overextrusion) or loose belts (which leads to positioning inaccuracies). The first layer will also have to be quite accurate, as it needs to stick enough to keep the leaves in place but not so squished that everything fuses together. As anyone who prints my designs knows, these are not for the faint of heart, so don't feel discouraged if it doesn't work on the first try. How I Designed This: Believe it or not, almost every part of this design adheres to the 45-degree rule, which is why it prints well without supports. If you open this with a program like 3D Builder, you can separate the pieces and see how the internal mechanism is designed. You can also open the source file in OpenSCAD, as it includes an animation of approximately how the pieces move (I'd recommend lowering $fn to 30 so that it doesn't take forever to load).
With this file you will be able to print Preassembled Iris Box with your 3D printer. Click on the button and save the file on your computer to work, edit or customize your design. You can also find more 3D designs for printers on Preassembled Iris Box.
