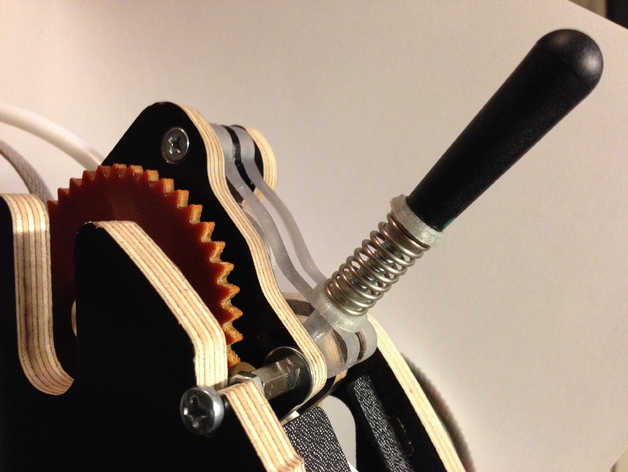
POWERWASP simple extruder upgrade
thingiverse
This pressure plate features a spring for consistent filament feed regardless of thickness. Watch it in action during fast retractions at http://youtu.be/HMMkCDL2KWM. Detailed instructions are available on my blog: http://mcmos.wordpress.com/2012/12/12/power-wasp-extruder-upgrade/. You'll need a 11mm diameter spring, an M5 bolt longer than 7cm, and two printable caps. Cut the head of the bolt to create a 6cm long thread, cut a 3.5cm long piece from the spring, print the caps, replace the original retainer with your new, longer screw, and thread the lower cap, spring, and upper cap. Finally, reattach the original retainer and enjoy the improved performance.
With this file you will be able to print POWERWASP simple extruder upgrade with your 3D printer. Click on the button and save the file on your computer to work, edit or customize your design. You can also find more 3D designs for printers on POWERWASP simple extruder upgrade.
