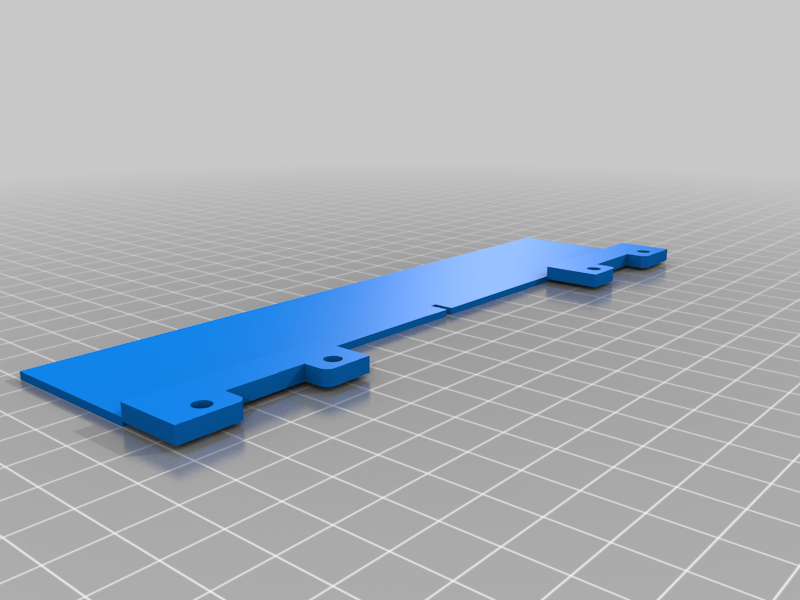
PowerBook 100 series hinge fix
thingiverse
By popular demand, I've created a hinge fix for the PB100 series. Based on my successful PB170 design, it should work seamlessly on both 140 and 170 models, although I'm unsure about its compatibility with the PB100. I've posted the text and link to the discussion in the 68kmla forum for further information. https://68kmla.org/forums/index.php?/topic/59666-powerbook-540c-hinge-restoration-success/ After weeks of effort, I've finally completed the PB 100 series hinge fix. This project has proven more challenging than my previous 500 series design due to a few technical issues, which forced me to reprint the part multiple times. Some key considerations: Unlike the 500 series, the display backpanel on the PB100 isn't flat. To ensure proper alignment and prevent the screen from shifting when the lid is closed, I've made it essential to glue the 3D printed part to the case. I'm still waiting for the right adhesive, but once applied, this fix should eliminate any gaps between the two cases. The part requires a precise fit on a two-leveled surface, with a 1mm gap in between. To achieve this, I've included a 1mm support under the hinge area, which can't be printed with PLA without compromising its integrity. In contrast, ABS is an ideal material for this project, as it's easy to remove supports and provides a strong bond when glued to the case. Regarding the threads: I've reused the original thread inserts, allowing me to use the same screws. However, I've inserted them in reverse, with the thicker part facing the case. This design reduces the risk of the screw coming loose over time. To ensure a tight fit, I recommend using a vice when possible. If you don't have access to a vice, be cautious not to bend or damage the plastic threads during insertion. Using this system minimizes the tolerance in the print, reducing the likelihood of thread misalignment with the hinges. Fortunately, my printer is quite accurate, and I didn't need to make any adjustments before printing. To achieve similar results, ensure your printer doesn't distort any dimensions, as this can impact the quality of the print. You can find benchmarking tools on Thingiverse to measure distortion and adjust your printer settings accordingly. That's all for now. Check out the link to the thing on Thingiverse and browse through some photos showcasing the process, where you can see the details I've mentioned above in action.
With this file you will be able to print PowerBook 100 series hinge fix with your 3D printer. Click on the button and save the file on your computer to work, edit or customize your design. You can also find more 3D designs for printers on PowerBook 100 series hinge fix.
