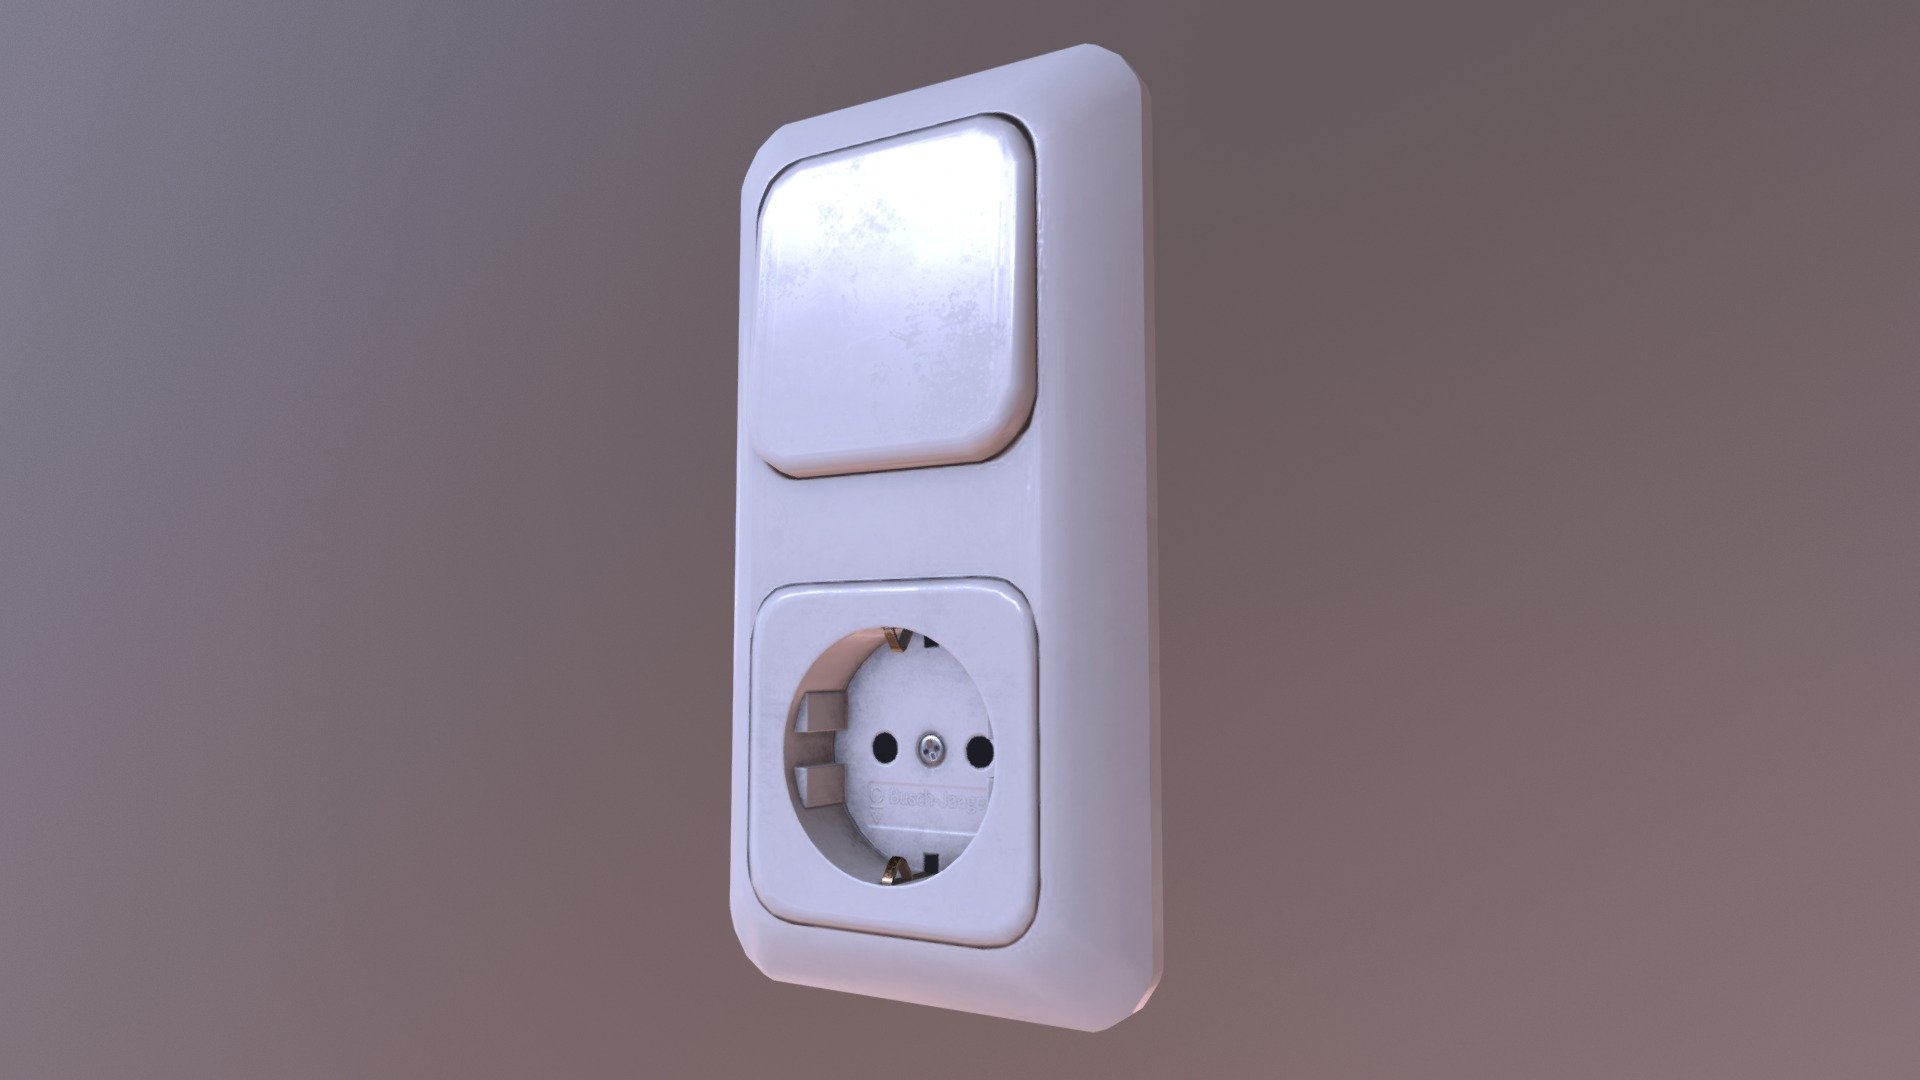
Power Socket
sketchfab
A DIY Enthusiast's Dream Come True: The Customizable Power Socket Crafted with Precision in Blender and Substance Painter. In this tutorial, we'll delve into the world of 3D modeling and texturing as we bring to life a simple yet functional power socket from scratch using the powerful tools of Blender and Substance Painter. The project begins with setting up our scene in Blender, where we create a new project and import the necessary materials for our model. We then move on to creating the basic shape of the power socket using Blender's intuitive mesh modeling tools. With our base shape established, we can now focus on texturing our model using Substance Painter. This 2D painting software allows us to add intricate details and realistic textures that bring our power socket to life. From subtle shading to fine surface details, we'll explore how to create a visually stunning texture that complements our 3D model. Throughout this tutorial, you'll learn the ins and outs of Blender and Substance Painter as we work together to craft a custom power socket that's both functional and aesthetically pleasing. Whether you're a seasoned artist or a beginner looking to dive into the world of 3D modeling and texturing, this project is sure to engage and inspire. Join us on this creative journey as we push the boundaries of what's possible with Blender and Substance Painter. Let's get started!
With this file you will be able to print Power Socket with your 3D printer. Click on the button and save the file on your computer to work, edit or customize your design. You can also find more 3D designs for printers on Power Socket.
