Potentiometer Planetary Reduction Drive Knob
prusaprinters
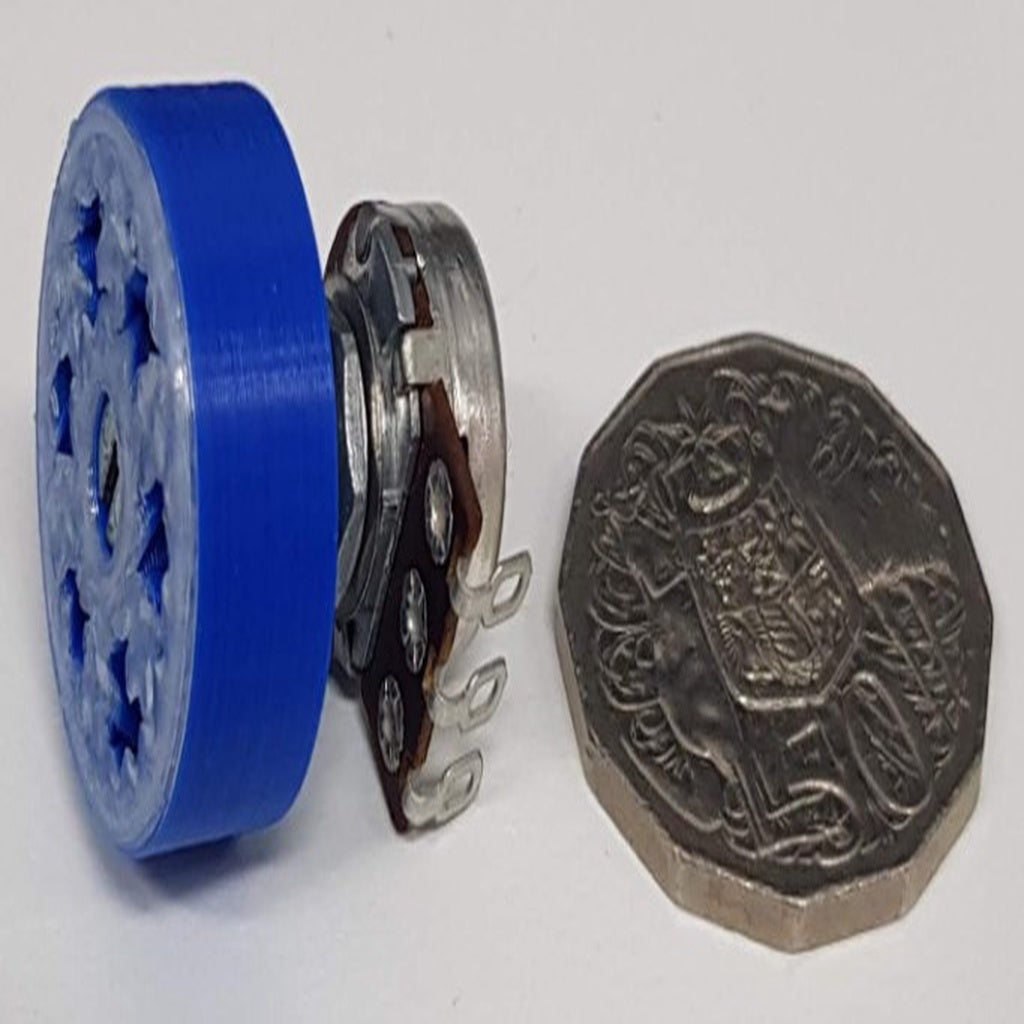
<p>A different take on the compound planetary gearbox. This time, we use split sun gears, synchronize the ring and planet gears. One sun gear will be fixed to the threaded shaft of the potentiometer (or some kind of tuning capacitor), the other to the knurled dial. The input will be the outer ring.</p> <p>This might be useful for Arduino analog inputs or ham radio tuning.</p> <p> <figure class="media"> <oembed url="https://youtu.be/32HHkyQ1MCM"></oembed> </figure> </p> <p>By stretching the rules and circumventing the R=S+2P constraint, many possible gear ratios up to 100:1 are possible from the usual planetary arrangement. The provided sample is 16:1, which should be practical given tolerance, backlash and Arduino sampling resolution.</p> <p>Note: The customizer will not take just any values. Several constraints must be satisfied. I have compiled a sample of possible combinations in this <a href="https://docs.google.com/spreadsheets/d/12aYCHHGVahjbIu21Ix0mpmor-ldebmyBSsCOzph3iyE/edit?usp=sharing">google sheet</a>. I'll post a writeup of the mathematics at some stage, but it is contained within the scad source.</p> <p>Also note that there should be a one-layer gap between the sun gears after slicing so that they are able to be separated after printing. A default layer height of 0.2mm is adjustable in the customizer if necessary. Otherwise it should print in place fully assembled. Better to over-extrude slightly so that the gears stick together initially but can still be cracked apart cleanly - this will help reduce backlash. You don't want the gears to rattle straight off the printer, they will loosen up fairly quickly as the gears are worn in.</p> <p>A decorative cover plate could also be glued on to the ring gear if desired.</p> <p>Suitable potentiometers will require a decent threaded length on the shaft to fit the gear allowing extra for mounting. 18mm guitar pots seem to be a good size.</p> <p>My favorite configuration thus far is GearedPotDial30mm4x5x6.stl. A compact 30mm knob diameter, 4/5 teeth on 6 small planet gears. The gear ratio results in about 10 full turns in the same direction as the shaft.</p> <p>Update: Herringbone gears keep things together, but it is not required on both layers as the potentiometer will hold the sun gears together. In fact we could probably get away with a single helical layer for each sun gear, but I suspect this will create some undesired axial force. This also allows the threaded sun gear to be printed and assembled separately, greatly simplifying the process.</p> <p>UPDATE: We're not done yet. After attempting non-helical gears for one layer, I discovered another function helical gears serve: smoothing rotation. When we have straight cut gears, all the peaks and valleys coincide, giving a very "lumpy" feel as the gears rotate and the teeth pass the perpendicular. With helical or herringbone gears there is always a peak engaged somewhere at all times.</p> <p>We should be able to live with the axial load this introduces (by not using herringbone on both layers, but with helical gears instead). I am keeping one layer of herringbone to hold the gears in position. They would be a pain to assemble otherwise (see the assembly of thing:2375916, and his gears are numbered with orientations). If we instead only used helical instead of herringbone, the whole thing could be printed separate and held together by only the potentiometer, but the teeth will only align in one particular arrangement and be a nightmare to align. Plus, the length of the turning shaft is usually not a constraint.</p> <h3> Post-Printing</h3> <p><p class="detail-caption"><strong>SIM card tool is a perfect fit to temporarily secure top gear</strong></p> <div><p>Using the mechanical advantage of the gearbox to thread itself onto the pot. If the fit is too tight, you can damage a cheap potentiometer by putting too much force against the end stop - it would be advisable to support both ends of the pot while driving ring gear. Reaming out the hole with a drill bit may be required to loosen it up. Otherwise this is a fairly effective method and can be secured with a locking nut from below or tightened against a face plate.</p> Tip: Once the thread is started, immerse just the potentiometer in a shallow dish of boiled water to heat up the shaft. The thread will cut in like butter using the above method. Repeat the process by heating, threading and compressing the sun gears as they are forced apart. Then rinse with alcohol to prevent corrosion.</div></p> <p>Once the thread has been cut for the first time, the unit can be disassembled ready for panel mounting.</p> Category: Electronics
With this file you will be able to print Potentiometer Planetary Reduction Drive Knob with your 3D printer. Click on the button and save the file on your computer to work, edit or customize your design. You can also find more 3D designs for printers on Potentiometer Planetary Reduction Drive Knob.
