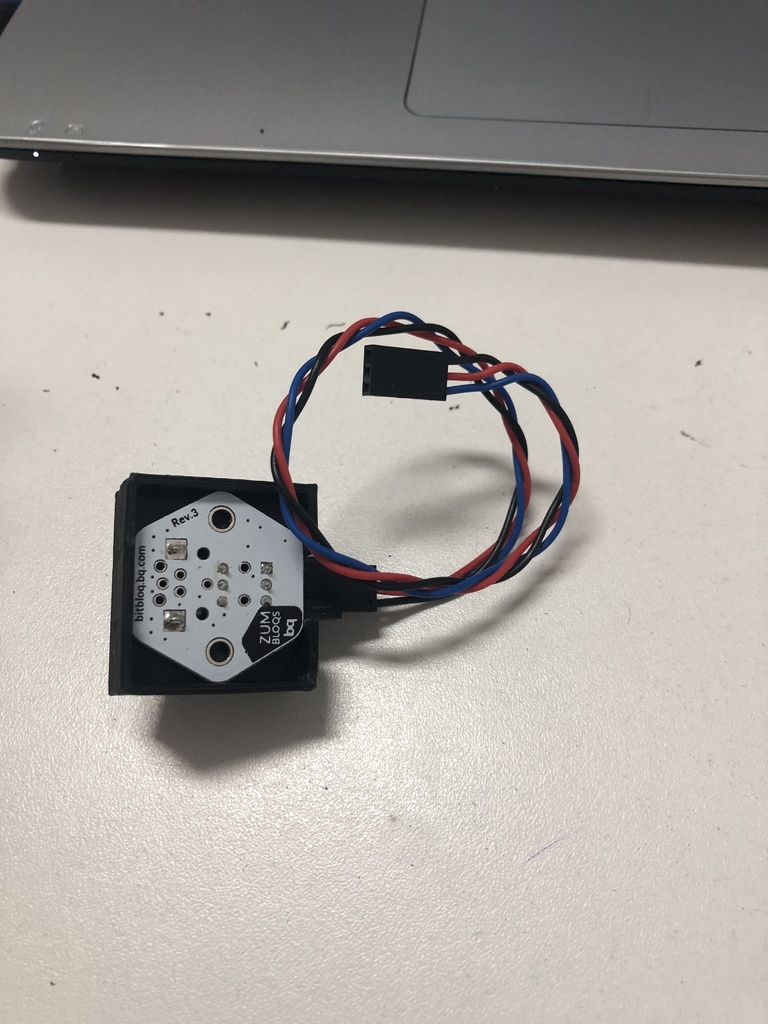
Potentiometer case arduino
thingiverse
Arduino Users Unite: A Comprehensive Guide to Crafting a Custom Potentiometer Case Are you ready to unleash your creativity and take your Arduino projects to the next level? Look no further! In this article, we'll delve into the world of custom potentiometer cases, exploring the possibilities and showcasing some amazing examples. **Why Bother with a Custom Potentiometer Case?** You may be wondering why anyone would bother with a custom case for a humble potentiometer. Well, my friend, it's all about elevating your project from mere functionality to a work of art. A well-designed case not only protects the component but also adds a touch of style and sophistication. **Gathering Your Materials** Before we dive into the nitty-gritty of building your custom case, let's gather our materials. You'll need: * Arduino board * Potentiometer * Plywood or acrylic sheet * Jigsaw or craft knife * Sandpaper * Paint or varnish * Decorative items (optional) **Designing Your Case** Now that we have our materials, it's time to get creative! Sketch out your design on paper or use a computer-aided design (CAD) software to create a digital mockup. Consider the size and shape of your potentiometer, as well as any additional features you want to incorporate. **Cutting Out Your Case** With your design finalized, it's time to bring it to life. Use a jigsaw or craft knife to carefully cut out your case from the plywood or acrylic sheet. Don't worry if it's not perfect – we'll sand it down later. **Sanding and Smoothing** Use some elbow grease to sand down any rough edges or burrs. This will ensure a smooth finish and prevent any damage to your Arduino board or potentiometer. **Adding a Finish** Now that our case is looking sharp, it's time to add a finish. You can use paint, varnish, or even decoupage to give it a unique look. Don't be afraid to get creative – this is your chance to express yourself! **Assembling Your Project** With your custom case complete, it's time to assemble your project. Simply attach the potentiometer to the Arduino board and voilà! You now have a stunning piece of art that's both functional and beautiful. **Conclusion** Crafting a custom potentiometer case may seem like a daunting task, but with these simple steps, you can create something truly amazing. So why settle for a boring, off-the-shelf case when you can elevate your project to new heights? Get creative, get crafting, and show the world what you're made of!
With this file you will be able to print Potentiometer case arduino with your 3D printer. Click on the button and save the file on your computer to work, edit or customize your design. You can also find more 3D designs for printers on Potentiometer case arduino.
