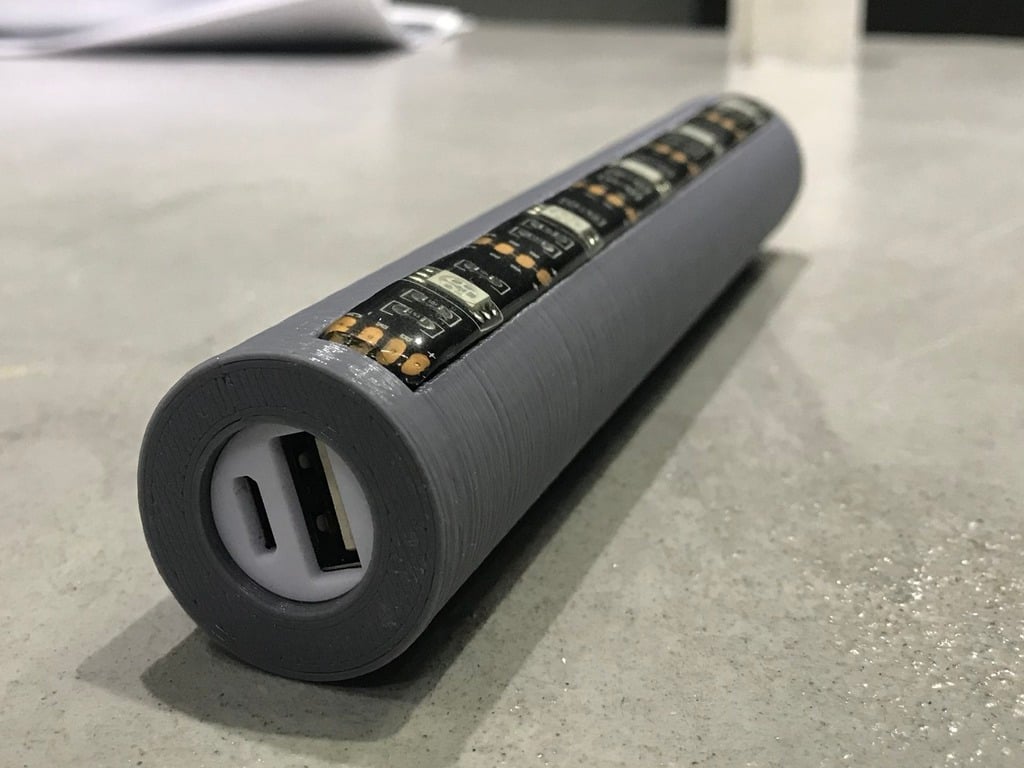
Portable Ambient Light LED Powerbank
thingiverse
This project requires some practice with soldering and a basic understanding of electricity. Unfortunately, I didn't take any photos during the construction process. Here's a quick rundown: 1. Solder the four wires from the LED strip directly to the LED Controller. Make sure the soldering point is on the bottom side of the LED Strip. Lay the wires through the case before proceeding. 2. Glue the LED Strip onto the case. 3. You only need the interior of the Powerbank. Solder the positive and negative wires from the RF Controller to the positive and negative outputs of the "Powerbank Module." I soldered it directly behind the USB Port. 4. Connect the switch between the positive wire from the "powerbank module" and the RF Remote Controller. Make sure to lay the wires through the case before pressing the switch into place. 5. Insert the battery and test it. You can activate the LED with the switch and change colors with the Remote Controller. 6. Glue the interior of the Powerbank to the bottom of your case. 7. Put everything inside and screw the cap back on. Materials & Equipment: * LED Strip * LED RF Remote Controller (5v) * Single 18650 DIY Powerbank * 18650 Li-Ion battery * 22mm switch * Wire * Soldering iron * Glue * Heat shrink tube * Multimeter
With this file you will be able to print Portable Ambient Light LED Powerbank with your 3D printer. Click on the button and save the file on your computer to work, edit or customize your design. You can also find more 3D designs for printers on Portable Ambient Light LED Powerbank.
