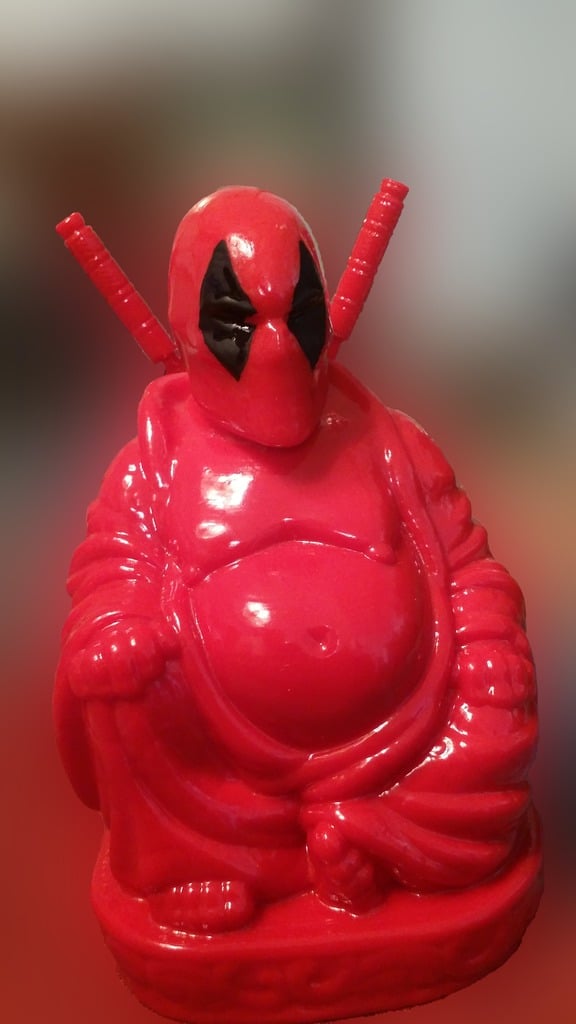
Pop Buddha Deadpool
thingiverse
I modified some models by removing parts from one model and adding them to another. It wasn't overly complicated, but I was pleased with how it turned out. The final product received an acetone vapor treatment followed by a coat of paint and clear coat. Note: The blades are fragile and prone to breaking. I managed to break one myself. To prevent this from happening, make sure to provide support all the way around the blade. Depending on your slicer, you may also be able to use support inflation or expansion. My approach was to surround the blades with low-density supports as much as possible and then carefully remove them using a razor and needle-nose pliers. Since I printed in ABS, I used acetone to repair the broken blade. Acetone dissolves ABS, so it's essential to use a small amount and secure the blade in place while it hardens again. Be prepared to wait for an extended period to ensure complete re-hardening before sanding the joint (I waited 24 hours). The acetone vapor bath removed any marks left on the blade, making the break virtually invisible. If you're new to acetone baths, be sure to do your research and perform a few test runs first. You can easily damage your prints with an acetone bath if not done correctly.
With this file you will be able to print Pop Buddha Deadpool with your 3D printer. Click on the button and save the file on your computer to work, edit or customize your design. You can also find more 3D designs for printers on Pop Buddha Deadpool.
