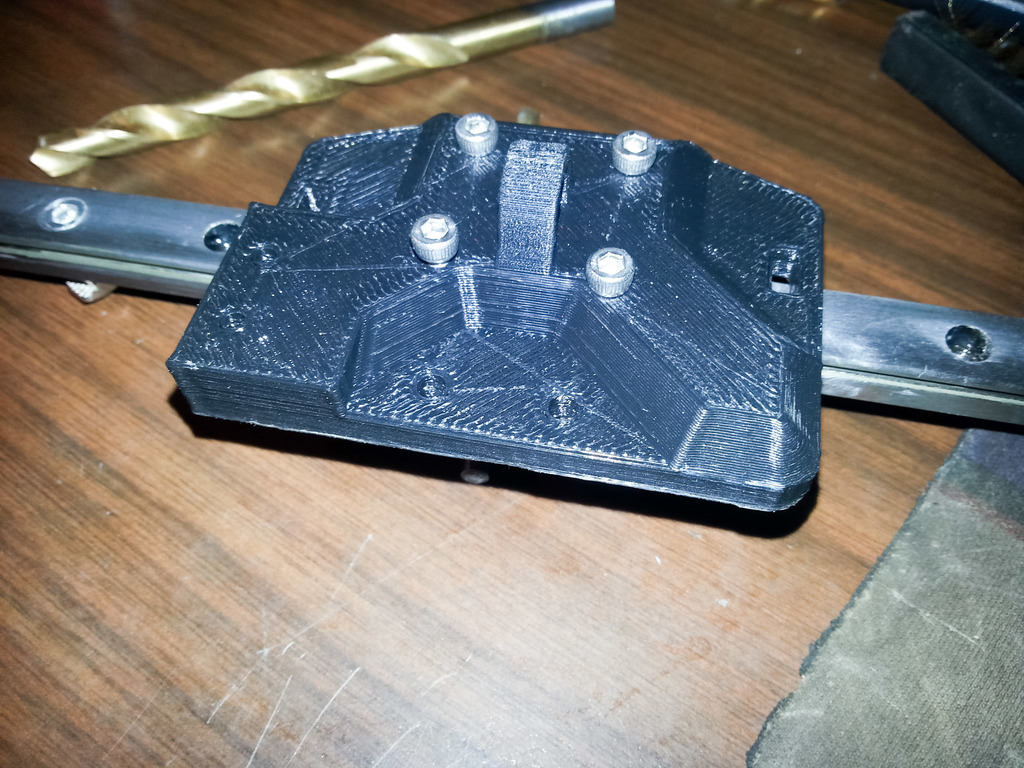
Poor Man's Linear Rail X Carriage
thingiverse
I desperately wanted to upgrade my X axis to linear rails but was heavily invested in the 3 wheel x-carriage, having built it myself and tailored my entire hot end around its unique design. I refused to give up on this customized setup. Nobody has created a similar system or at least I couldn't find one. It's astonishing that dropping a $20 MGN12H on the 2020 printer would be such an uncommon upgrade. The rail I used was 300mm long, and the block measures 46mm x 27mm x 10mm. Both the rail and the block use M3 screws for attachment. To secure the carriage to the block, I utilized M3X12 screws. However, I had to bore out the holes on the rail to accommodate M4 screws, which was a frustrating process - so be prepared to buy some M3 screws and equivalent T nuts if you decide to follow this guide. Make sure your drill is in good condition, as I'm impatient and don't recommend rushing through this step. When attaching the screws, ensure they are below the surface of the rail and that the carriage slides freely along it. If the carriage hangs when you hold the rail on its side, you may need to rebuild and clean the system - there are plenty of videos available on YouTube that can guide you through this process. Although the linear rails should fit seamlessly with the stock FL-SUN pulley system, I highly recommend printing one of these custom-designed parts: https://www.thingiverse.com/thing:3016701 https://www.thingiverse.com/thing:2838019
With this file you will be able to print Poor Man's Linear Rail X Carriage with your 3D printer. Click on the button and save the file on your computer to work, edit or customize your design. You can also find more 3D designs for printers on Poor Man's Linear Rail X Carriage.
