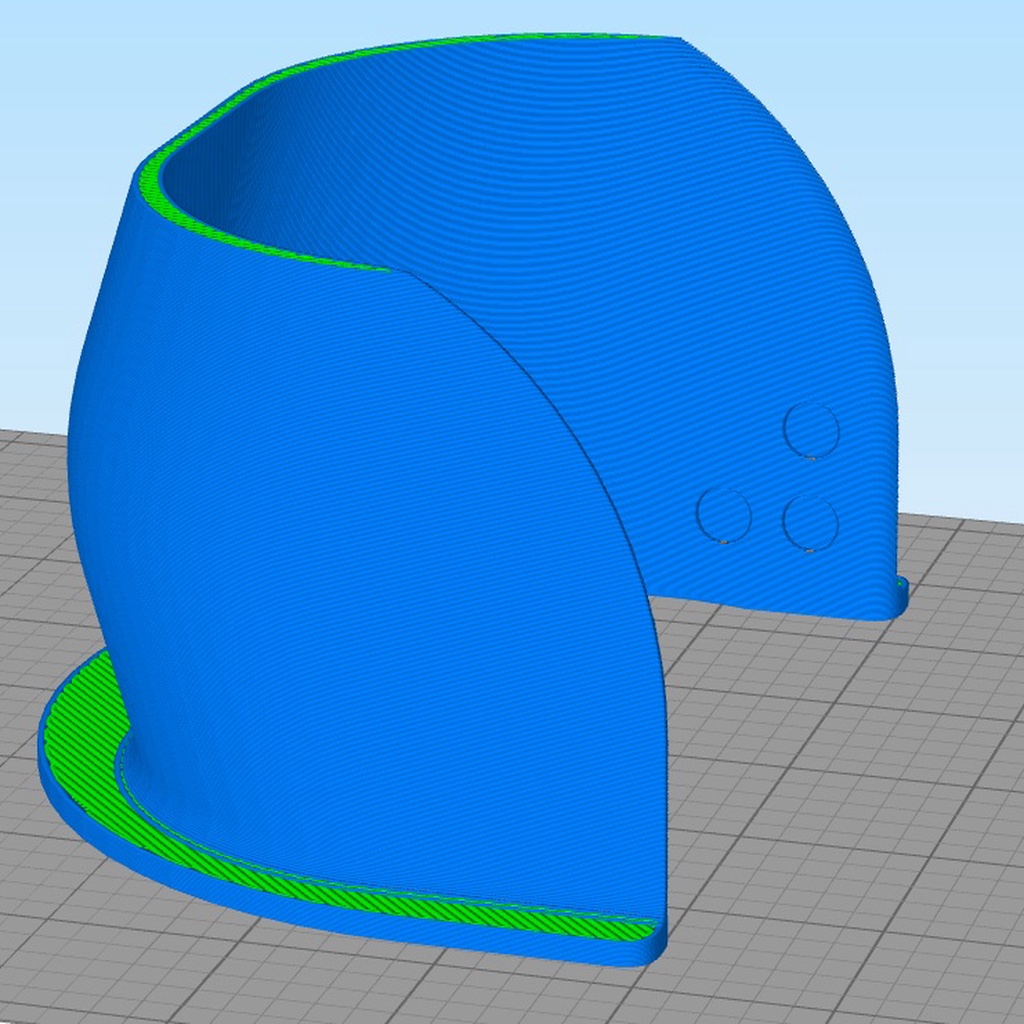
Pool Table Pocket Liners
thingiverse
Replacing a pool table liner is a relatively straightforward process that requires some basic tools and knowledge of the table's mechanics. The first step involves removing the old liner from the table, which can be done by carefully prying it loose with a putty knife or similar tool. Once the old liner is removed, the new one can be placed in its position and secured with adhesive or staples. To begin, locate the screws that hold the table's slate bed in place and remove them. This will allow access to the old liner underneath. Use a screwdriver to carefully pry up the slate bed and gently lift it off the table frame. Next, pull out any remaining pieces of the old liner from under the slate. With the slate removed, inspect the surface for any debris or damage that may have accumulated over time. Clean the area thoroughly with a soft brush or cloth to ensure a smooth installation of the new liner. Once clean, apply a thin layer of adhesive to the new liner and press it firmly into place. Use a putty knife or similar tool to smooth out any air bubbles or wrinkles. Reattach the slate bed by placing it back on top of the table frame and securing it with the screws you removed earlier. Tighten them securely to prevent movement during play. Finally, replace any remaining parts such as felt pads or side rails that may have been removed during the process.
With this file you will be able to print Pool Table Pocket Liners with your 3D printer. Click on the button and save the file on your computer to work, edit or customize your design. You can also find more 3D designs for printers on Pool Table Pocket Liners.
