Ponytrope modified for use with Stepper motor
thingiverse
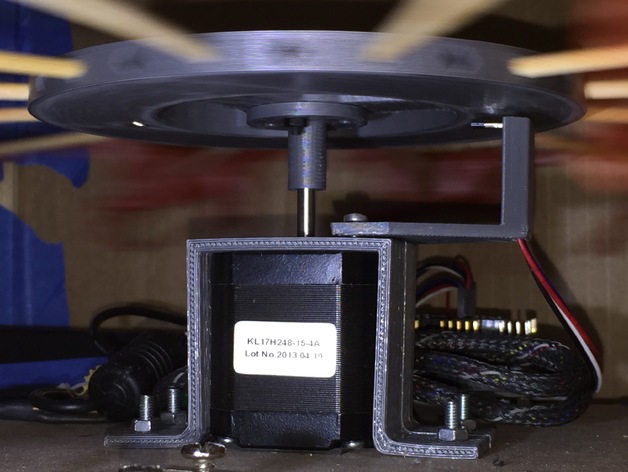
I built this project quickly, using a stepper motor for simplicity since it only took me a day. The stepper timing is well known, so I relied on a hall effect sensor to get the initial sync with the horse model's mechanism. To connect everything, I designed an adapter to attach the hub to the motor and a new bracket to hold the hall effect sensor. A couple of leftover mounts from another project came in handy for mounting the stepper motors. For control, I used a ramps board connected to a mega board and powered it with a 10-watt LED that drove through a heater driver attached to a large resistor and heat sink. **Instructions** To prepare this project, attach the hub adapter to a Nema 17 stepper motor by printing two mounting brackets. Mount the motor to a base plate using those same Nema 17 mounts. The hall effect mount is designed for screw attachment above the motor mounts and it can be adjusted with screws for better placement; make sure it's centered. Install a standard end-stop sensor on top, preferably with a four-pin connector that will securely hold three pin end-stop sensors. A hall effect sensor comes handy here to keep things in sync after acceleration since a stepper is utilized due to its well-defined timing and reliability during usage. Still tweaking the code allows adjusting speed levels live - had a temporary hardcoding to set up initial 1.2RPM. For aesthetic, looking at ideas to build an exquisite smoked plexiglass glass showpiece that looks amazing and modern in the next update soon
With this file you will be able to print Ponytrope modified for use with Stepper motor with your 3D printer. Click on the button and save the file on your computer to work, edit or customize your design. You can also find more 3D designs for printers on Ponytrope modified for use with Stepper motor.
