PolyVessel Freebie
prusaprinters
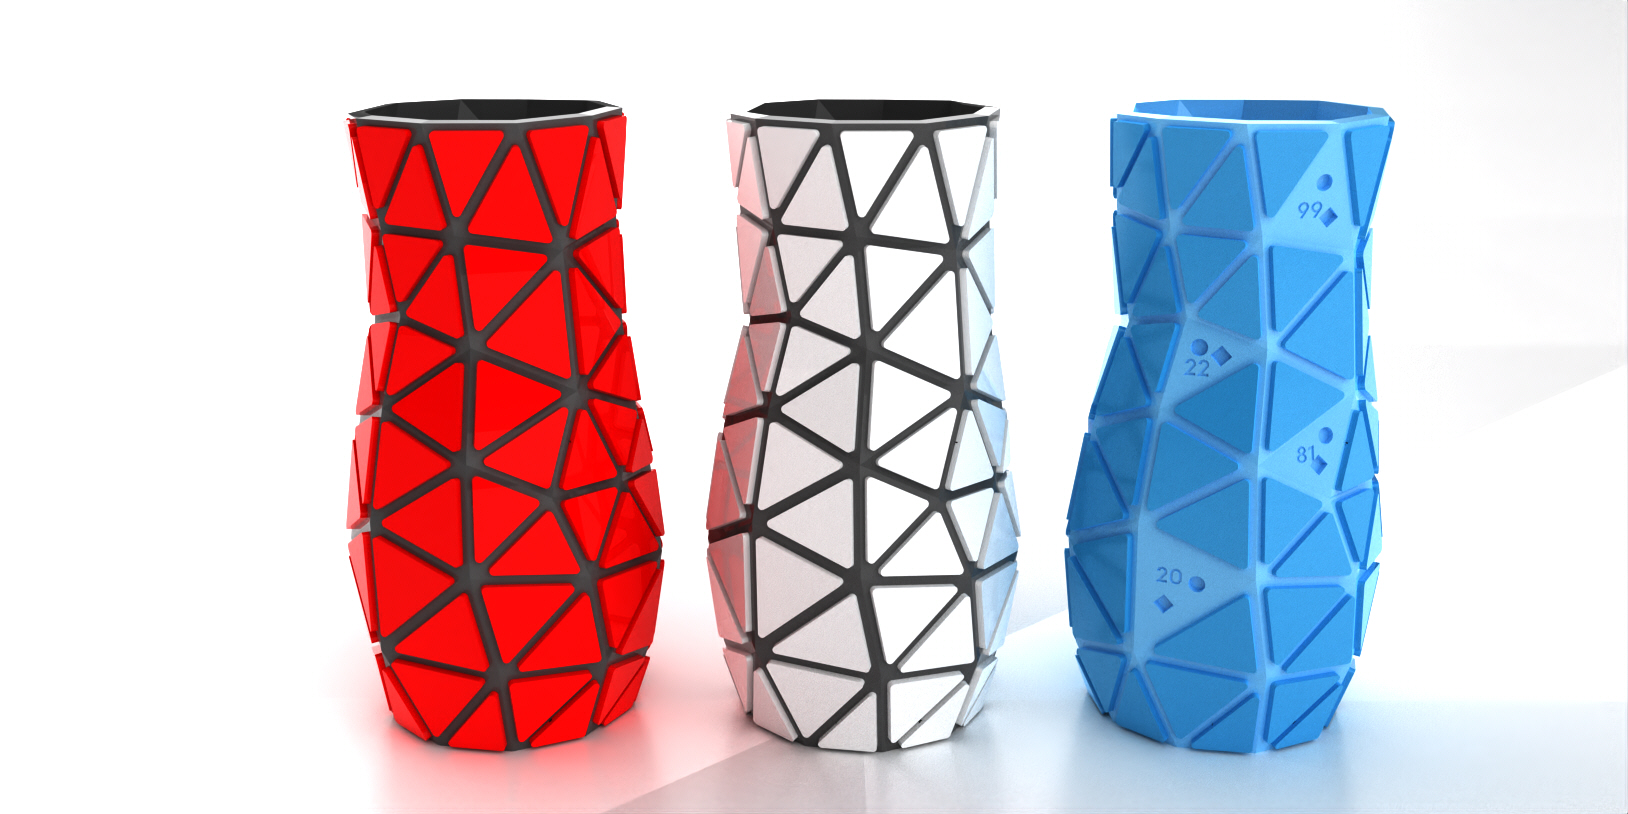
<p>Upping your succulent game?<br>Staging a photoshoot?<br>Buying flowers to apologize for purchasing yet another 3D printer?</p><p>This print-and-assemble-it-yourself vase collection was designed by Steve at Build a Skill.</p><p>You will need:<br>• A 3D printer<br>• Two colors of filament<br>• Glue</p><p>This is a sample file / vase size. It includes files for just 1 size of vase (appx 6"H x 3.2W). Full collection (other sizes shown in the images) can be purchased at www.build-a-skill.com.</p><p>General Notes:</p><p>Your printer needs to be WELL-TUNED and capable of printing many small pieces across the entire bed without peeling. If you have any troubles getting your first layer to stick, these are not the files for you.</p><p>Assembly time per vase varies depending on size. Appx 0.5- 1.5 hours.</p><p>Panels shoud be glued in place. Hot glue worked well for me. I tried press-fits, but had a hard time getting them reliable with so many panels.</p><p>Default slicer settings are fine. (unless you want it waterproof, see below)</p><p>Print the “Dimension Test” to make sure the tolerances are correct for your printer. If needed, the fits can be adjusted by using an X and Y offset for just the triangular panels in your slicer. PrusaSlicer calls this setting “XY Size Compensation” and Cura calls in “Horizontal Expansion.” Right now everything is sliced for a slightly loose fit. (.007”(.18mm) radial clearance between pegs/holes) You can tighten it up if you’re feeling adventurous.</p><p>Scaling:</p><p>You can theoretically print these files however large you want. However, as the print gets larger, the gaps between the pegs and holes get larger, leading to a looser fit. If you scale the vase and triangles in your slicer, you’ll need to tune the x/y offset of just the triangles to maintain the desired clearance. (ie. if you scale the vase your new tolerance may be .009” (.23mm). You’ll need to add back .002” (.05mm) of plastic to the pegs or the panel fit will be too loose. This can be done in slicer.</p><p><br>Watertight prints:</p><p>Every printer is going to be different when it comes to watertight prints. The Watertight test print holds a tall column of water to simulate the pressures found in a tall vase and can be used to to tune your print settings.</p><p>I only had success with a SOLID wall of plastic. You may be able to get it to work with thin walls, but here are the settings that worked on my Prusa MK3S for me:</p><p>Vase:<br> PrusaSlicer .15mm layer Quality setting<br> Generic PLA<br> 1.1 extrusion multiplier (110% flow)<br> 3 perimeters<br> 0.35 mm perimeter width<br> All solid layers (9999 bottom shells)<br> 0% Infill (I found infill didn’t give me as clean of prints as the solid layers)</p><p>Triangles:<br> PrusaSlicer .2mm Quality setting</p>
With this file you will be able to print PolyVessel Freebie with your 3D printer. Click on the button and save the file on your computer to work, edit or customize your design. You can also find more 3D designs for printers on PolyVessel Freebie.
