Polysher Precision Nebulizer Tensioning Case
thingiverse
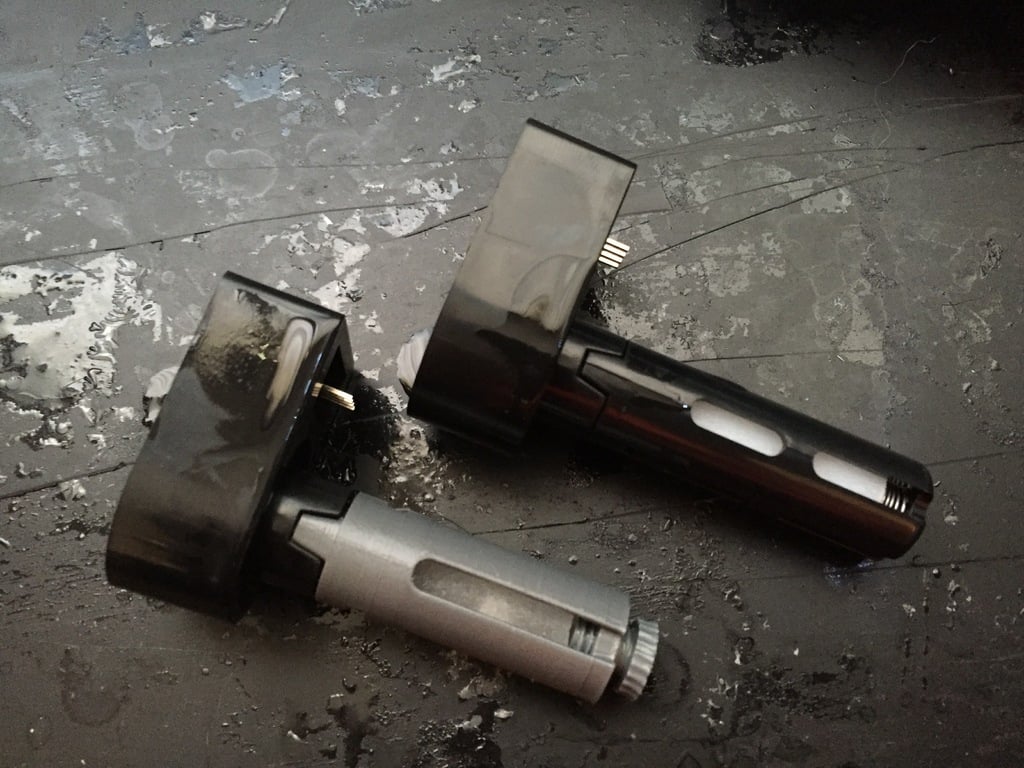
Here is a nebulizer cartridge part that lets you set the tension on the wick as it touches the output plate. This was made to take some of the hassle out of upgrading to a melamine or other wick type. The mist depends on the capillary action of the wick, plus the friction between the wick and the output plate. This allows you to fine-tune that friction for optimal mist. Enjoy! ______________________________ UPDATE 7/23/17 "HOW TO" People have been asking for a "how-to" on this mod, so here it goes. BOM: 1.) Magic Eraser Sponge 2.) Toilet connector rod or other 3/8" rigid tubing 3.) Printed Manual cartridge and screw (PLA, ABS, NOT POLYSMOOTH!) Disassembly: Pop the black nebulizer cartridge casing off its mount (you can push in the tabs with a screwdriver) and put the cart, cotton sponge, and spring aside. Assembly: 1.) Sharpen the tubing on both inner and outer surfaces with a file or sandpaper. It doesn't need to be razor-sharp, but it does need to be in the shape of a wedge. 2.) Using the tubing, rotate it through the magic eraser 1/8 turn back and forth. The slower you go, the cleaner the cylinder will be. Check out the pictures. 3.) Cut the sponge to 50mm length using an exacto knife. The "factory" edge will touch the inside of the nebulizer; the cut edge will sit on the screw. 4.) Place the sponge into the nebulizer until it seats against the silver disc. Don't apply any pressure - just let it be. 5.) Put the 3D printed cartridge cover over the sponge and snap it into place. 6.) Insert the manual screw and turn it until it just makes contact with the melamine sponge. 7.) Install the new nebulizer assembly into the factory housing using the manufacturer's instructions. Troubleshooting: a.) If the machine instantly alarms, add 1/8" turn of the manual adjustment screw clockwise. b.) If the machine doesn't produce enough vapor, remove 1/8" turn of the manual adjustment screw counterclockwise. c.) If the machine faults after one minute, reset it (press the big button) and try again. Usually restarting it works, and this often happens with the OEM cotton wick and cart.
With this file you will be able to print Polysher Precision Nebulizer Tensioning Case with your 3D printer. Click on the button and save the file on your computer to work, edit or customize your design. You can also find more 3D designs for printers on Polysher Precision Nebulizer Tensioning Case.
