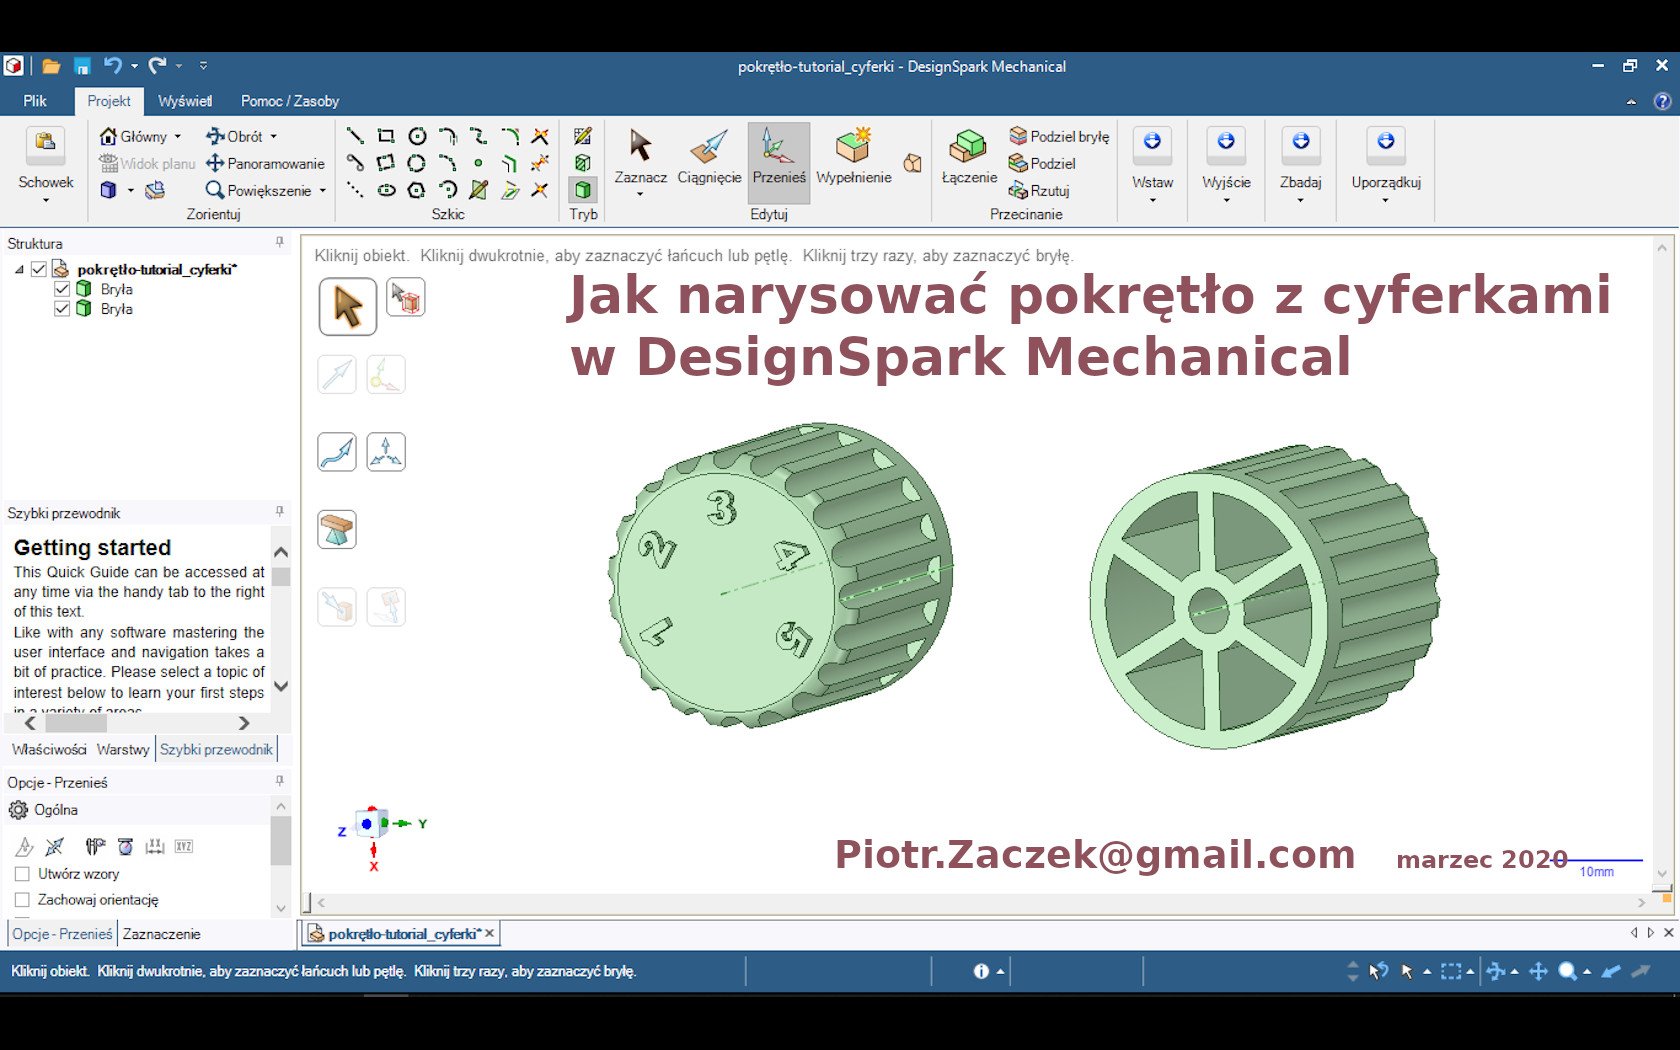
Pokrętło jak narysować w DesignSpark Mechanical
thingiverse
How to Draw a Knob in DesignSpark Mechanical Tutorial, STL and Source Files DSM Drawing a knob in DesignSpark Mechanical is a straightforward process that involves several steps. First, open the software and create a new project or open an existing one. Next, select the "Create" tab and choose the "Part" option from the drop-down menu. In the "Part" window, click on the "Sketch" button to start drawing your knob. Use the various tools provided in the toolbar to draw the shape of your knob. You can use the "Circle" tool to create a circular shape or the "Rectangle" tool to create a rectangular shape. Once you have drawn the basic shape of your knob, select the "Extrude" option from the "Modify" menu to give it depth. You can also use the "Fillet" option to round off any sharp edges. To add features such as threads or holes, select the "Features" tab and choose the desired feature from the drop-down menu. You can then use the various tools provided in the toolbar to customize the feature. Finally, select the "Export" option from the "File" menu to export your design as an STL file. This file can be used with a 3D printer or other CNC machines to create a physical model of your knob. Here is a link to download the source files for this tutorial: [insert link]. Note: The above instructions are based on DesignSpark Mechanical version 4.0 and may vary slightly depending on the version you are using.
With this file you will be able to print Pokrętło jak narysować w DesignSpark Mechanical with your 3D printer. Click on the button and save the file on your computer to work, edit or customize your design. You can also find more 3D designs for printers on Pokrętło jak narysować w DesignSpark Mechanical.