Poker Chip Tube
prusaprinters
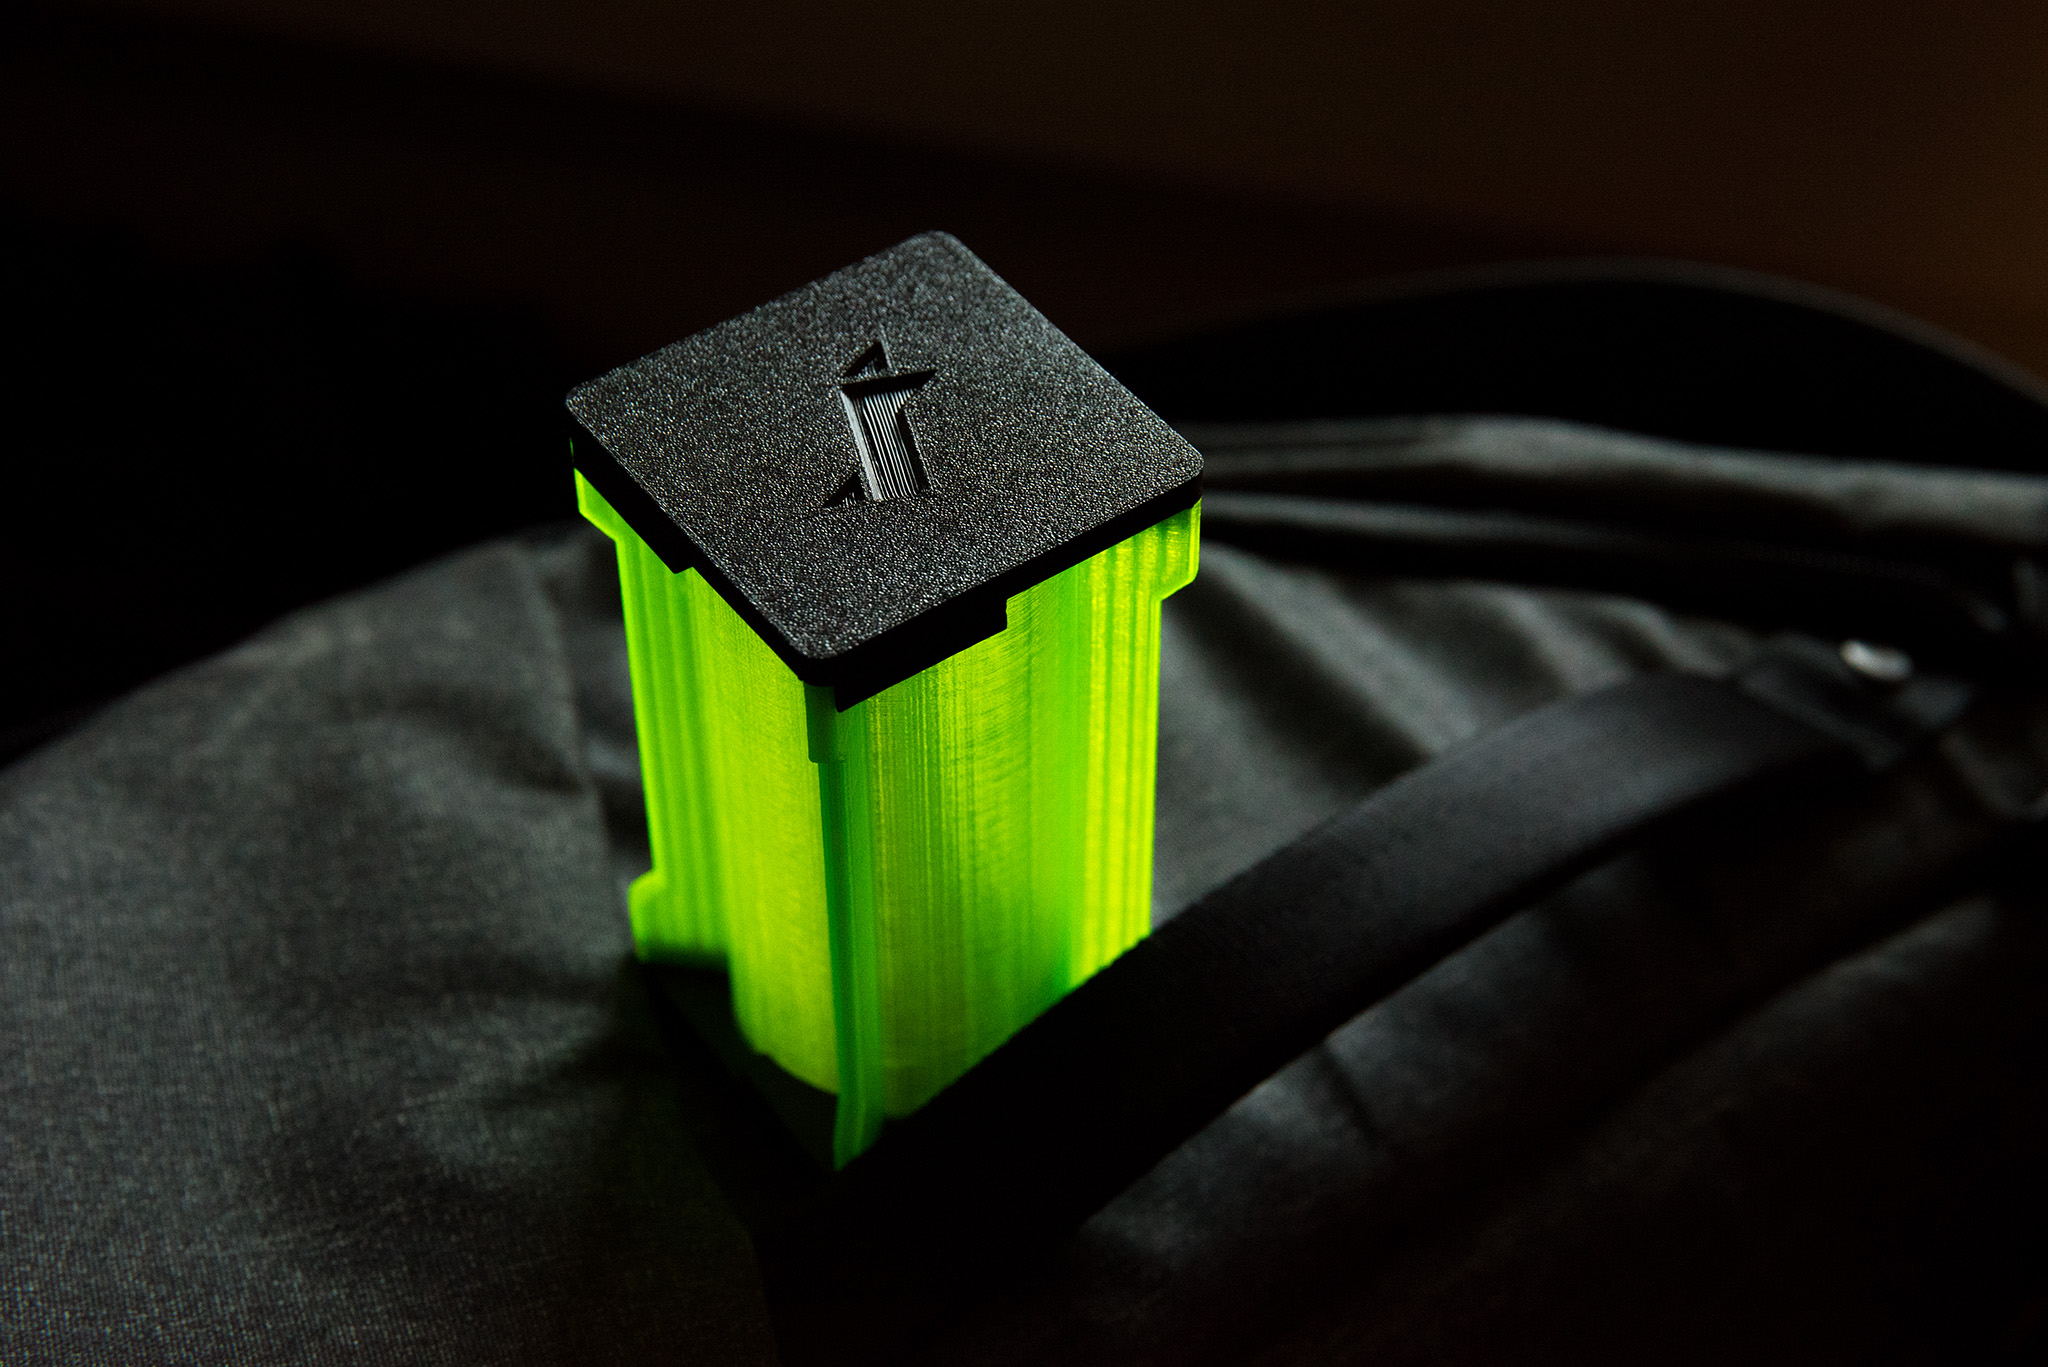
<p>Those tubes were designed to hold American-style poker chips (casino cheques) in standard 39mm diameter.</p> <p>The end caps lock with a screw mechanism that will lock with a little "click". They have a pseudo "seal" that reaches about 1mm into the tube on both ends, which is supposed to better keep lint out of them.</p> <p>But of course, at the end of the day, these are simply tube-shaped closeable containers - you can put anything in them.</p> <p>There are multiple end cap variants:</p> <ul> <li>plain</li> <li>embossed monogram</li> <li>with see-through window <i>(either 3D printed, or using an overhead transparency cutout)</i></li> </ul><p>I am also planning to make another variant where you can insert a label on the inside of the cap that for example acts as seating indicator. Since they won't be visible while the tube is closed, you will be able to easily randomize seating for tournaments if you put players' starting stacks into such tubes.</p> <p>The measurements of the tube assume that you are storing high-quality American-style clay (Paulson, CPC) or ceramic (Sun-Fly) poker chips in them. Cheap plastic chips, especially the heavy metal slugged ones, could be thicker so you might be unable to fit the full amount of chips they were designed for. If you are planning to store chips from an American casino in them and are unsure: Most of these should fit well.</p> <p>The tube design is parametric; I can generate them with arbitrary inner diameter (e.g. for 43mm diameter chips) and length. The caps will scale with that, thickening a couple of features, but I suspect this scaling isn't optimal yet.</p> <p>Unfortunately, since I created the model with Autodesk Inventor, there is no easy way for other people to make use of the parametric design - unless you own a copy of the software, that is. So I've limited the STL download bundle here to a couple common capacities: 25 chips, 20 chips and 10 chips (to carry a shuffling stack around, for example).</p> <h3>Print stats</h3> <i>(Prusa Mini, 0.4mm nozzle, 0.2mm layers, 15% Honeycomb infill)</i><br/><br/> <ul> <li><b>Tube for 10 chips</b>: 1h 27m print time, ~10.49g PETG</li> <li><b>Tube for 20 chips</b>: 2h 32m print time, ~18.45g PETG</li> <li><b>Tube for 25 chips</b>: 3h 5m print time, ~22.42g PETG</li> <li><b>Two end caps, plain</b>: 1h 32m print time, ~19.08g PETG</li> <li><b>Two end caps, monogram</b>: 1h 36m print time, ~19.58g PETG</li> <li><b>Two end caps, windowed</b>: 1h 31m / 9m print time, ~16.15g / ~1.45g PETG (caps and retention ring / window)</li> </ul> <h3>Dimensions</h3><ul> <li><b>All tubes</b>: min. 42mm x 42mm, max. 50mm x 50mm <li><b>Tube for 10 chips</b>: 36mm height <li><b>Tube for 20 chips</b>: 78mm height <li><b>Tube for 25 chips</b>: 95mm height <li><b>End cap</b>: 50mm x 50mm; thickness: 4mm effective, 8mm absolute </li></li></li></li></li></ul><p><h3>Filaments used in example photos</h3><br/> <i>(all PETG)</i><br/><br/></p> <ul> <li><b>1.</b> Prusament Jet Black/DasFilament.de Transparent Neongrün</li> <li><b>2.+3.</b> Prusament Neon Green Transparent/Prusament Jet Black</li> <li><b>4.</b> <i>front left:</i> see #1; <i>front center:</i> DasFilament.de Transparent Blau/PrimaCreator PrimaSELECT transparent yellow; <i>front right:</i> FilaTex3D.de Gold/DasFilament.de Transparent Rot; <i>background:</i> Prusament Jet Black/DasFilament.de Sturmgrau</li> <li><b>5.+6.+7.</b> FilaTex3D.de Schwarz/FilaTex3D.de Klar</li> <li><b>8.</b> <i>left:</i> DasFilament.de Transparent Neongrün/Prusament Jet Black; <i>center+right:</i> see #4</li> </ul><h3>Print instructions</h3><p>Print with a 0.4mm nozzle, 0.2mm layer height. Pick the infill of your choice as long as it is dense enough; I personally like the looks of Honeycomb 15% best when printing transparent/translucent materials.</p> <p>The tolerances in these models are very tight. A well-calibrated printer with precise print head positioning is an absolute must, otherwise the printed parts will very likely not fit together. Both the Prusa i3 as well as the Prusa Mini are technically fit for printing these, but you must calibrate them well - in particular the Z offset.</p> <p>Do not, under any circumstances, print the tubes with a brim! The smooth PEI sheet, cleaned with 99% isopropyl alcohol, will provide enough adhesion for a PETG print. For the end caps, you can use the textured PEI sheet too.</p> <p><b>Note:</b> While printing these with PLA technically works, this results in very brittle prints and the caps are fairly hard to screw on and off. I do not recommend using this material. Do use PETG if you can. Even with PETG, please do not assume these tubes will survive a drop. The tube will likely break, although it does provide some initial impact protection for the chips themselves, so it's still better than nothing at all for sure. Results from my personal drop tests show that the weak spots are the prongs of the end caps.</p>
With this file you will be able to print Poker Chip Tube with your 3D printer. Click on the button and save the file on your computer to work, edit or customize your design. You can also find more 3D designs for printers on Poker Chip Tube.
