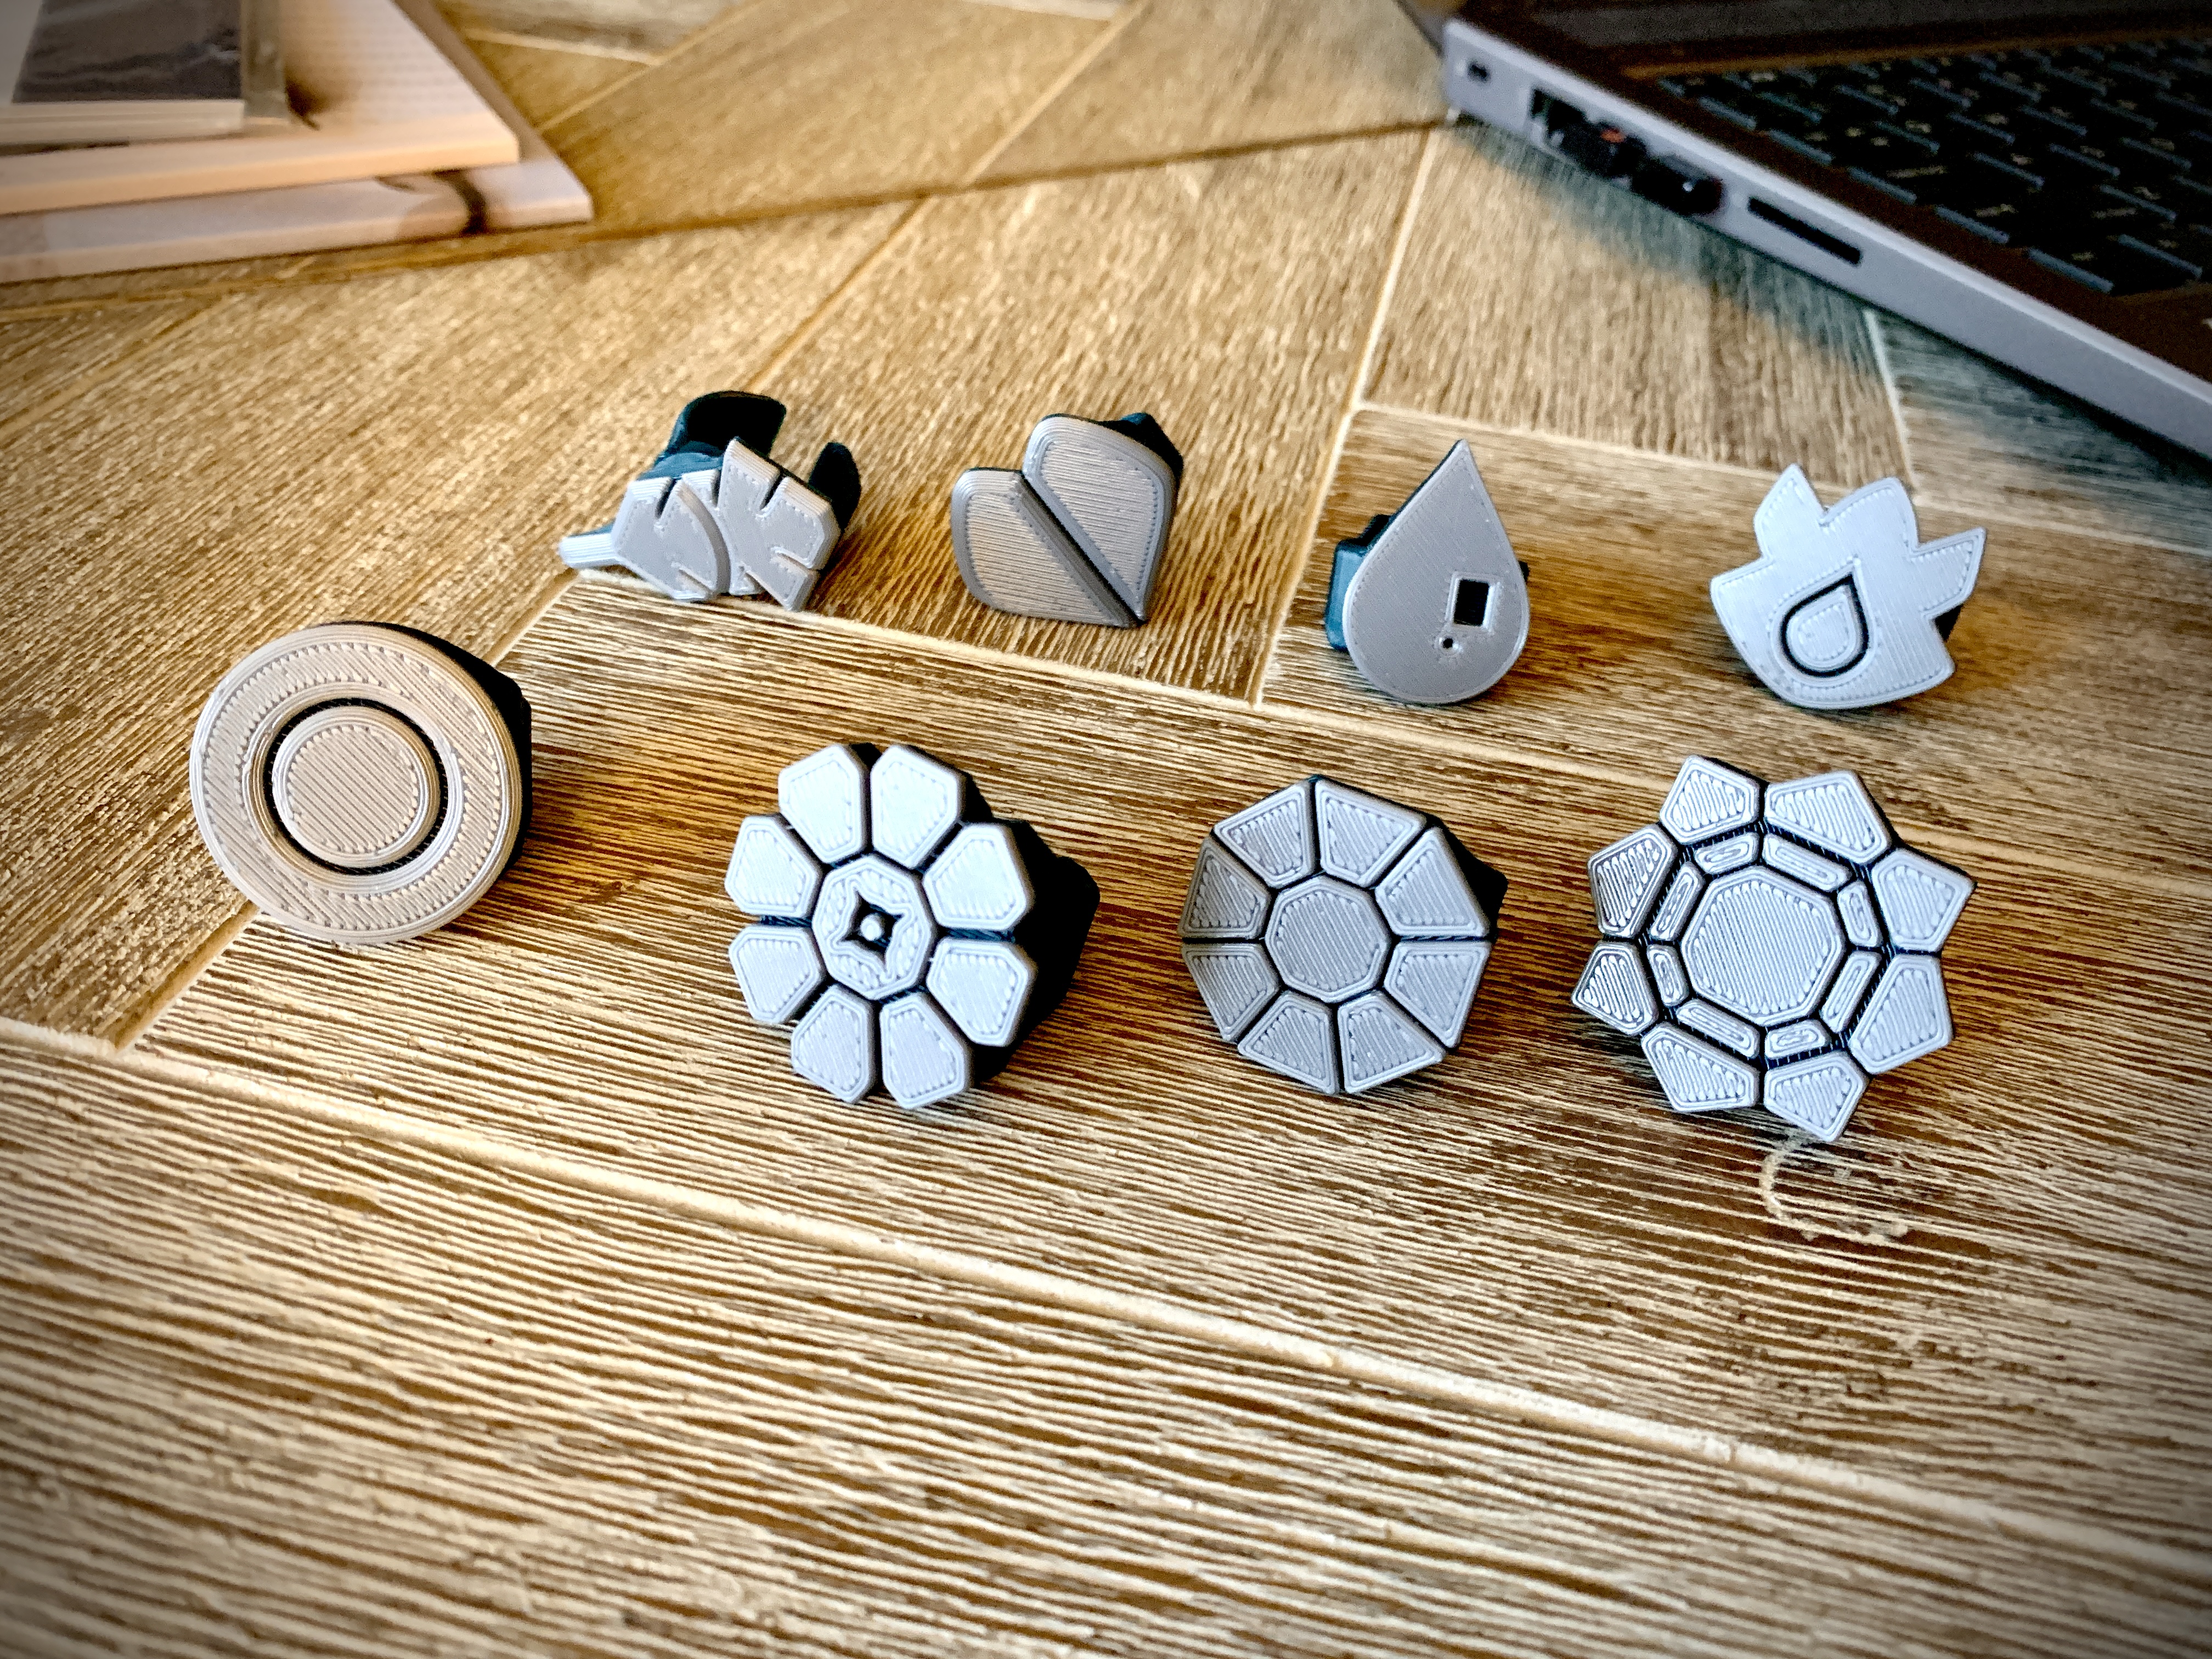
Pokemon 1st Gen Badge Rings
prusaprinters
<p><i><strong>Skip to 1:38 so see each ring in detail.</strong></i></p><figure class="media"><oembed url="https://youtu.be/ersInK-gh04"></oembed></figure><p>I was thinking about what to make for the contest and this hit me once i saw someone some Pokémon badges on someone's profile! So i made my own badges and then made a ring with them. The badge design are based on the anime </p><p>(picture below from Pokémon Wiki https://pokemon.fandom.com/wiki/Gym_Badges?file=Kanto_Gym_Badges_%2528Let%2527s_Go%2529.png)</p><figure class="image image_resized" style="width:71.01%;"><img src="https://media.prusaprinters.org/media/prints/134927/rich_content/f7623fb3-0adc-481f-9214-5454784a03fa/image.png#%7B%22uuid%22%3A%2238ea3b16-4622-4231-ad13-ccbe12ba7dc6%22%2C%22w%22%3A1129%2C%22h%22%3A573%7D"></figure><p>All the rings have the same height before reaching the background. This means you can print them all in one go and have them all be multi material with just a simple color swap.</p><p><strong>Note: </strong>The closed rings (not “_open”) might require supports on the very top inside of the ring. My 3MF file for those has added support enforcers. Depending on your printer the open rings might need them too, mine did not. Let me know if you have any questions.</p><h3><i>To insert the color swap:</i></h3><ol><li>Slice the models</li><li>Scroll on the layer bar (to the right) until the bridging starts</li><li>Insert a Pause or MMU color change to the layer that contains the bridging.</li></ol><p> Step 2</p><figure class="image image-style-align-center image_resized" style="width:67.26%;"><img src="https://media.prusaprinters.org/media/prints/134927/rich_content/f3c2e5bd-a003-4888-bbf3-88a691834cc1/image.png#%7B%22uuid%22%3A%228a56e088-4248-49ae-9804-cebb02877ce2%22%2C%22w%22%3A530%2C%22h%22%3A375%7D"></figure><p> Step 3</p><figure class="image image-style-align-center image_resized" style="width:67.26%;"><img src="https://media.prusaprinters.org/media/prints/134927/rich_content/9f3cd979-875a-4a4f-8a63-001711852b2c/image.png#%7B%22uuid%22%3A%22b84c3bae-e418-460d-873f-b7f6a38b5519%22%2C%22w%22%3A554%2C%22h%22%3A368%7D"></figure><h3><i>Size Chart:</i></h3><p>All the hole diameters of the original models are 11mm. Below is the scaling that you would need for each ring size.</p><figure class="table"><table><thead><tr><th><strong>Ring Size</strong></th><th><strong>Nominal</strong></th><th>Scale %</th></tr></thead><tbody><tr><td>3</td><td>14</td><td>127.27</td></tr><tr><td>3.5</td><td>14.4</td><td>130.91</td></tr><tr><td>4</td><td>14.8</td><td>134.55</td></tr><tr><td>4.5</td><td>15.2</td><td>138.18</td></tr><tr><td>5</td><td>15.6</td><td>141.82</td></tr><tr><td>5.5</td><td>16</td><td>145.45</td></tr><tr><td>6</td><td>16.45</td><td>149.55</td></tr><tr><td>6.5</td><td>16.9</td><td>153.64</td></tr><tr><td>7</td><td>17.3</td><td>157.27</td></tr><tr><td>7.5</td><td>17.7</td><td>160.91</td></tr><tr><td>8</td><td>18.2</td><td>165.45</td></tr><tr><td>8.5</td><td>18.6</td><td>169.09</td></tr><tr><td>9</td><td>19</td><td>172.73</td></tr><tr><td>9.5</td><td>19.4</td><td>176.36</td></tr><tr><td>10</td><td>19.8</td><td>180.00</td></tr><tr><td>10.5</td><td>20.2</td><td>183.64</td></tr><tr><td>11</td><td>20.6</td><td>187.27</td></tr><tr><td>11.5</td><td>21</td><td>190.91</td></tr><tr><td>12</td><td>21.4</td><td>194.55</td></tr><tr><td>12.5</td><td>21.8</td><td>198.18</td></tr><tr><td>13</td><td>22.2</td><td>201.82</td></tr><tr><td>13.5</td><td>22.6</td><td>205.45</td></tr></tbody></table></figure>
With this file you will be able to print Pokemon 1st Gen Badge Rings with your 3D printer. Click on the button and save the file on your computer to work, edit or customize your design. You can also find more 3D designs for printers on Pokemon 1st Gen Badge Rings.
